
| CHASSIS ASSEMBLY |
I assemble my chassis almost completely before painting. This
allows me to have good strong joints and eliminates the need to
scrape away paint from the loints before gluing. I also use
superglue to assemble the chassis as it dries instantly and makes
assembly quick. The photo below shows the compelted chassis
after painting. You will note that I leave off the front and diagonal
cross pieces as this allows me to complete the interior assembly of
the things like seat, dash, etc then I close the chassis with the
remaining pieces.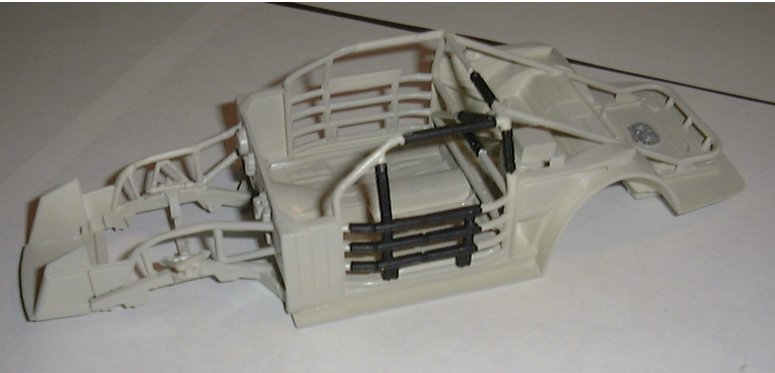 The first thing I do is to remove the molded in window net as I scracthbuild this form maksing tape. I use a jewelers coping saw to carefully remove the netting. This is like a miniature coping saw and you can get real fine blades for it. I cuts very clean and with very little removal of material. I have used this tool to cut open doors, and separate canopies to display open. I can then either leave it in the up or down position as I desire. It looks more realistic and is easy to make. Go to My Modeling Pages to se how it is done. You cannot see it here, but I install the oil tank bottom also under the chassis. I then put the competed chassis aside until I am ready to paint it. |
