|
|
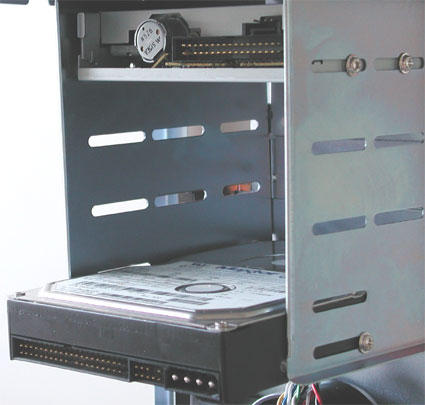
Installing The Hard Disk And FloppyWe assume that you have already configured your hard disk the way you want it - single, master, or slave. The photo below shows the hard disk already fitted. As you can see, we can look right through the case here. If we had slid the motherboard tray back into position, it would have been impossible to screw the hard disk in from the left.
Use two screws per side on each drive. We would like to touch briefly on the topic of drive cooling, as it is quite important with the current 7,200 rpm drives. Hard disks running at 7,200 rpm can quickly reach temperatures in excess of 50°C. You should, therefore, always leave some space above them to prevent heat buildup. The power supply fan is normally powerful enough to provide adequate air circulation inside the case. |
|