|
|
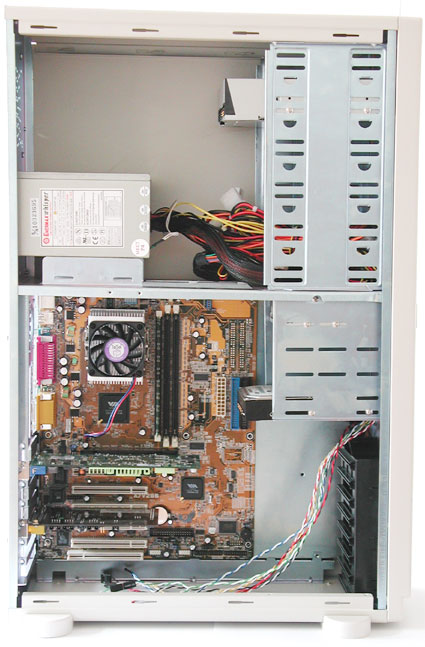
Connecting The Ribbon CablesYour PC should now look similar to the one in our photograph. All key components, such as the motherboard, processor, RAM, graphics card, sound card, hard disk, CD-ROM and floppy, have been installed. Now it is time to connect the cables.
As you will be aware after reading Part 1, there are two main cable types: the 34-pin cable for the floppy drive and the 40-pin IDE cable (with 80 wires) for the hard disk and CD-ROM. Cables are always color-coded to show pin 1. Most drives also provide some kind of identification for pin 1. If you find that this is not the case, just remember that pin 1 is the one next to the power plug.
|
|