

This is a simple tutorial for a logo. After you have created it you can create all sorts of designs by experimenting. It helps to make notes of each step you take in case you ever need to create the image again. Very often I have created an great effect accidentally and when I tried to recreate it I had changed the settings and couldn’t remember how I had done it!
If you want to create your own tutorials this is how I done it: After each section I have created an image by pressing the print screen button on the keyboard - 'Prt Scr' – and then go to your word processor such as 'Microsoft Word' and open a document. I then press 'enter' a few times so I can put words in later and then 'right click' choose 'paste' and your screen print should appear. If you want only the window that is open press the 'Alt' button at the same time as the 'Prt Scr.'
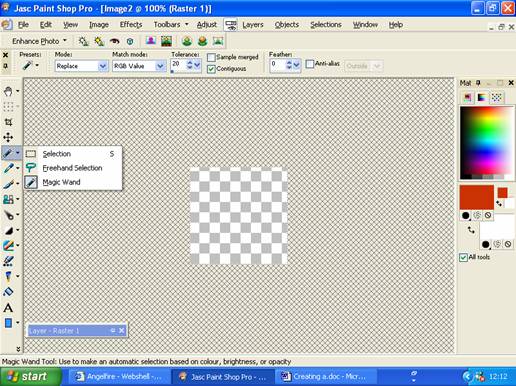
Create a New Image about 150 pixels by 150 pixels. Make sure the transparent box is ticked to ensure a transparent background:

For this design I chose the rounded rectangle to create my flower pattern. On the tools bar it is in the same section as the magic wand so I had to click on the arrow and change to the selection:
Once selected the options came up on the top tools bar so I could select the shape required:
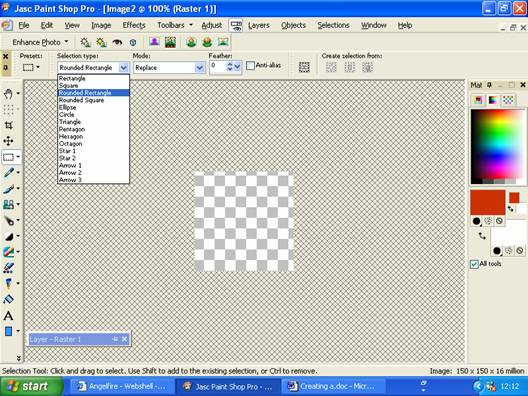
To create a shape click and drag the curser across the canvas and let the mouse go when it reaches the size that you want. Then while the lines around the shape are still flashing click the paint pot and choose your colour to fill in your shape. To deselect make sure you click the selection box first and then click anywhere outside of the graphic but still inside the graphic (on the grey/white check area):

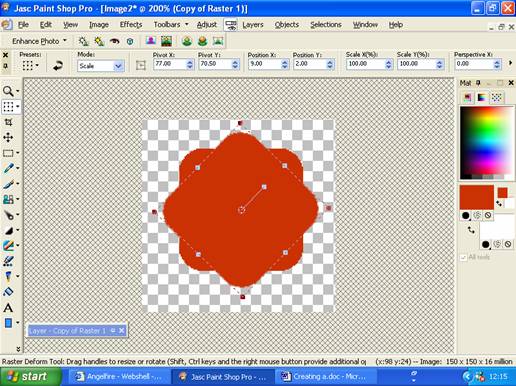
The next step is to go to the layer pallet and right click on the layer. Here you can choose duplicate to create two layers the same.

Click on the raster deform tool and use the end of the centre marker to turn your garaphic:
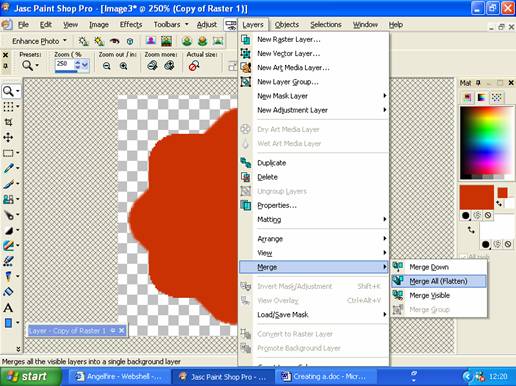
You need to merge the layers to create one layer, which will fill in the background.

Duplicate the layer so you have two again:

Now you need to create a new raster layer and copy the background made when you merged the layers.
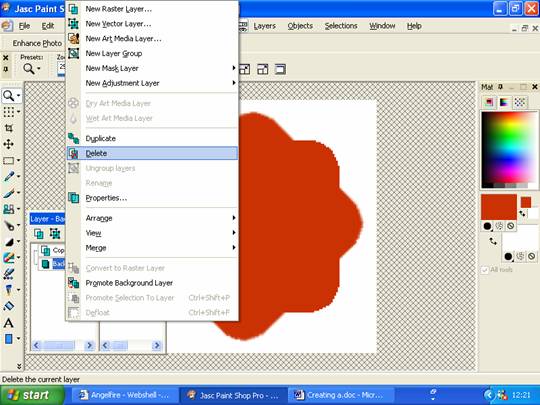
Delete the layer called 'Background:'
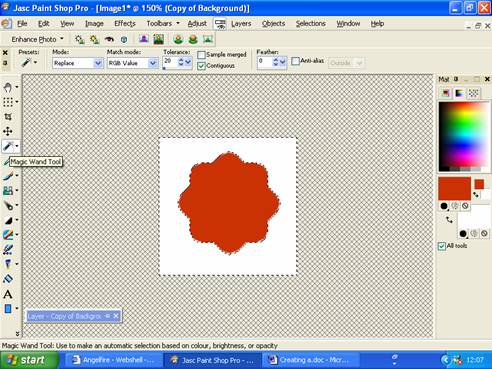
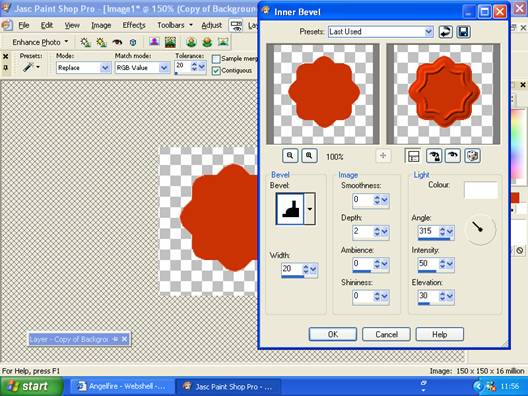
Use the magic wand tool to highlight the white section and then delete so you have your flower and a transparent background. Go into 'effects' and find one that you want. I chose 'inner bevel.'
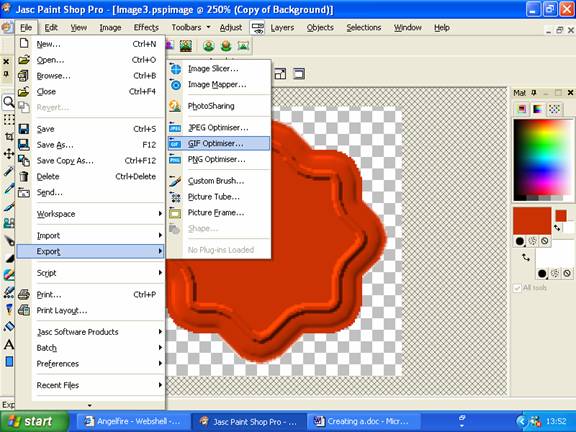
When you have completed your design go to 'file' – 'export' – 'GIF Optimiser' and follow the instructions. If you choose the default options it will put a white background to the transparent areas so read every option and go back if it is not how you want it to be.
![]()
![]()
![]()
![]()
![]()
![]()
![]()
![]()
![]()
![]()
![]()
![]()
![]()
© Lynda Archard
