
time: 45 mins
tools required: dremel or other cutting tool, tape, marker, an idea of the design you'd like to have on the covers, some backing material, paper to make a template, sandpaper, glue to attach backing material DO NOT USE 3M emblem adhesive! it will melt the plastic!
instructions: first of all, find a design you'd like to have on the covers
i wanted flames, so i scanned a pair of leather gauntlets that have a nice lick of flame and printed out the scan at the size i wanted. then i cut out the flame from the paper to use as my template

then i covered the swingarm covers in tape so i'd be less likely to crack them while cutting

trace the template onto the tape. i did it on the inside, as i prefer to cut from the side that will be hidden.
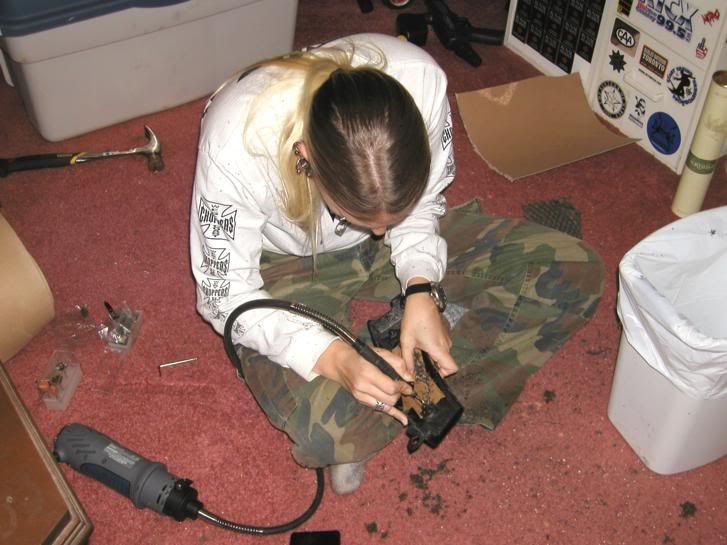
i used the fine work attachment on a mastercraft spin saw and a drywall zip bit to do the cutting. this is not my recommended method, as the bit is bigger than i wanted (couldn't get fine points on the flames), but hell it was what i had and home depot didn't have anything i liked the look of better..
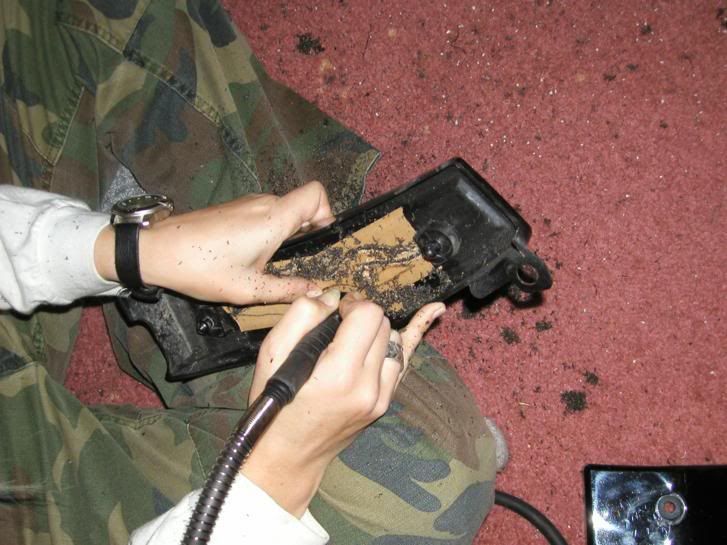
it gets pretty messy while you cut - try to clean away the shavings every inch or so to ensure you're following your template as closely as possible
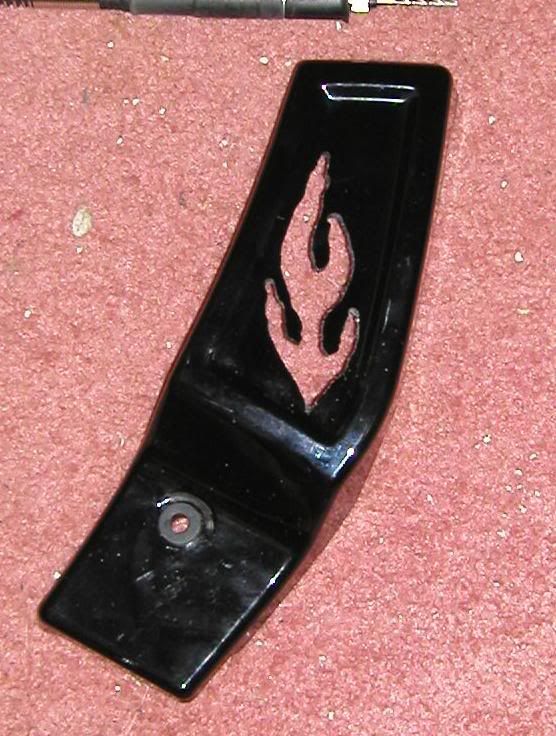
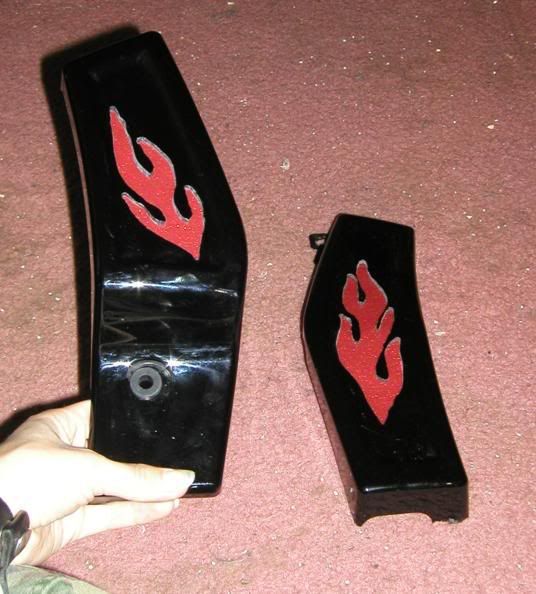
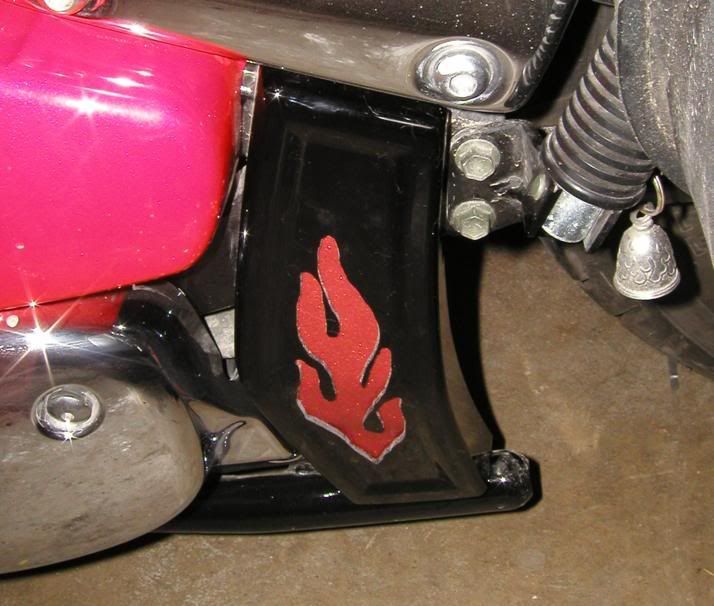
the end result here is not as nice as i had hoped, but not as bad as it could have been either!
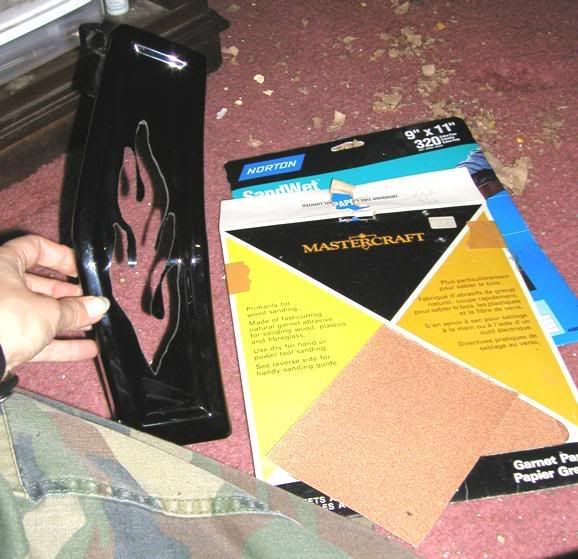
sand the rough edges of your cut to even them out to your satisfaction, or at least until you get sick and tired of sanding them..
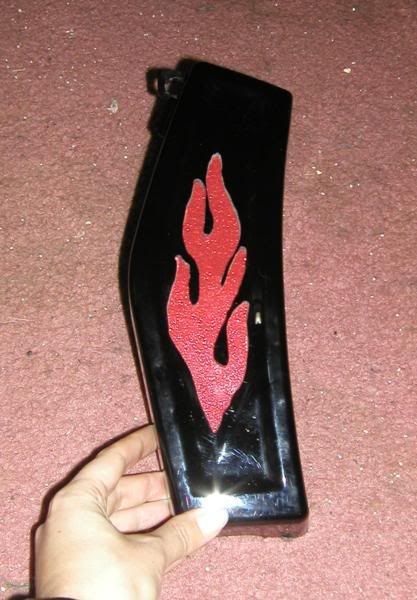
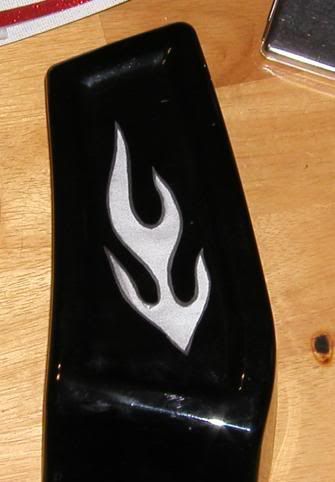
now cut your backing material (i used a type of vinyl that has a metal flake look, in a red that isn't nearly as pink as it looks in these photos) to fit, and use an adhesive to attach it to the inside of the cover. i used household goop, as it's a product i've had good experiences with.
both pieces now have their backing
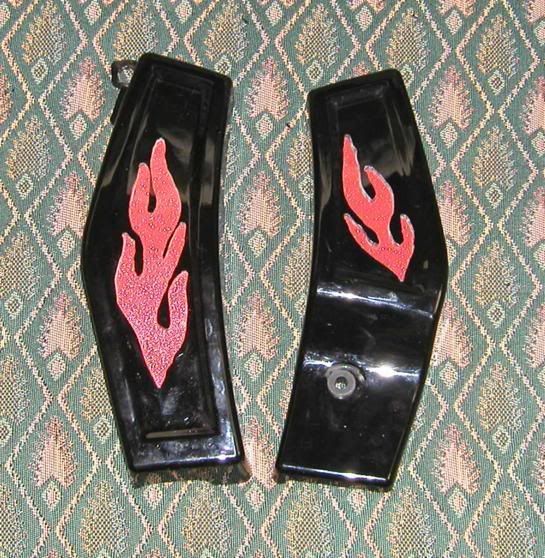
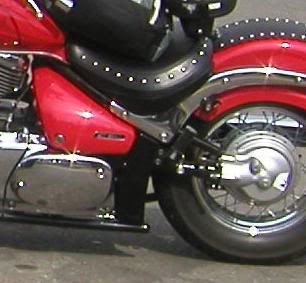
and all that's left to do is install them.
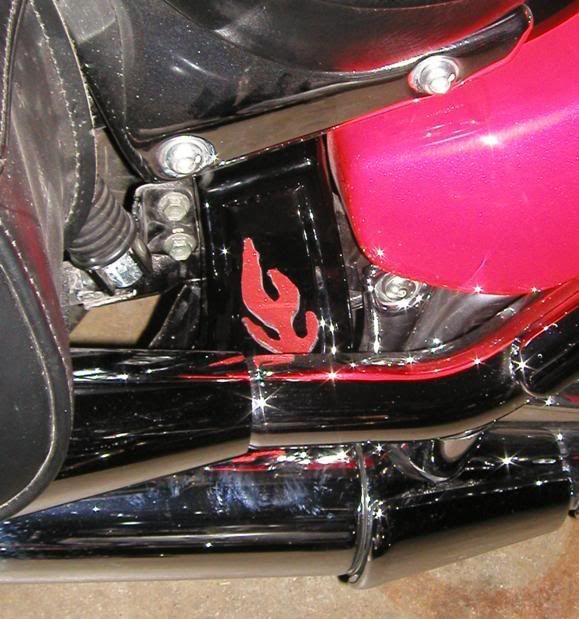
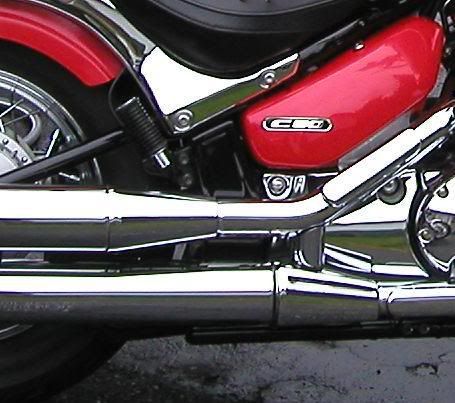
the pipe side one is mostly hidden now, but won't be once i put a pair of highway hawk turndown pipes on in the future. the flame on this one had to be smaller due to the way it mounts.
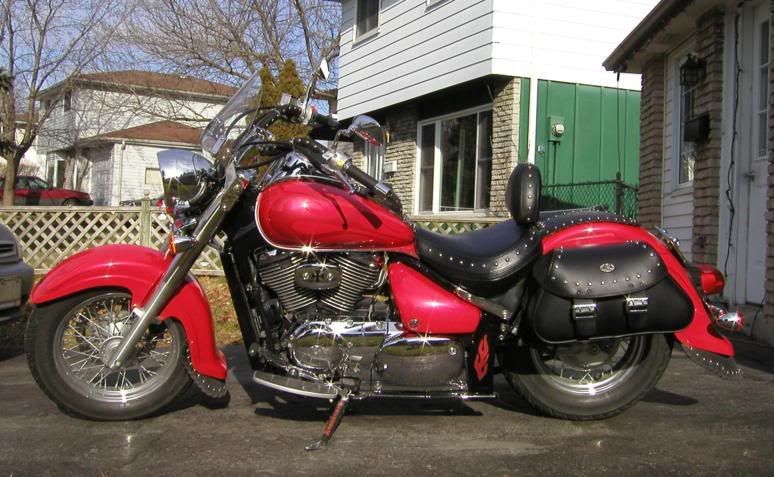
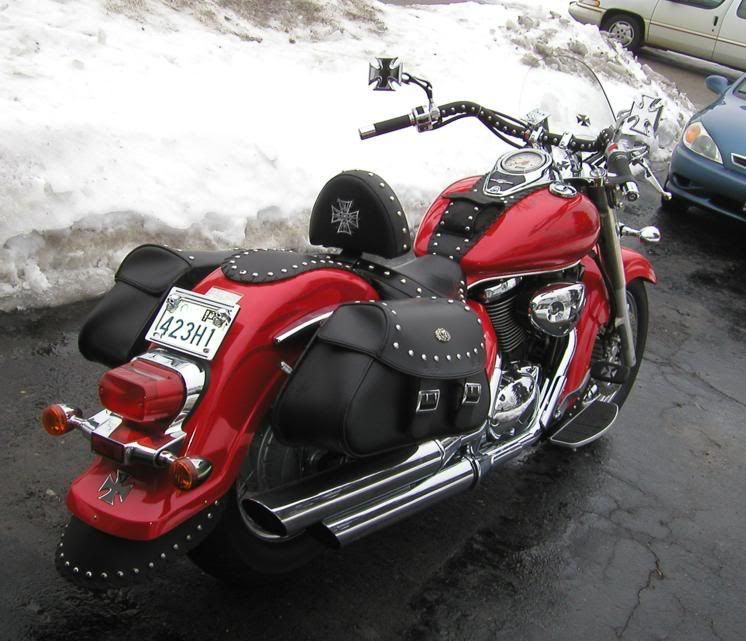
left side, straight on
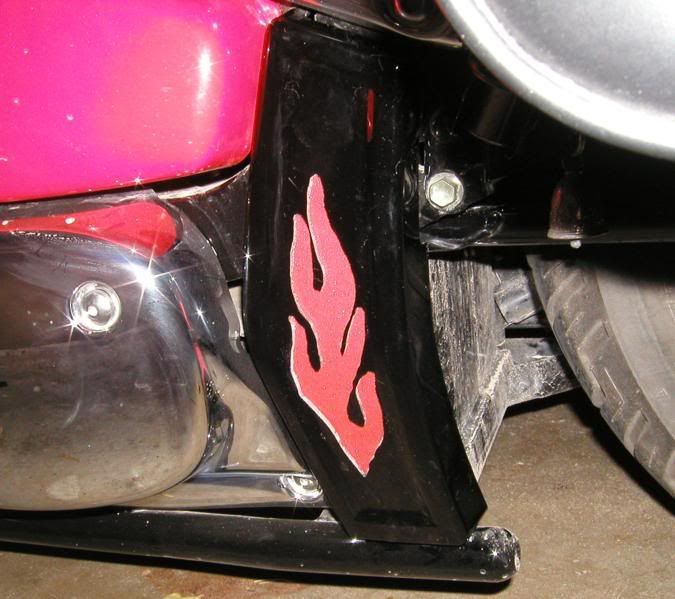
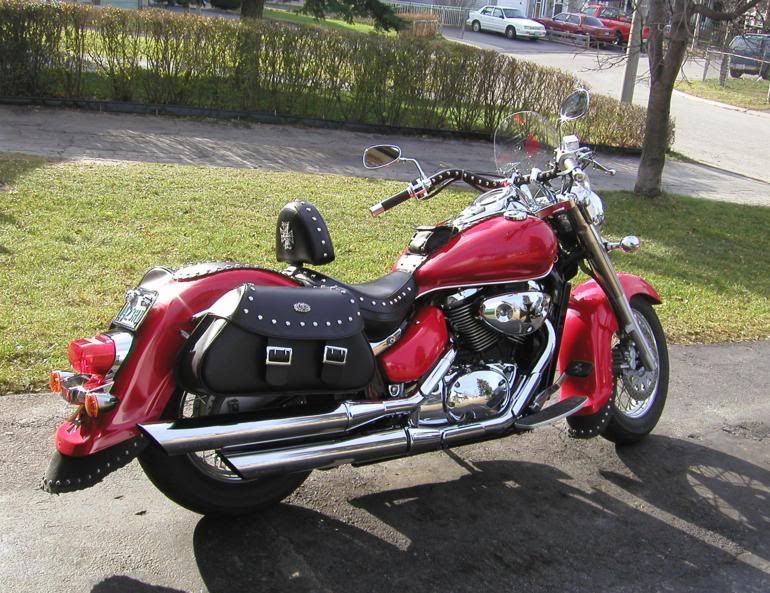
left side, from slightly above. i later discovered that they do look much better from a few feet away:
though the pipe side one can be hard to see..
next up will be my iron cross flame mirrors!
march 10th, 2007 i finally got some half-decent weather (where loctite wouldn't freeze!) to install my new mirrors, purchased on ebay for $75USD for the pair with metric adapters.
time: 30mins
tools: blue (semi-permanent) loctite, a 2.5mm allen key, a 17mm open-ended wrench, a 14mm open-ended wrench, and an 8mm open-ended wrench
instructions: in the comfort and warmth of the house, i had already assembled the mirrors by removing the 2 allen-head screws that hold tension on the mirror face, putting loctite on them, tightening them down and installing the allen-head screw that attaches the mirror head to the stem using the 2.5mm allen key. i also installed the metric adapters by applying loctite and screwing them into the mirror stems with the 8mm open-ended wrench, and spinning on the locknuts. i did this a few days ahead, so the loctite would be set by the time i went to install them.
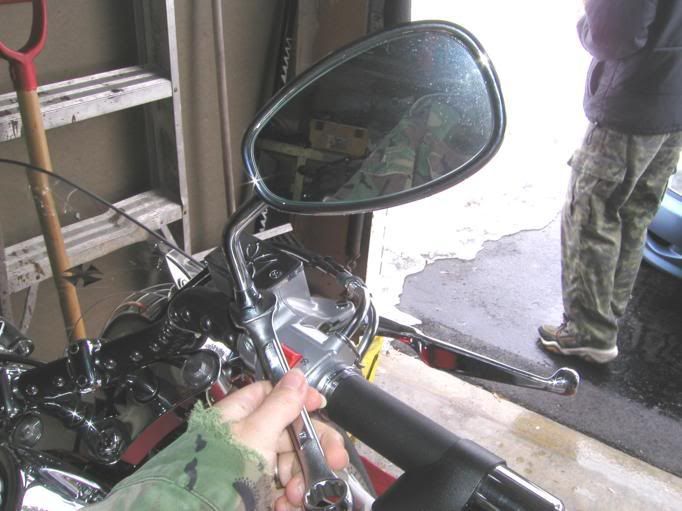
the photo above shows loosening the locknut on the stock mirror using the 17mm open-ended wrench
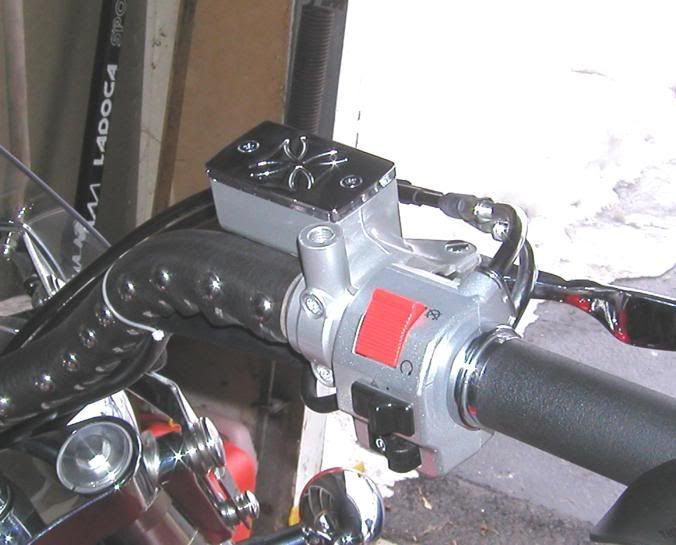
when the locknut is loose, you should be able to spin the mirrors out of their mounts with relative ease by hand. note: if you have a windshield on your bike, you will likely have to remove it in order to spin off the old mirrors and spin on the new ones.
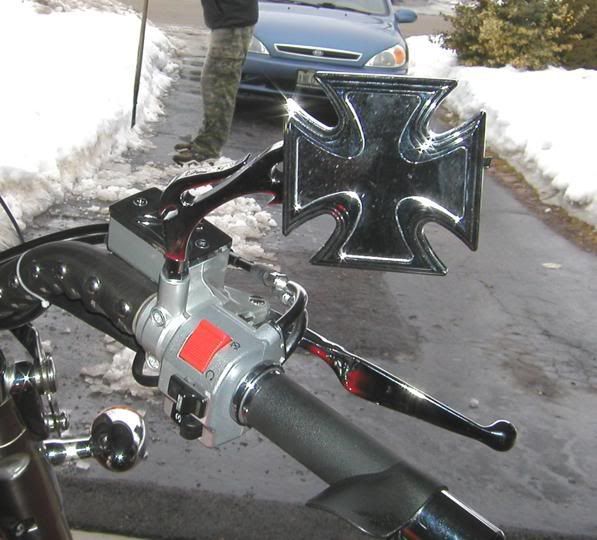
now apply loctite to the threads of the metric adapter, and spin the new mirror into place. use the 14mm wrench to tighten down the locknut so it is tight against the mirror mount attached to the lever perch
with the mirror installed, bring the bike up to level and ensure that you are able to see behind you in the mirrors. you may have to move the stems by loosening and re-tightening the locknut, or you may be able to adjust them by moving the mirror head alone. i actually had to rotate the lever perch downward in order to get an acceptable range of vision
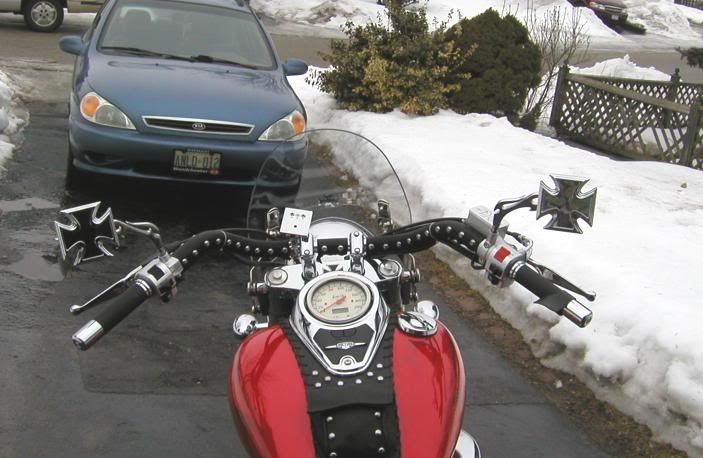
when adjusted properly, you should have a good view of traffic behind you in the right hand mirror, and be able to see any vehicles attempting to pass you in the left mirror. your preferences may vary.

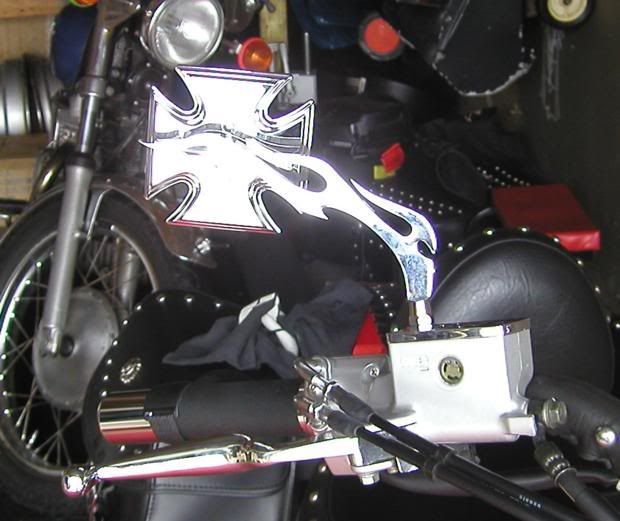
depending on the shape, size and construction of the mirrors you choose, you may find that they limit your rear view vision, or may vibrate much more than the stock mirrors. because of the shape of my iron cross mirror heads, i actually get quite a good view (though not as good as stock), and they don't seem to vibrate any more than the original ones!
and i just love the look!
next up will be the install of my side mount plate bracket. continue to page 8 to have a peek!
