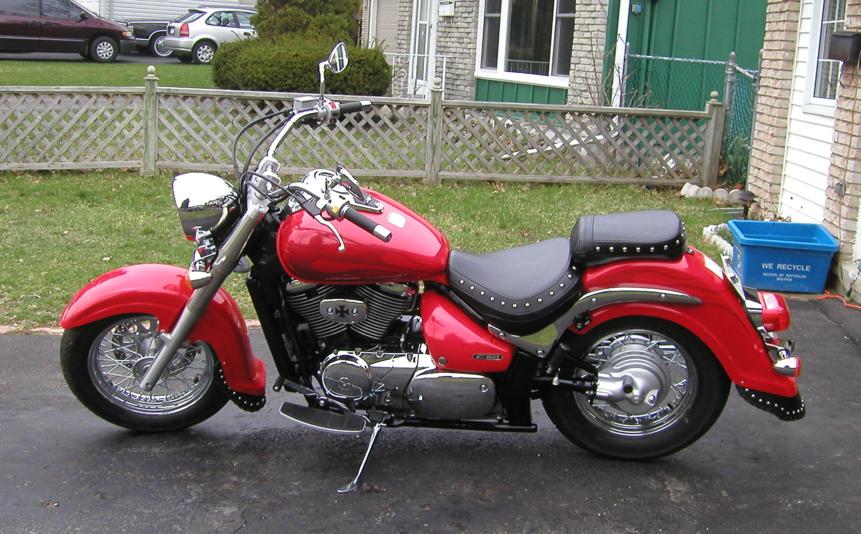
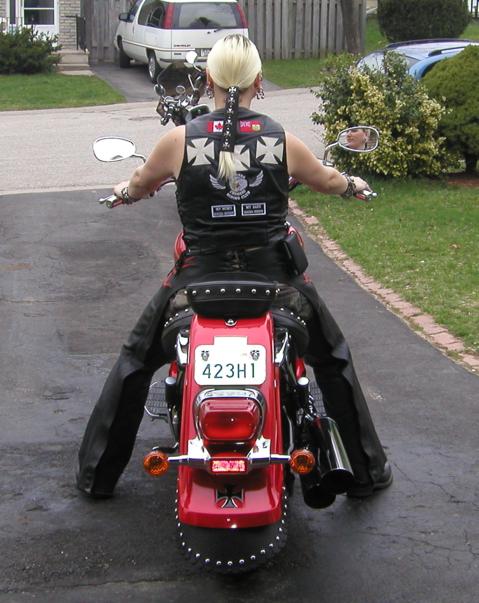
my adventures in modifying
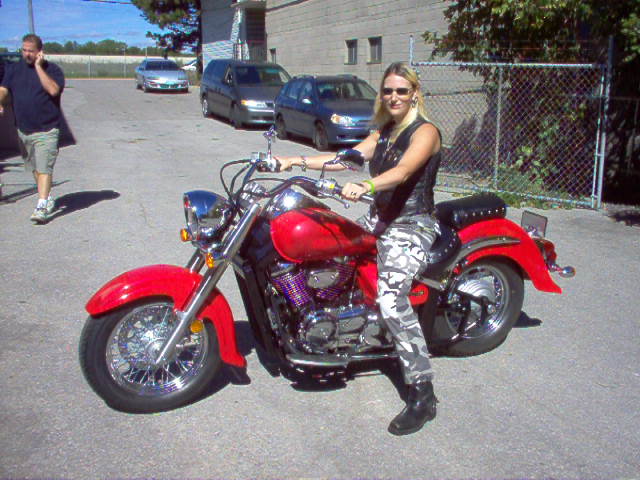
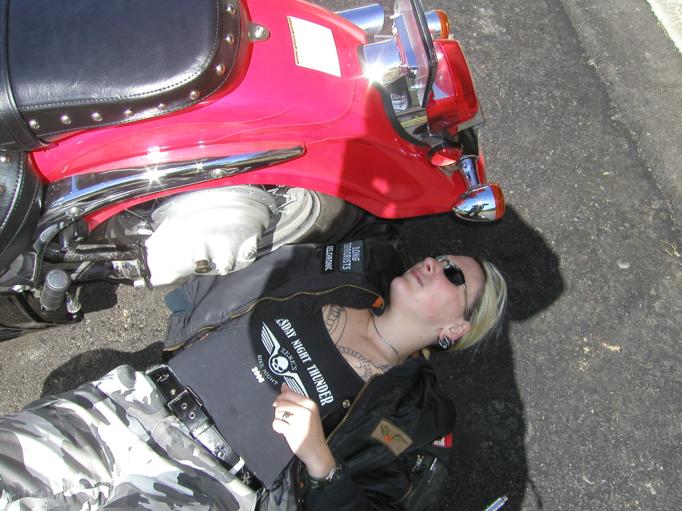
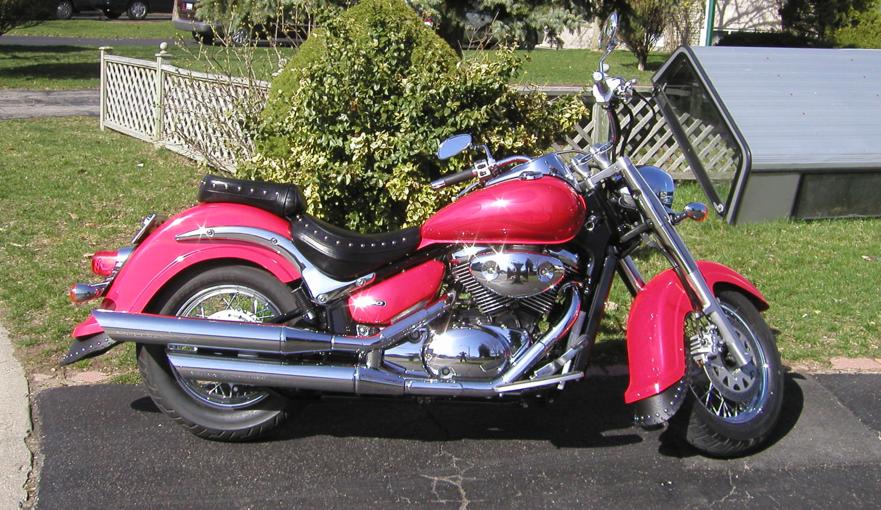
the above photo was taken the day i picked up my bike - september 26th, 2005. the bike itself is a 2005 Suzuki C50 Boulevard Canadian Special Edition with studded seat and stock red-on-red flames. there are some more photos of it and my husband's bike here, and tanker's bike mods live here. my bike is beautiful to begin with, but now it's time to make it mine!
i started off simple, with some trik topz iron cross valve stem caps
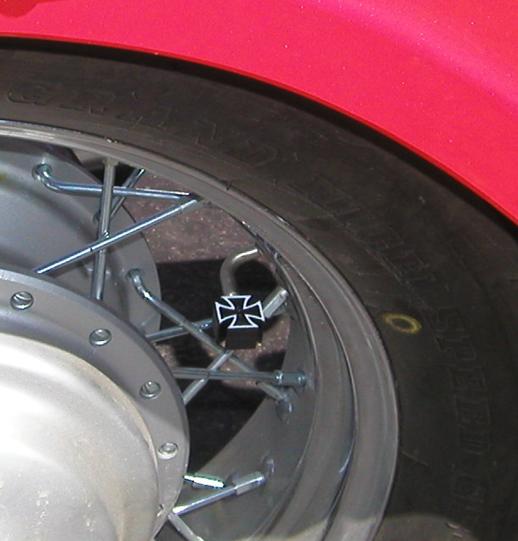
time: 5 minutes
tools needed: none
instructions: thread off existing caps, thread on new ones
and a ride bell with flames on it, generously sent to me by karl k. (kozmo659 on volusiariders.com)

time: 2 minutes
tools needed: none
instructions: use the split ring already attached to the bell to attach to the passenger peg bracket
and then i went nuts on saturday, april 8th, 2006 and did five mods in five hours!
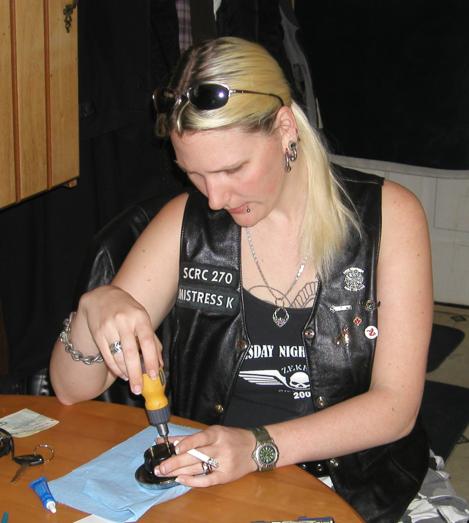
i started with the gas cap mod - you dissassemble the gas cap, and put loctite on the one little screw that retains the spring which keeps tension on the chrome keyhole cover. not doing this can lead to your cover winging away when the wind hits it!
time: 10 minutes
tools needed: #2 phillips screwdriver, #1 phillips screwdriver (old and worn down is best - the threads on the tiny screw you need to loctite are not deep enough to accomodate the point of a brand new 'driver). also see here for more detail
my husband says only i would work on a gas cap with a lit cigarette in my hand *lol*

you can see how tiny the retaining screw is in this pic:

next i removed the left side swingarm, which is fake! it only takes 5 bolts to remove.

time: 15 minutes
tools needed: 10mm socket, 10mm box wrench, i think it's like a 7mm or 8mm hex key
instructions: remove big black bolt w/allen key from back of swingarm @ final drive, and two bolts that go through swingarm from front to back at front of final drive unit (see photo below w/acorn nuts)
the bottom bolt shown here behind that strut is the biggest pain in my arse ever! no way to get a socket in there, and you only have an inch of play with a 10mm box wrench! aaargh!
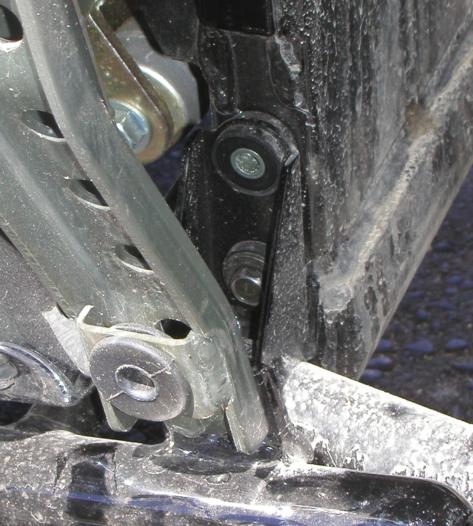
instructions: remove the left side lower frame cover, and get after these with the 10mm box wrench, being careful to watch your knuckles!
but doesn't it look nice an clean now?

i used the chrome acorn nuts from the license plate bracket and some new nickel plated bolts to fill the holes by the final drive unit.

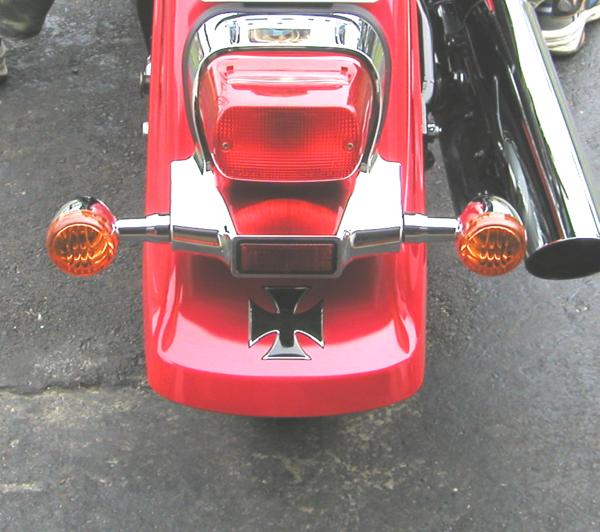
next i had to get rid of those stupid standup rear reflectors...i might buy some little red iron cross marker lights to install on those brackets later, but i don't have the bucks right now so off they come! i've kept them in the garage, 'cause i never throw out parts.
time: 20 minutes
tools needed: 10mm socket & ratchet, #2 phillips screwdriver
instructions: undo bolts under fender that hold the taillight assembly on. pull taillight unit away from fender, being careful not to break any wiring connections. undo brackets on back of assembly with screwdriver.

much cleaner without those idiot things!

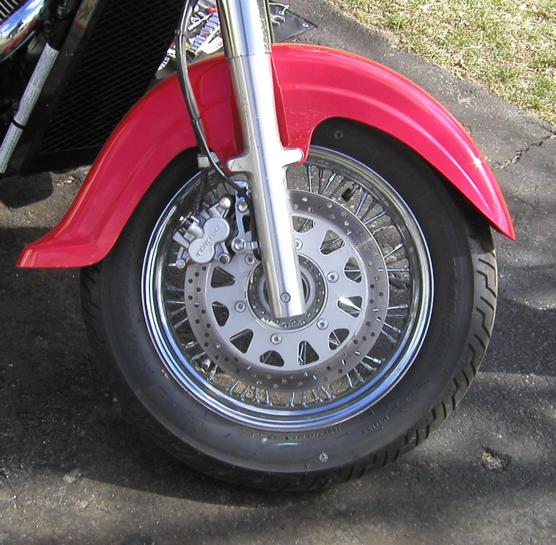
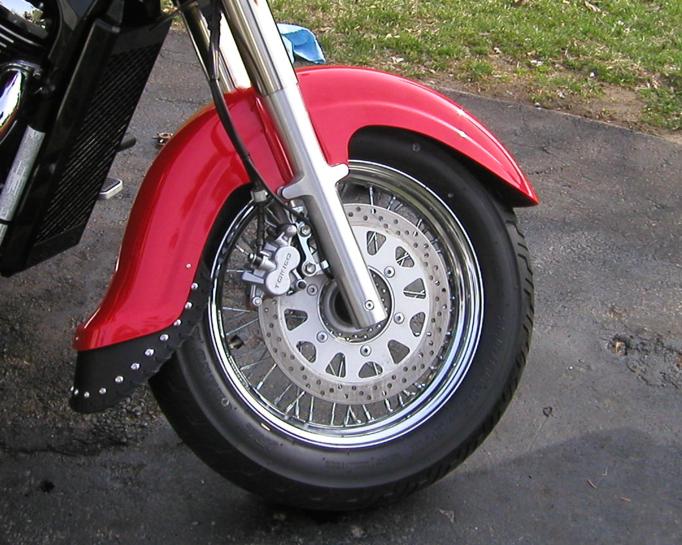
next i got rid of the front left side reflector by just bending the bracket back and forth until the weld holding it on inside the fender broke. very little patience!

time: 5 minutes
tools needed: sheer force of will
instructions: bend it back and forth until it lets go!
and i nipped off the end of the rotor side bracket with bolt cutters, then bent the top down behind the speedo cable. this allowed me to keep using the two wire retaining clips on the bracket.
time: 15 minutes
tools needed: bolt cutters, heavy pliers
instructions: clip the bracket just behind the reflector, then bend the top down behind the speedo wire, making sure no sharp edges sit against the wire!
and last, i took off the chrome license plate bracket, drilled 2 new holes in the plate backing, and put 2 new bolts with lock washers and nylock nuts through the fender to lay my plate down. i can still see my info sticker, and i can use the skully bolts off my 1979 honda cb400 now!

time: 30 minutes
tools needed: 2 new bolts, washers, nuts, socket large enough to fit over the new bolts, ratchet, phillips screwdriver, power drill
instructions: i'll let you read them here, which is what i did!
much lower profile now.

that's it for right now...we put about 80km on her on sunday, and i'd swear she's a little faster after losing all that dead weight...next up: decals and mudflaps, once it gets warm enough to wash it!
updated april 14th, 2006:
well, got a nice day for good friday, so i washed and detailed the whole bike, and started in on the new mods. here's my official suzuki washcloth:
an iron cross decal on the airbox cover

one on the pair valve cover

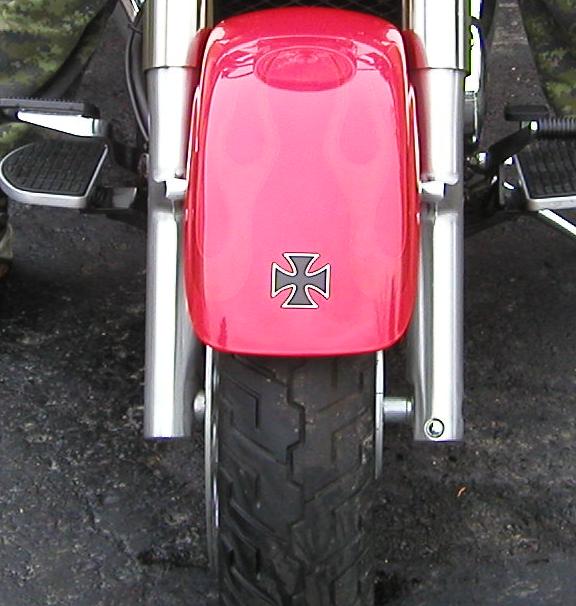
one on the front fender, between the ghost flames
and one to replace the "suzuki" decal on the rear fender
time: 5 minutes
tools needed: a sharp eye for positioning, or a ruler if you wanna get anal retentive about it
instructions: make sure the surface is clean, dry and lint-free (use tack cloth if neccessary), position decal over part, then place on and smooth down from center to edges, all around.
then i started putting my mudflaps on the front (which was kind of an arsepain)
time: 30 minutes
tools needed: masking tape, power drill, 9mm box wrench, #2 phillips screwdriver, pen or marker, leather punch, provided bolts plus 2 1/4" longer bolts of similar diameter.
instructions: mask off edge of fender, and drill a pilot hole then full size hole at dead center back. put flap inside fender, and put provided bolt through alread-punched hole in flap and new hole in fender. tighten nut on bolt only finger tight - this will align the flap. then take backing off sticky velcro, and use velcro to position flap fronts. mark place to drill, then drill pilot hole through fender and into leather of flap (marks place to punch hole) making sure to keep flap tight to inside of fender while drilling, and avoiding puncturing your tire! repeat for other side, remove flap, drill out pilot holes to desired size. remove masking tape, and put provided bolt through flap at dead center back, then use 2 longer bolts to secure the flap fronts to the sides of the fender. secure all nuts tightly.

and then on the rear, which due to the pipes was a somewhat bigger arsepain

time: 30 minutes
tools required/instructions: same as above, but fender sides do not require longer bolts. hole on pipe side of fender may need to be different from shaft side of fender due to difficulty of drilling without removing pipes.
but as you can see, it looks pretty damn hot now!
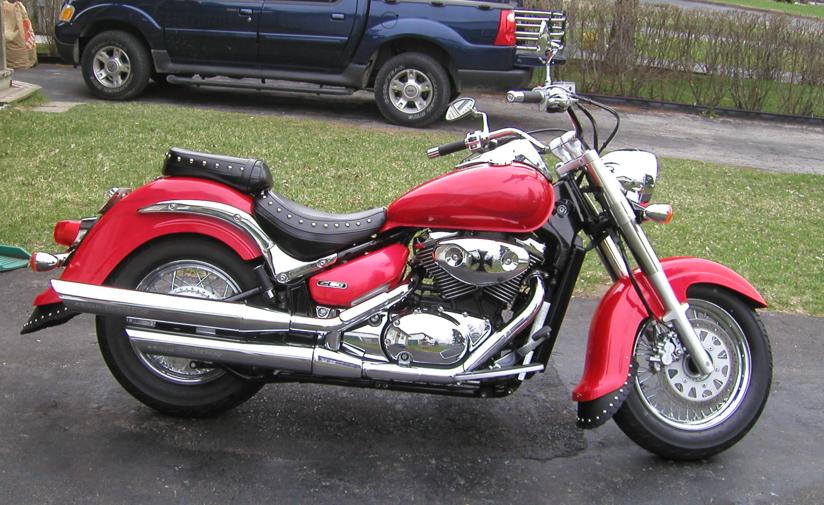
and i tell ya, i'm certainly happy with it!


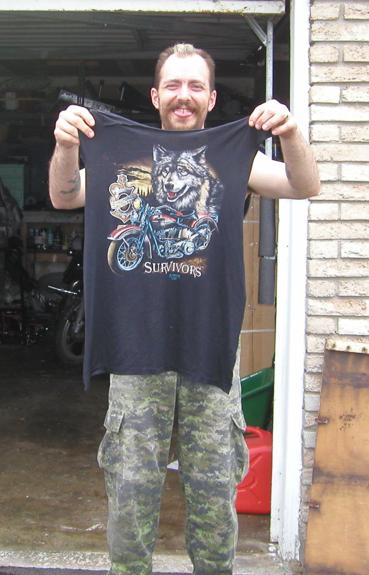
and now my bike matches the rest of me!
i also picked up a chrome plate frame on saturday, while at zdeno cycle picking up tanker's bike from having new tires put on. looks much nicer now!

time: 5 minutes
tools needed: 10mm box wrench
instructions: put plate bolts through holes in plate frame and plate, then thread on nuts and torque down
and the side view - nice chunky bit 'o chrome!

so pretty and shiny in the sun..
and here you can see the sheer unadulterated joy of owning the bike of my dreams!

so that's it until my income tax refund comes in, when i will be ordering and installing risers, a windshield, and a driver's backrest. took it for about a 20km ride after modding was finished friday afternoon, and she feels great! rode another 50km or so on saturday, and i just can't get enough!
update: the income tax refund came in, and so did a gift from a friend! proceed to page 2 to see the new additions..
go to page 2 - or - go to page 3 - or - go to page 4 - or - go to page 5 - or - go to tanker's mods

