|
|

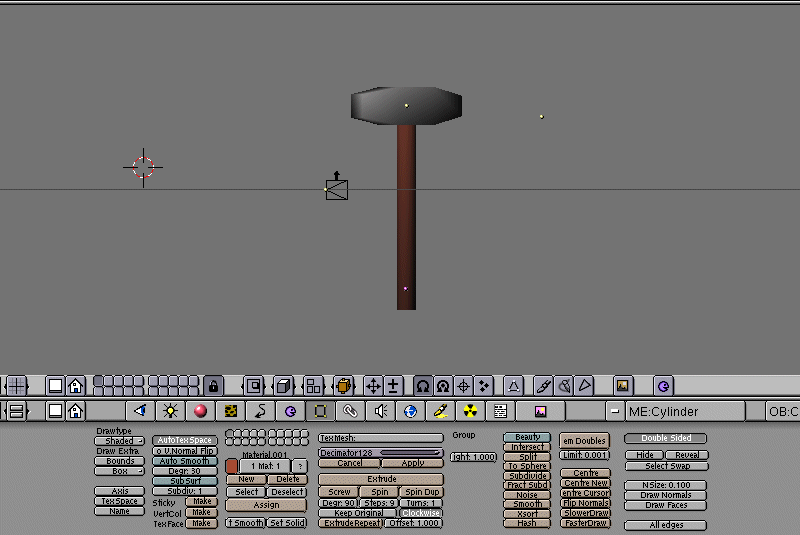
In this tutorial, I will show you how to make a hammer.
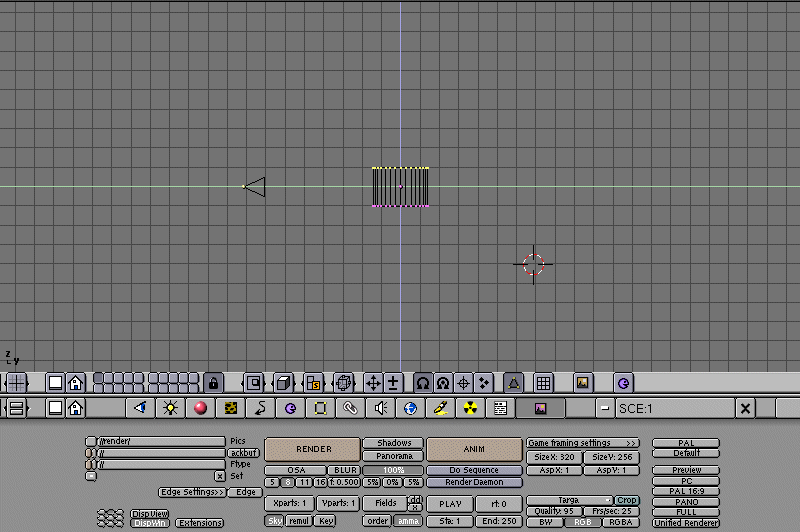
First, switch to top-down viewing by hitting 7 on the number pad. Next hit Space>Add>Mesh>Cylinder. Next, hit 3 on the number pad to switch to the side view. Use tab to put it in edit mode, then hit the B key and select either the top or bottom set of vertices.
Hit G to grab those vertices and stretch them out to create a longer cylinder. This will be the handle.

Next, hit 7 on the number pad to go back to top-down viewing. Hit A repeatedly till the vertices are all yellow. Now hit S and resize the handle to make it slimmer. Go back to side viewing and re-stretch the cylinder until it is at a satisfactory length.
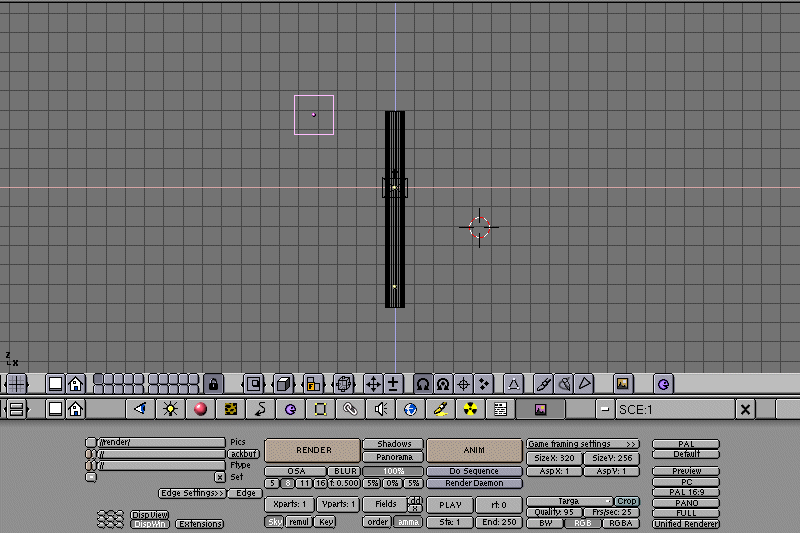
After you have done that, hit tab to get out of edit mode, and hit 1 to get frontal viewing. Add a Cube. Hit tab, and then hit G to drag it to the top of the handle.
Go back into edit mode, and select the vertices on one side of the cube. Hit E to extrude the points outward a little. Do the same to the other side as well.
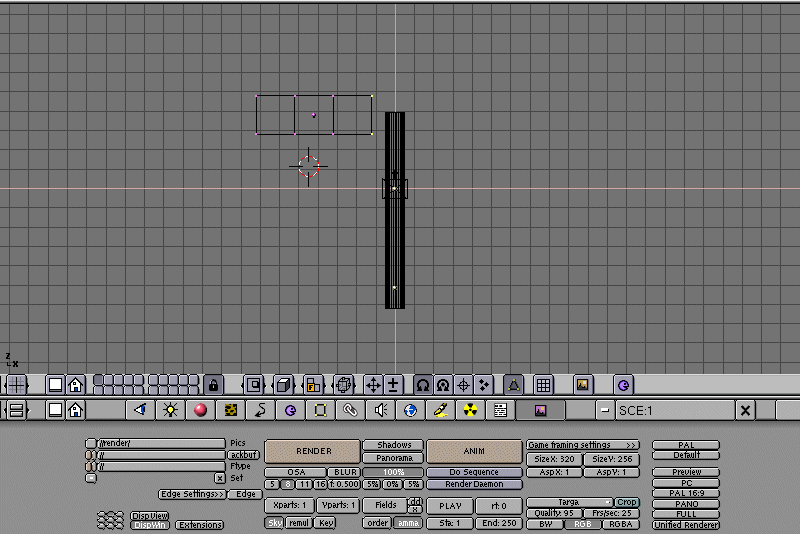
While selecting the vertices on either side, hit S to resize that side, thus creating a hammer-like top.

That's it! Now, all you have to do is properly fit the two pieces together, and apply colors to each one.
<<<<First tutorial ||||||
Home>>>>
|

