
Welcome to my Blender tutorials pages. The first thing that we will go over will be how to make a simple terrain using the textures that are pre-loaded in Blender.
To start, insert a plane by hitting Space-Add-Mesh-Plane. Once you have the plane, make sure you are in top-down mode by hitting 7 on the number pad on your keyboard, then make the plane bigger by hitting the s-key and dragging the mouse. Click when you have reached a satisfactory size.
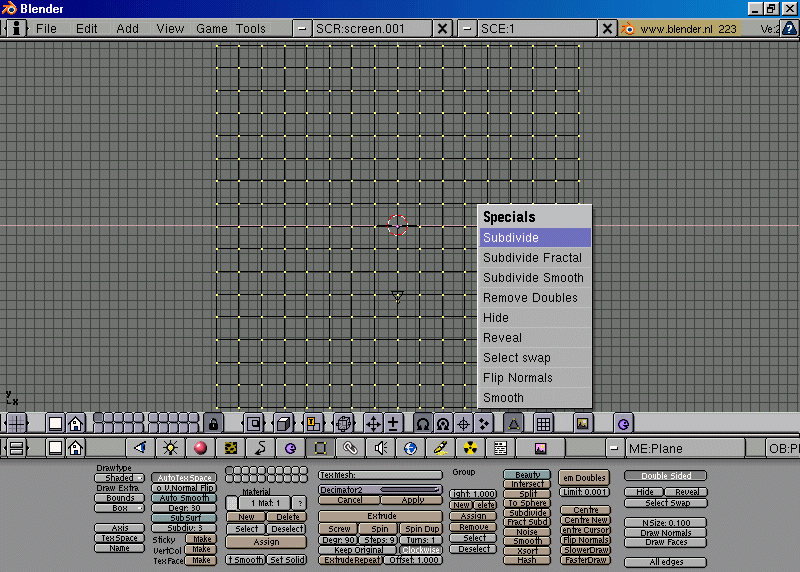
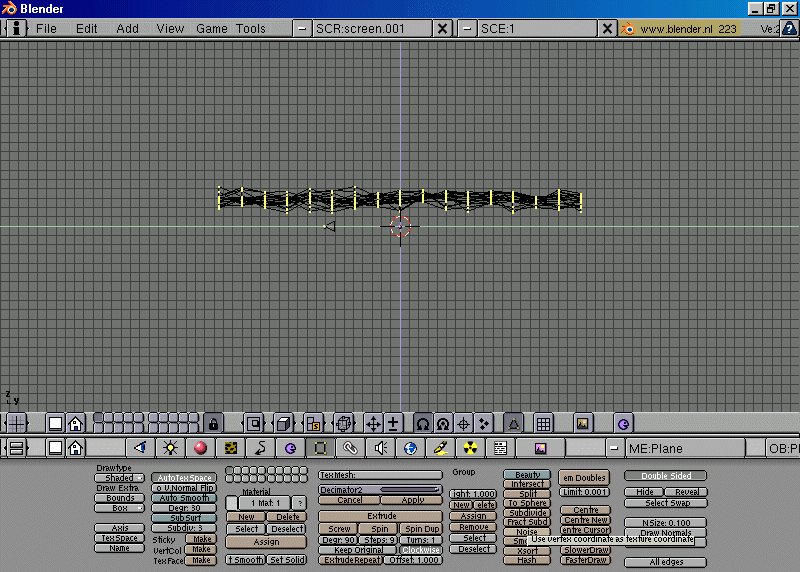
After you have done this, switch into editmode by hitting the tab-key. Hit "a" until the dots on all four corners of the plane are yellow. Hit "w" and click subdivide. Do this 4 or 5 times. Next, hit 3 to switch to side mode.
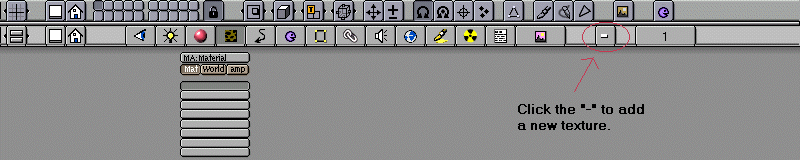
 Click the material button, and then click on the dash on the right side of the screen to make a new material.

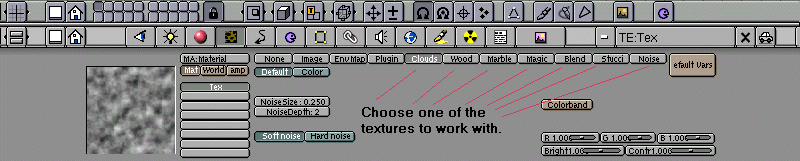
Once you have done this, click on the texture button (the one that looks like leopard skin). Follow the same procedure to create a texture.
Now select one of the pre-loaded textures.
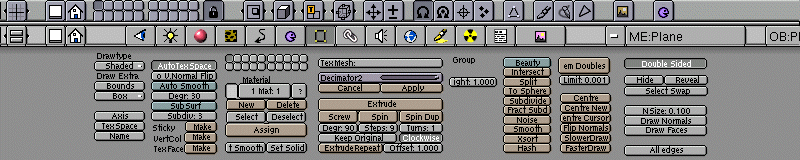
Click on the edit-buttons button (the black square with yellow corners), and then click the noise button several times.
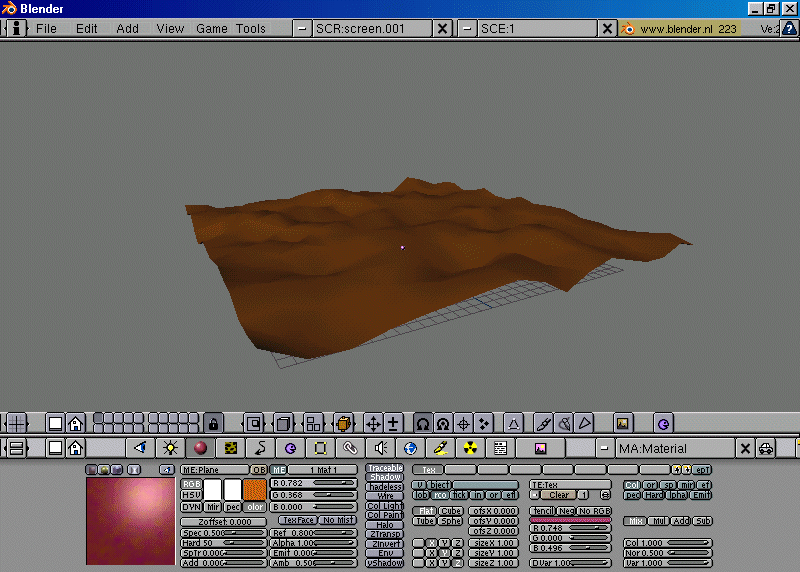
You should see your plane taking the form of whichever texture you selected.
Next, hit tab to get out of edit mode. Then hit z and mess with the camera angle until you can comfortably view the terrain.
 Now go back to the materials button and make the terrain whatever color you want.
 That's it! You're done.
<<<<Main page ||||||
Next lesson>>>>
That's it! You're done.
<<<<Main page ||||||
Next lesson>>>>


