
***
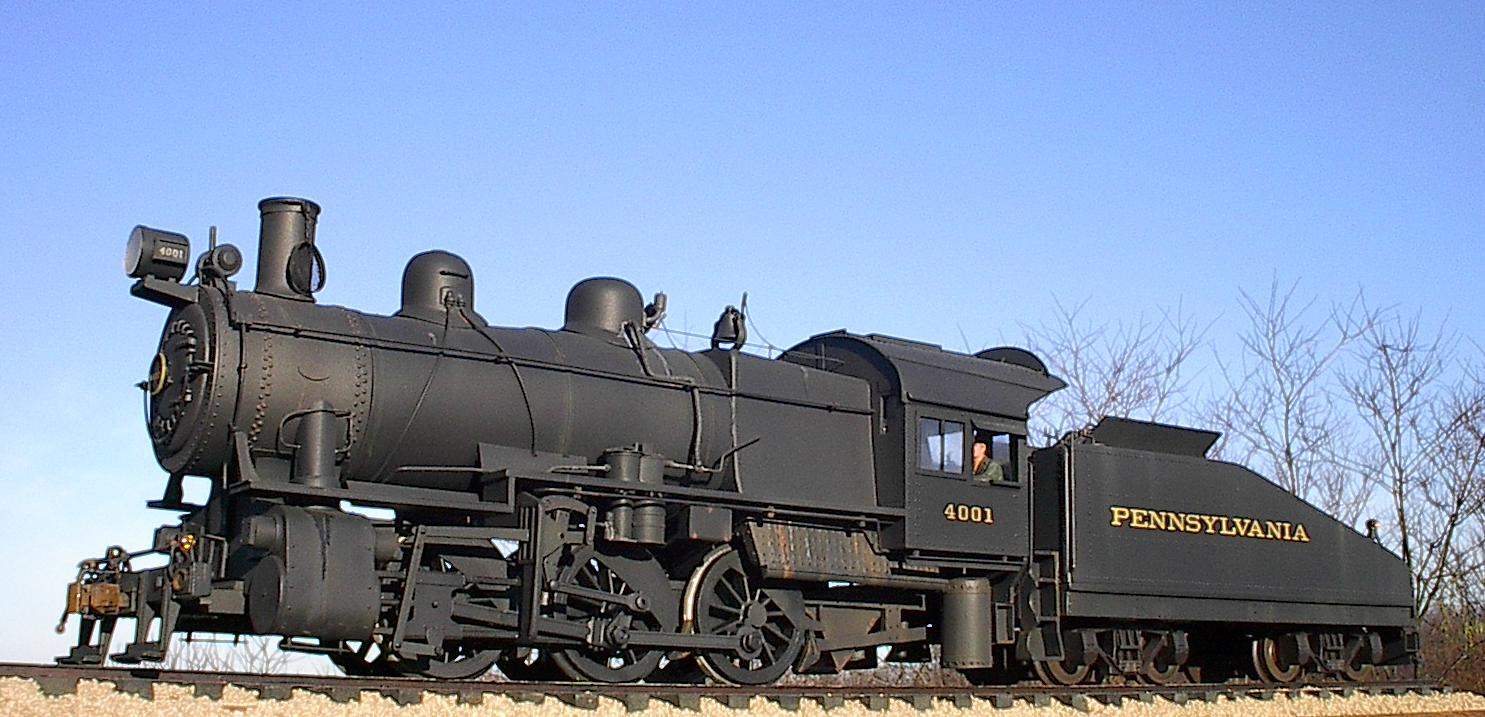
Over the 10 year period between 1916 and 1926, the Pennsylvania Railroad constructed 238 Class B6sb Locomotives. These locos were of an 0-6-0 design and were used mainly for shifting. They could be found in major freight yards, passenger yards and could even be seen in branch line duty. The Pennsy liked these locos as they could negoatiate the tightest curves of industrial spurs. With over 36,000 lbs of Tractive Effort these little critters did their job. Thru WW1, WW2 they could be seen pretty much every where on the PRR System. During the late 40's and early 1950's the B6sb Class was slowly pulled from service. 1 B6sb class continued steaming as late as 1959 on lease in New Jersey. Luckily 1 B6sb survived and can be seen in the Railroad Museum Of Pennsylvania located in Strasburg, Pa.
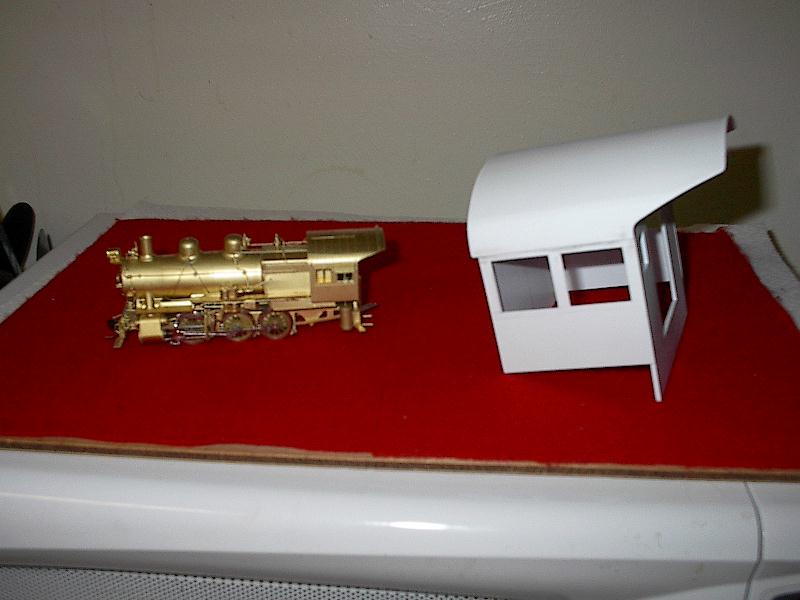
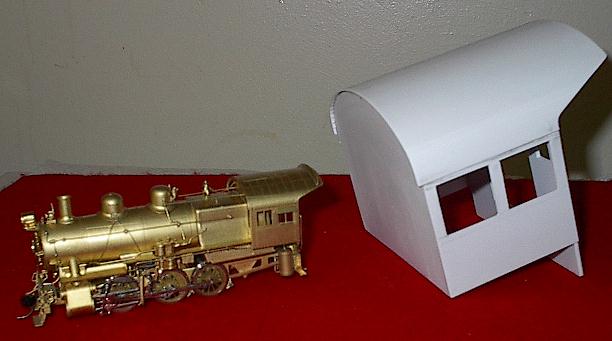
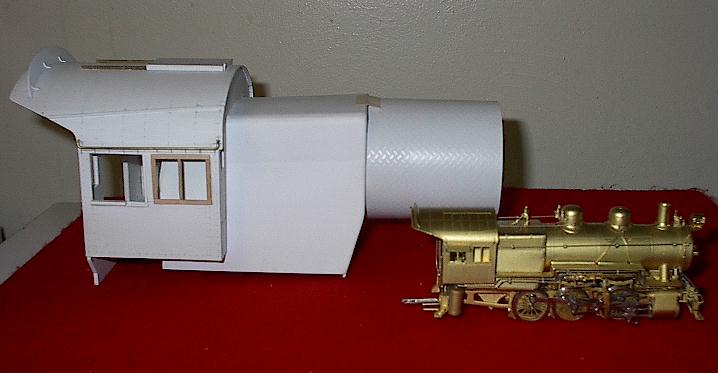
That little bit of history brings me to this newest project I have decided to undertake, the PRR B6sb in 1:29th Scale. I chose to tackle this Loco as it seemed to be one of the easiest to model. Below are photos I took as the job went along. Mind you, the Locomotive is not finished, it is still undergoing construction. But it is taking the shape of its prototype counterpart nicely.
For the construction of the 1:29th B6sb I am using a combination of Styrene, Brass and wood were appropriate. An HO Scale Model is being used as a guide in measurments and construction design.
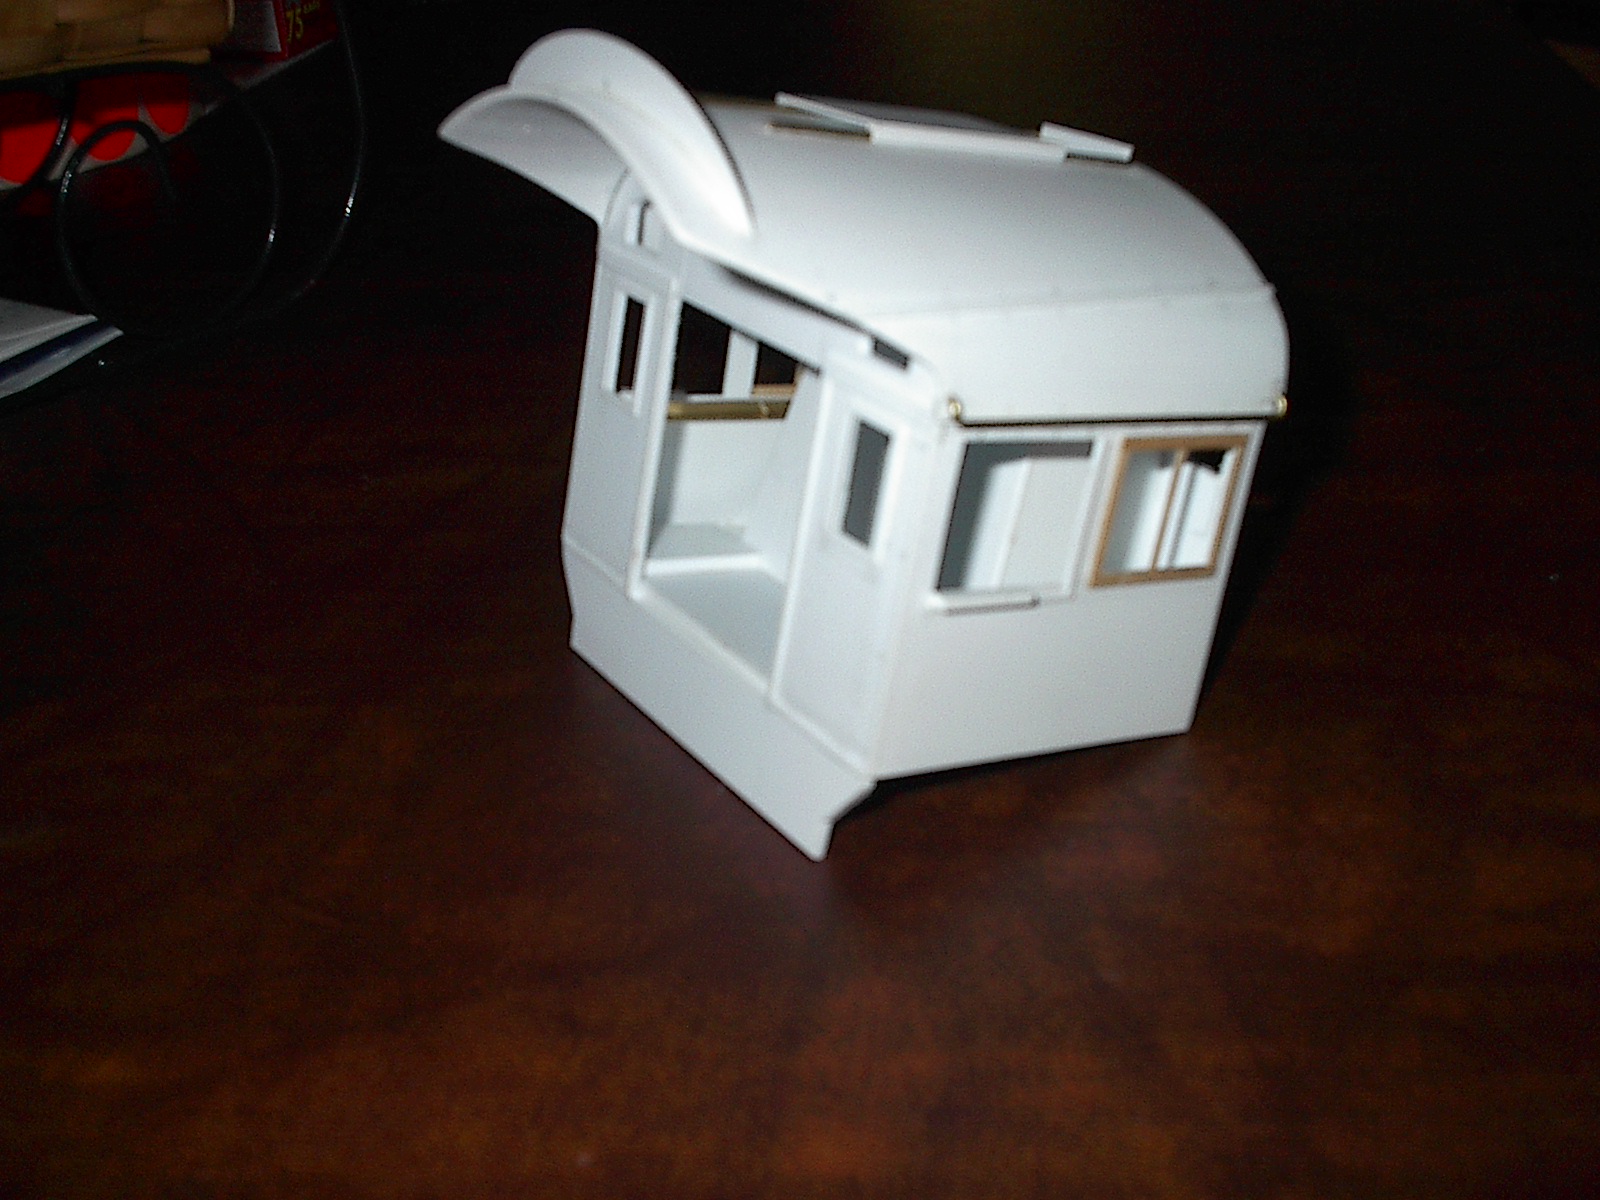
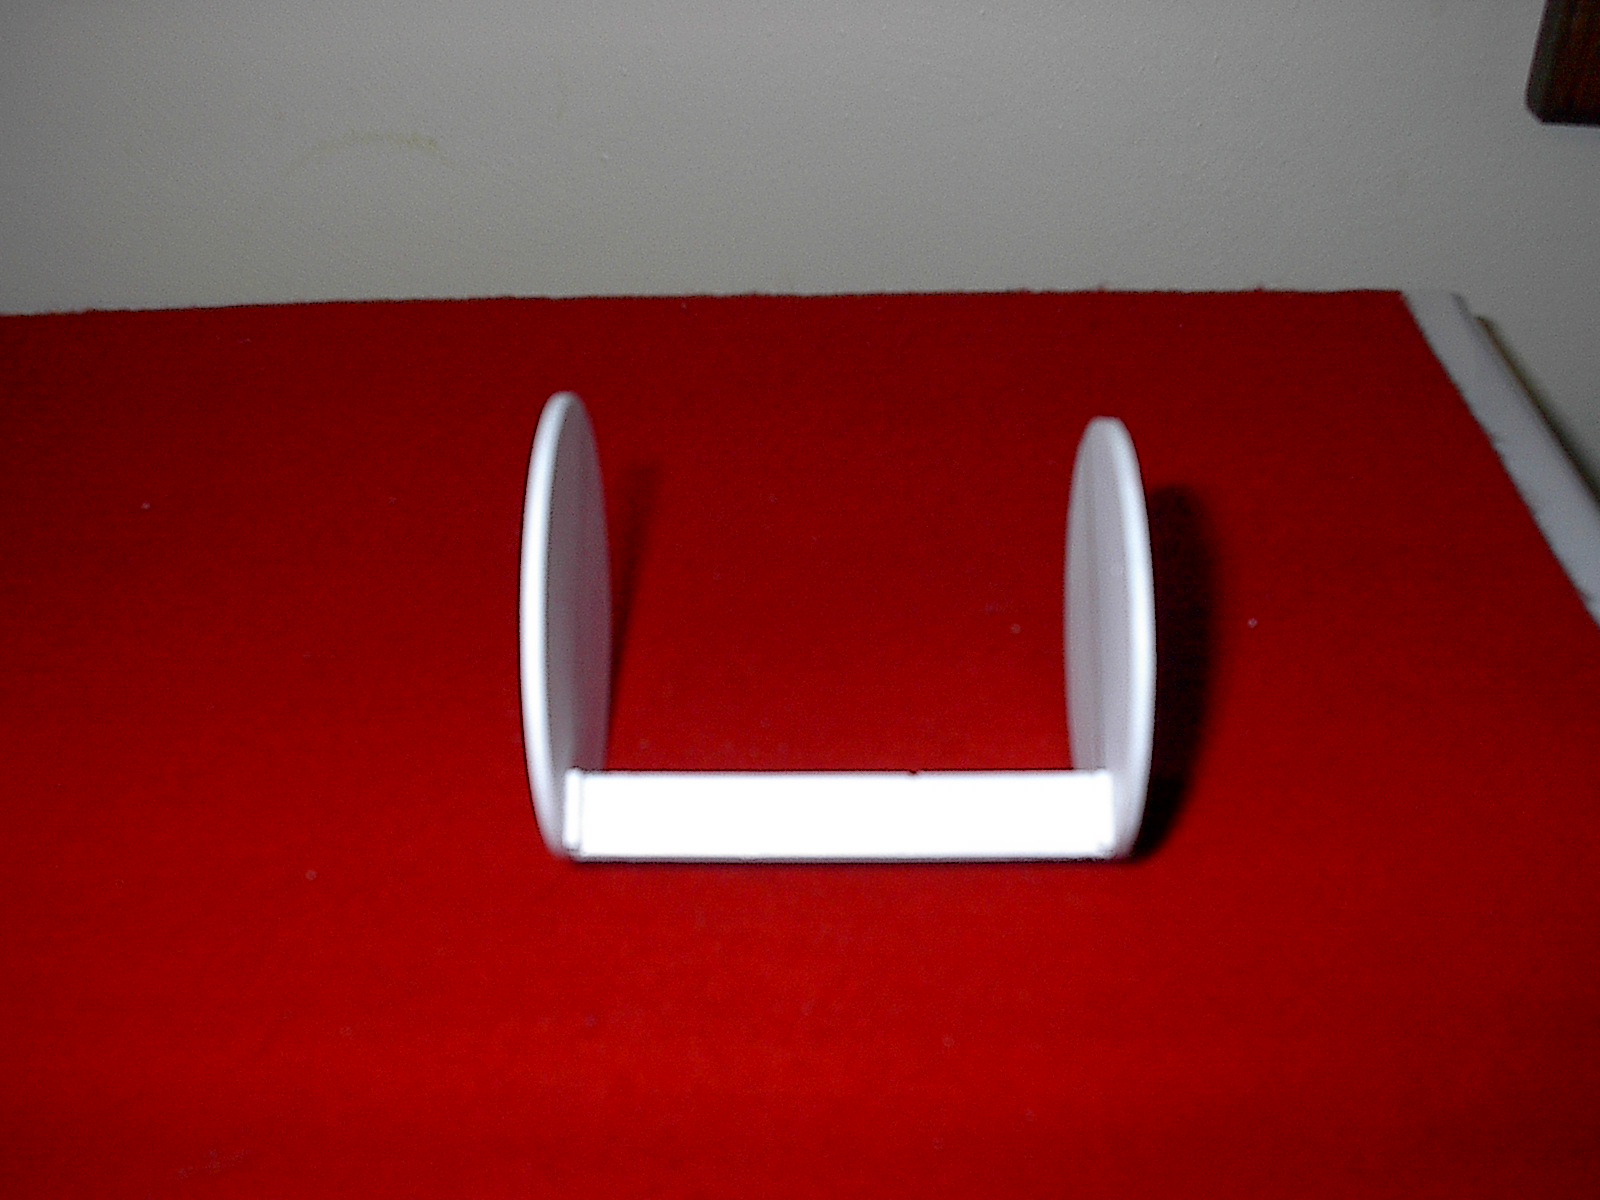
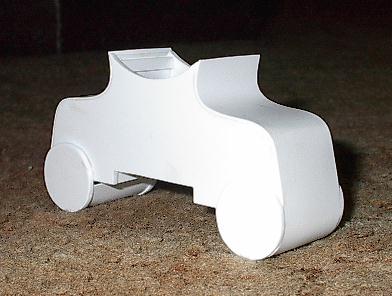
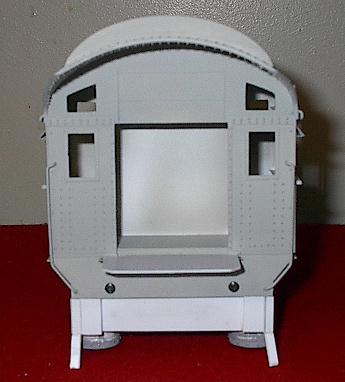
These first few photos show the beginnings of the Cab. I chose to start here. I thought if I could make the Cab without any problems I would continue from there. The cab went together very well.
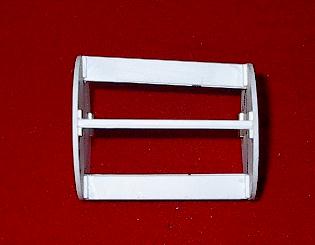
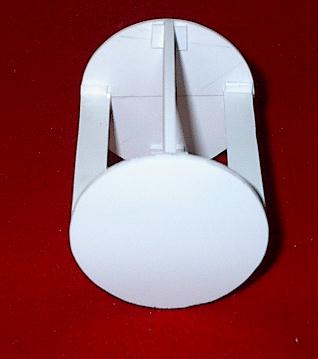
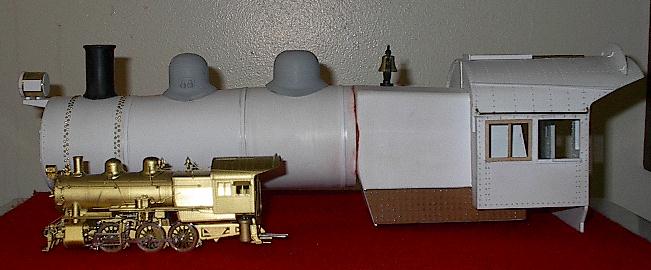
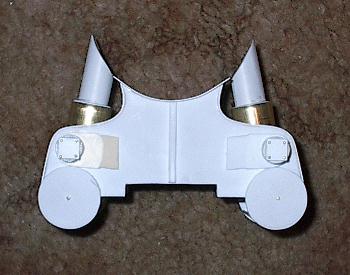
This group of photos show the Cab and the beginnings of the boiler construction.
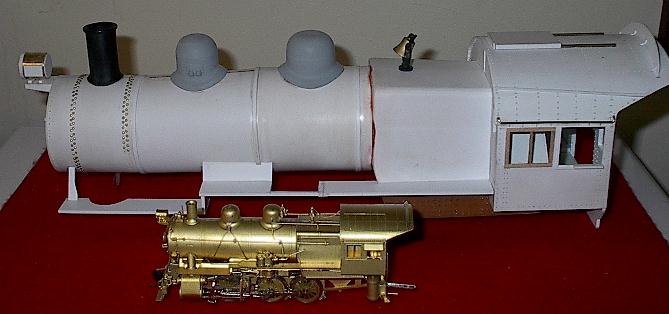
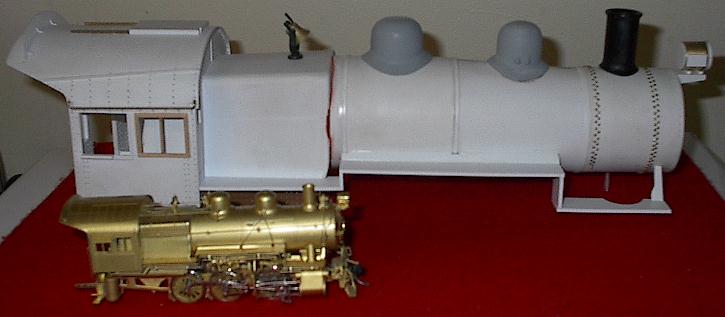
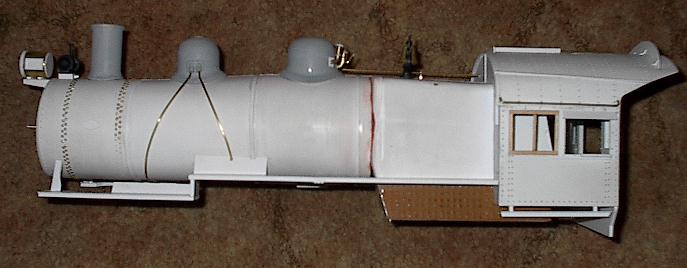
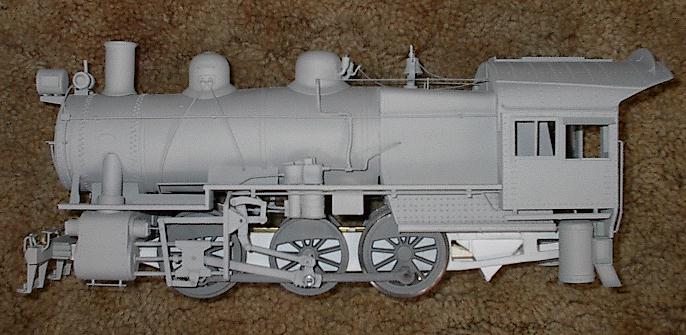
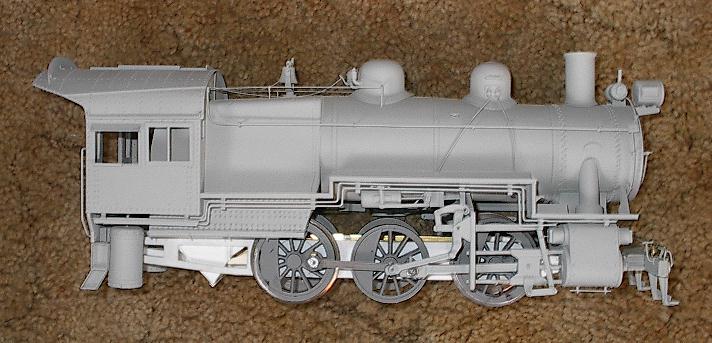
More photos showing the advancment of the Boiler and details.
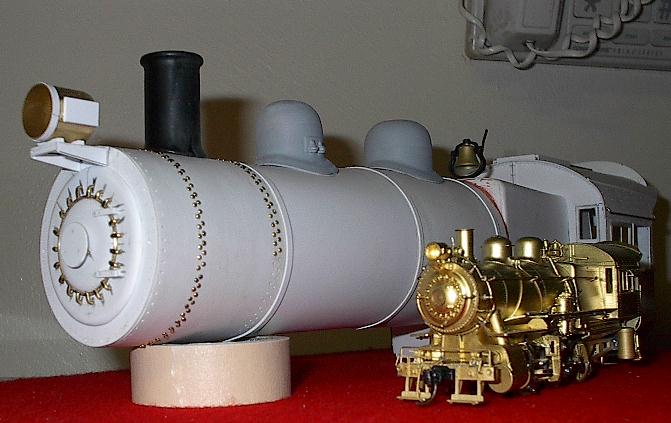
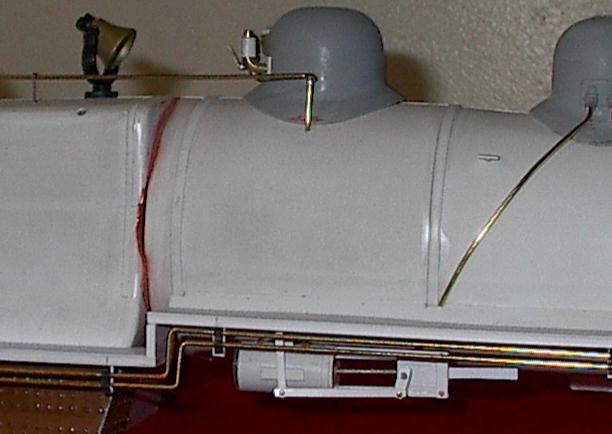
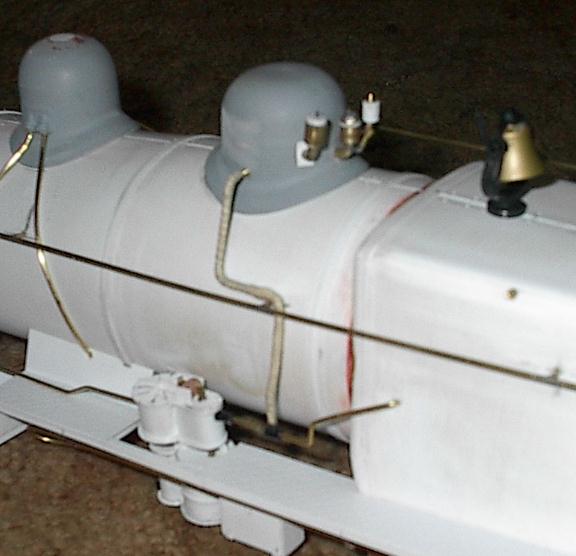
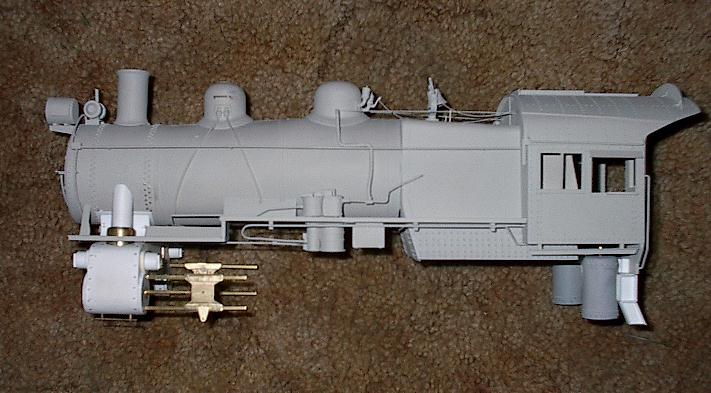
Here are some pics of the details (Power Reverse, Air Pump, Pop Valves, Whistle, etc.) that needed fabricated and appllied to the boiler. The last 2 photos in this grouping show the Boiler completed except for the installation of rivet details in the Cab.
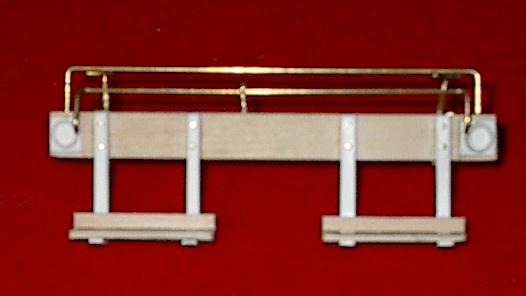
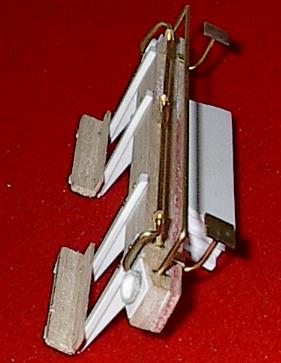
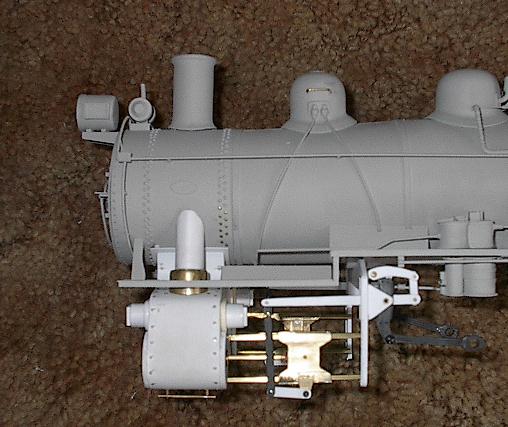
With the Boiler nearing completion, I am now concentrating on the Chassis. First up was the fabrication of the Pilot. This included a wooden beam just like the prototype. I added Styrene and brass to dress the piece up.
With the Pilot finished and out of the way I started the construction of the Steam Chest/Cylinders. These will be built up from Styrene and Brass. First the front and back faces were drawn and cut. The Cylinder Heads were next.
I now have the Steam Chest assembled.
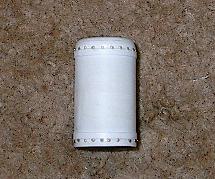
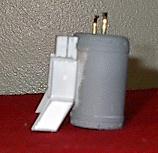
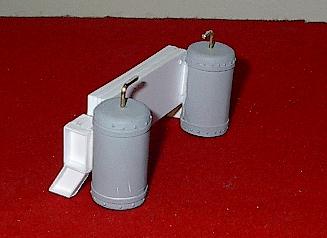
While construction of the Steam Chest and Cylinders is well under way, I fabricated the 2 Air Tanks that are located under the Cab
Prelim work on the CrossHeads and Valve Gear has begun. Crossheads and Guides are of Brass while the Valve Gear rods are of Styrene. Once I have them in working order I will file them to shape and size.
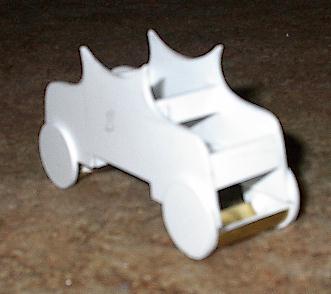
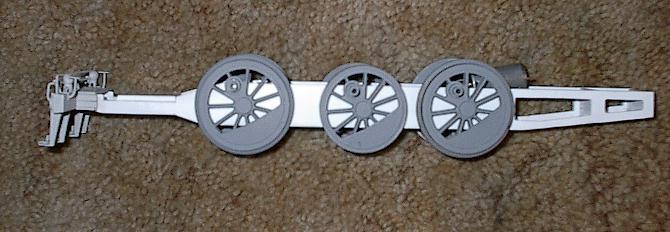
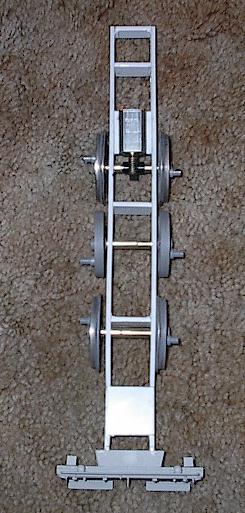
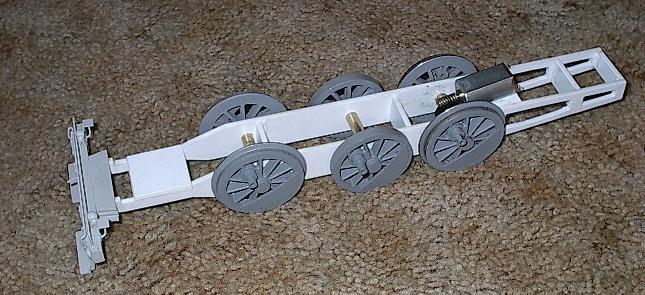
After debating long and hard on the how I would construct the chassis, I decided on styrene since I am familiar working with this material. The next photo section will cover photos of this item. After drawing out the chassis frames on .080 styrene, they were cut and sanded to shape. Once I had them squared and as true as I could get them, I marked for Driver Axles then glued them together using spacers. I also added the previously fabricated Foot Board Pilot. I then slipped a piece of wood between the 2 sides that span the loco wheel base. In this piece of wood I had predrilled holes for the Driver Axles. I drilled thru the styrene then thru the holes in the wood and then into the other styrene frame. This gave me (hopefully) the axle slots in square/true/ angles. The wood was then removed.
The Drivers I am using for the B6sb are the ones found on a Bachmann 4-6-0 Big Hauler. These are very very close to the 56" diameter needed. There are however 2 downsides to these particular Drivers for a B6sb Loco. First, there are only 11 Spokes. It should have 14. The work I would have had to do to fix them was not worth the trouble. The second problem is the wrong size counterweights. Instead of having Light and Medium Counterweights, the Bachmann Drivers are all med-to-heavy. I couldn't find a way to modify to better appearance so I will have to live with that. I used Brass Tubing for the Axle Bearings/Sleeve. I spanned the width of the chassis with a bit of an overhang with this tube and glued them in the holes drilled for the axels. The axels rotate freely and appear true while spinning.
I decided to power the loco using a motor that I could hide fairly well. I want to have that "see thru" look once the Loco is finsihed. To power the 0-6-0 I used a small can motor, an Axle Gear and Worm Gear from an Aristo Craft 0-4-0 I have on hand for donor parts. Once all these parts were assembled, the motor was attached, hidden in the area where the Fire Box will sit. With power leads attached to the motor the rear driver slowly came to life. YES!!! That is basically where I am on the Chassis. I am now working with the Drive Rods and finishing the valve gear parts. Once that is all finished, I can put everything together and cross my fingers and hope everything works. Other detail such as Brake Shoes and Driver Springing are also planned. Here are several photos of the Chassis.
**UPDATE**
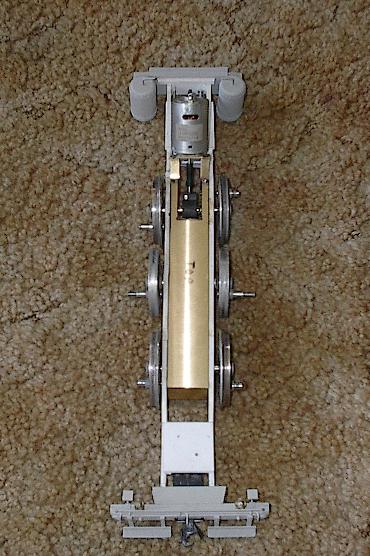
My design of the Chassis has changed. Since I couldn't get the smooth running I was looking for. I had a fellow, Larry Cooper, mill me a new chassis block from Brass Bar. This would give me the weight annd the trueness of the axle slots I needed. I have also switched to a NWSL Gear Box and larger Can Motor. This seems to have done the trick. I had the loco operating back and forth on a 20 ft. piece of track. Only slight adjusting is needed now. Here are some updated pics.

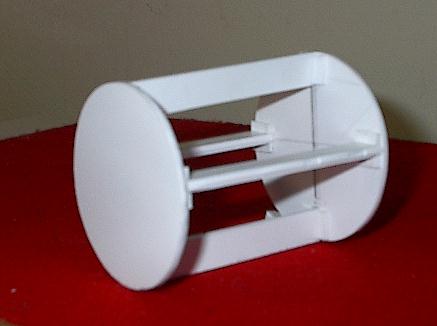
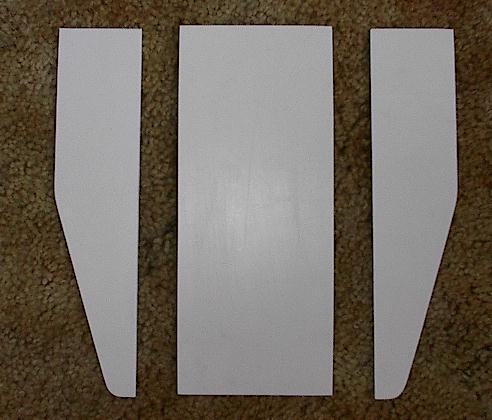
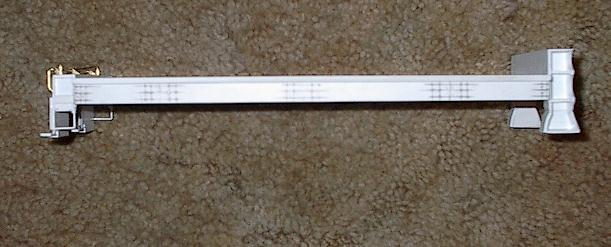
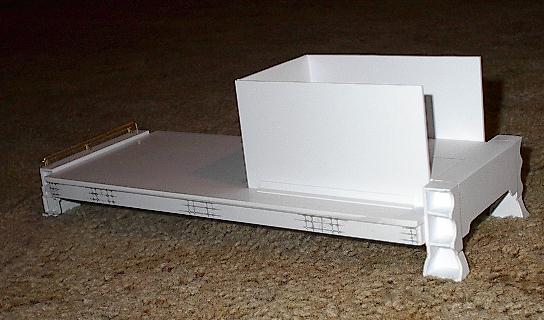
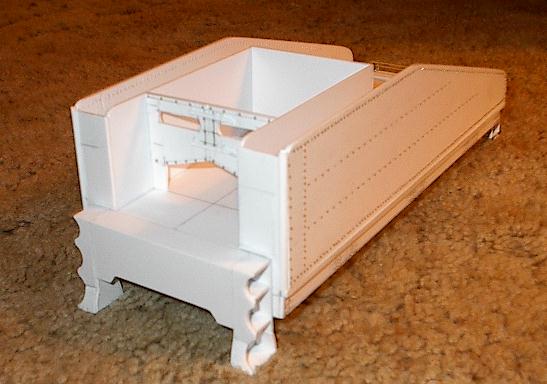
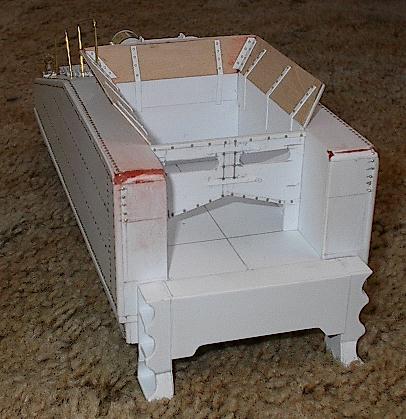
Work has also started on the Tender. Again, Sheet Styrene of different thickness's will be used in the main construction.
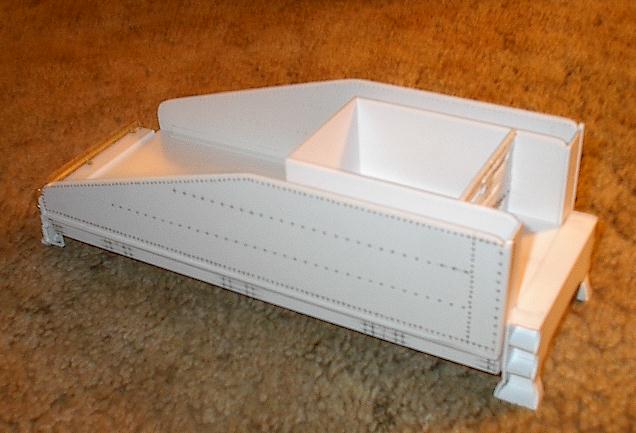
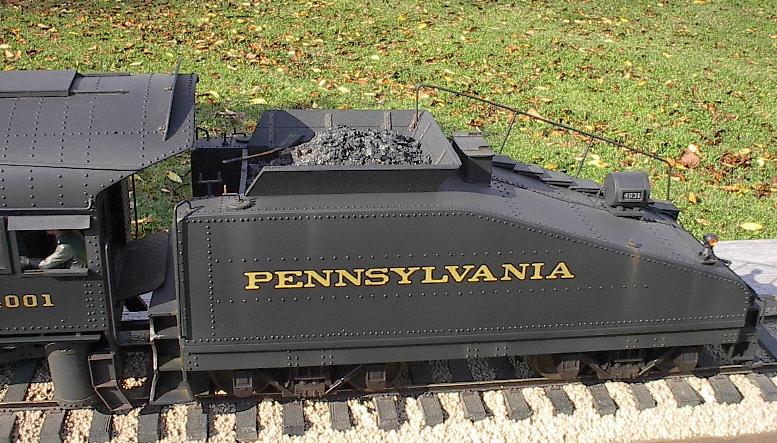
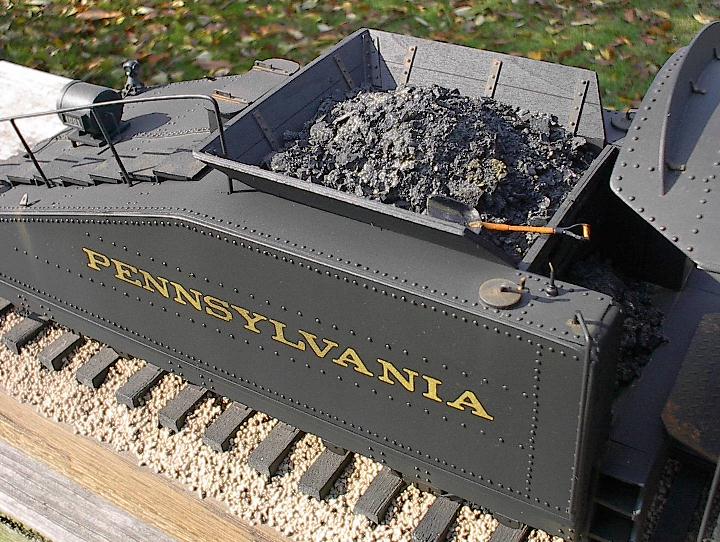
(Note the Coal Bunker's Wood Extension Boards. I had several options for this detail. I chose this one with the sloped wooden boards and "iron" braces. Adds real character!---and more coal!)
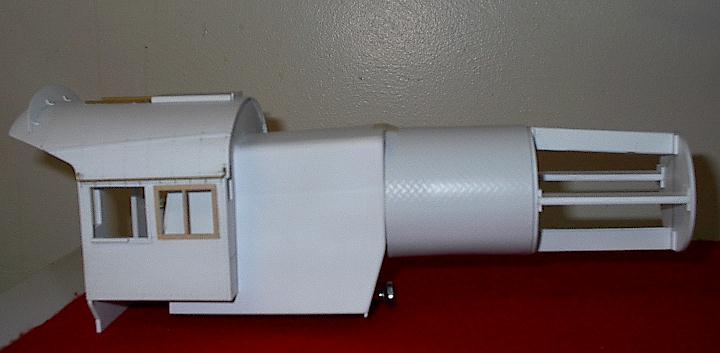
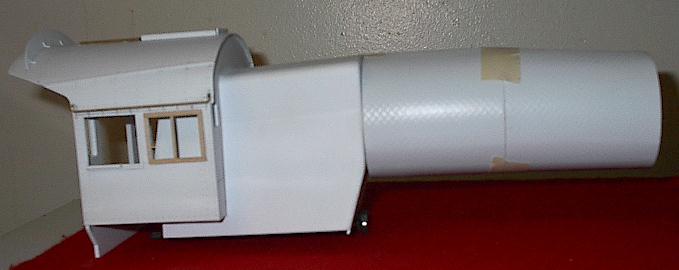
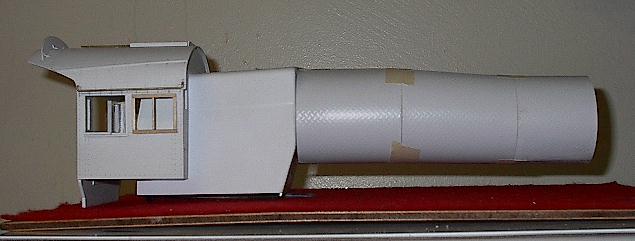
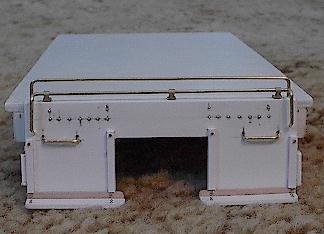
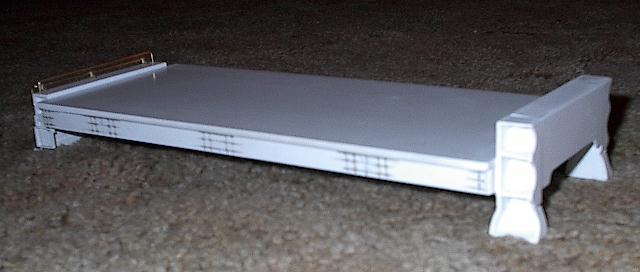
Several more details need to be acquired and applied to the tender. Mainly the Trucks, Couplers, Underbody Detailing, Control Valves for the Front End, Several more dozen of Rivits and it would appear ready for Paint.
***UPDATE***
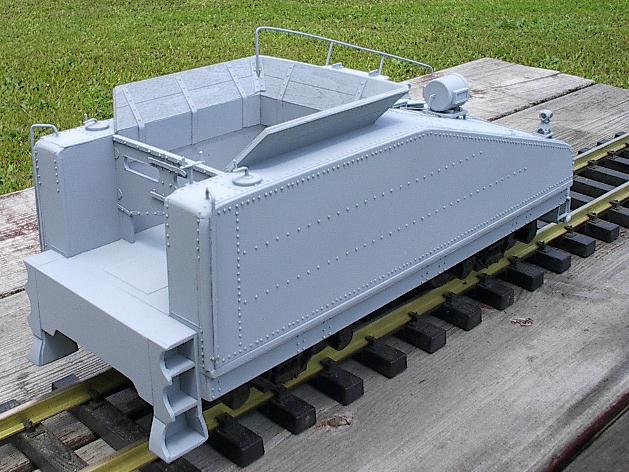
This is how the B6sb Loco and Tender look as of June 8 2003.
*****
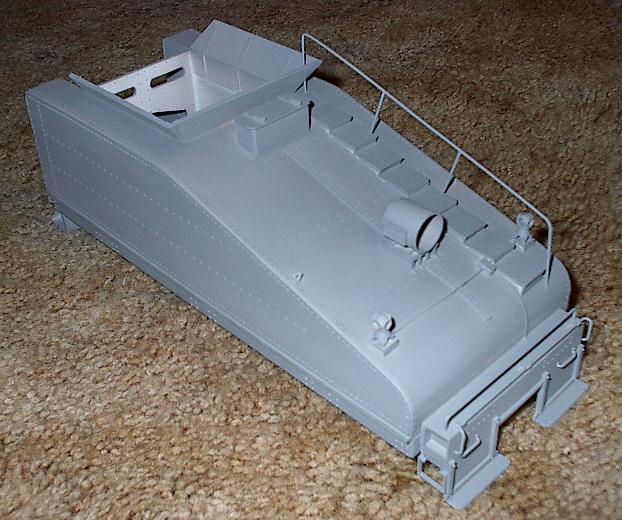
Late June 2003 found myself getting tired looking at a Primer Colored Loco. I got the airbrush out and started to give the finish I want the B6sb to represent. With Decals and a bit more additional details yet to go, this is how the Locomotive appears at this stage.
` Loco and Tender -Rear/Side View
Loco/Tender/N6b Cabin - Side View
*******
Parts and or Supplies used in this project to date:
Various Thickness Evergreen Styrene Sheet (.010, .020, .030, .060, .080)
Evergreen Styrene Angle, Half Round, Strips, Tube.
K&S Brass Angle, Rods, Copper Sheet.
Aprox 1700 Micro Mark Mini Nails (part #14315) for Rivits.
Domes (modified) from AristoCraft 0-4-0.
Generator from Aristocraft 0-4-0
Bell from Aristocraft 0-4-0 (modified)
Valve Gear/Rods from Aristocraft 0-4-0 (modified).
Stack from Aristocraft 0-4-0.
Drivers from Bachmann 4-6-0.
Motor and Gears from Aristocraft 0-4-0 (as of now--may change)
Aristocraft Trucks for Tender - ART-29101 (modified)
Kadee Coupler #820
I also want to mention the "Gallery of Trains" of Miami Florida. Mr. Box contacted me and offered some special PRR Detail Parts that I might have been able to use. And use I did! The care package contained numerous parts. Among those used: Rivits, Hex Head Bolts, Nut/Bolt Castings, PRR Coupler Lift Brackets (Tender) and those Great Looking PRR Claw Foot Markers for the Loco and Tender. Other parts sent but not used due to I had already completed that particular assembly: PRR Hand Rail Stantions, PRR Smokebox Front
*********
For future updates on the Chassis and Tender, please keep checking in. Photos will be posted as progress is made. Feel free to contact me at mittner@webtv.net if any questions concerning the B6sb. Thanks, Gary
************************
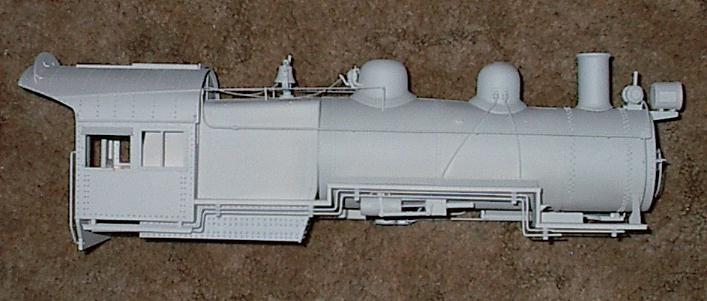
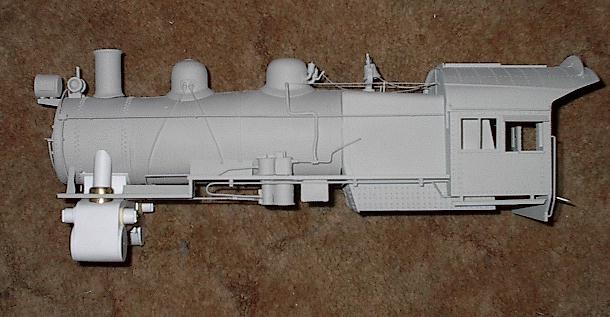
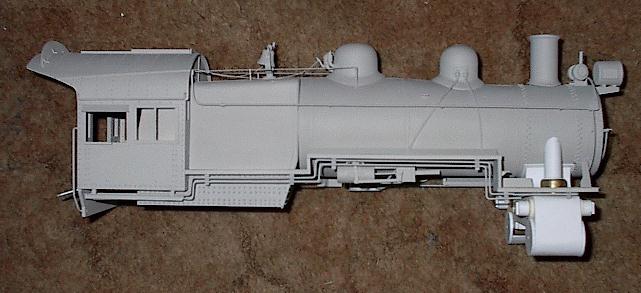
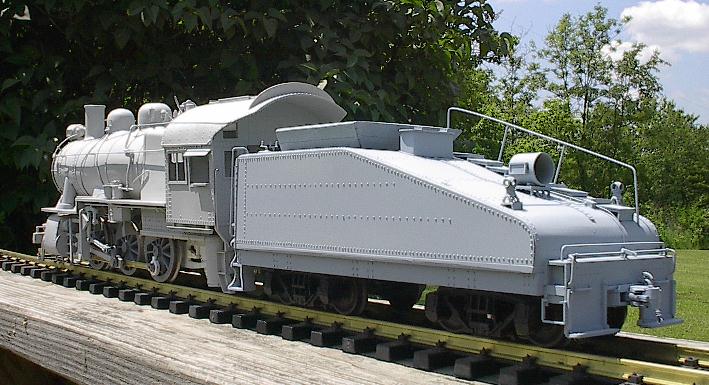
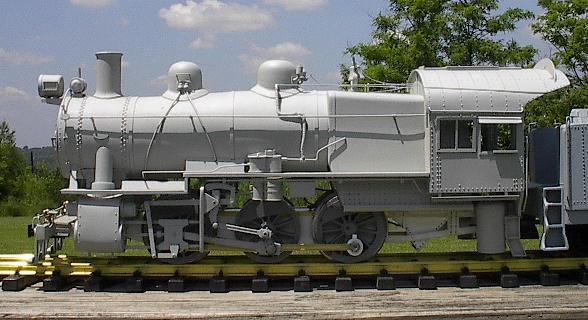
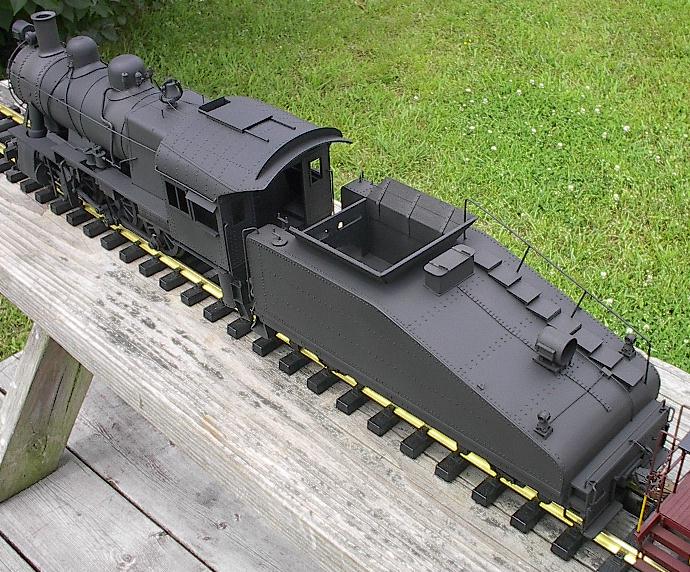
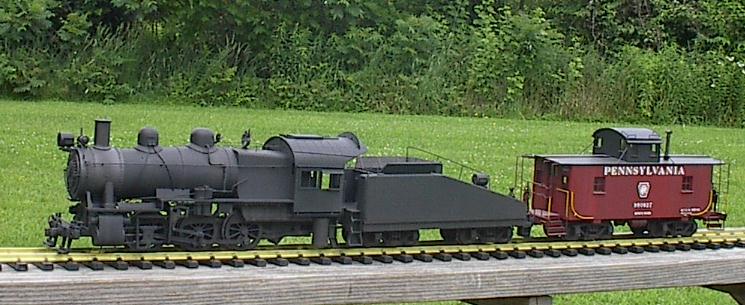
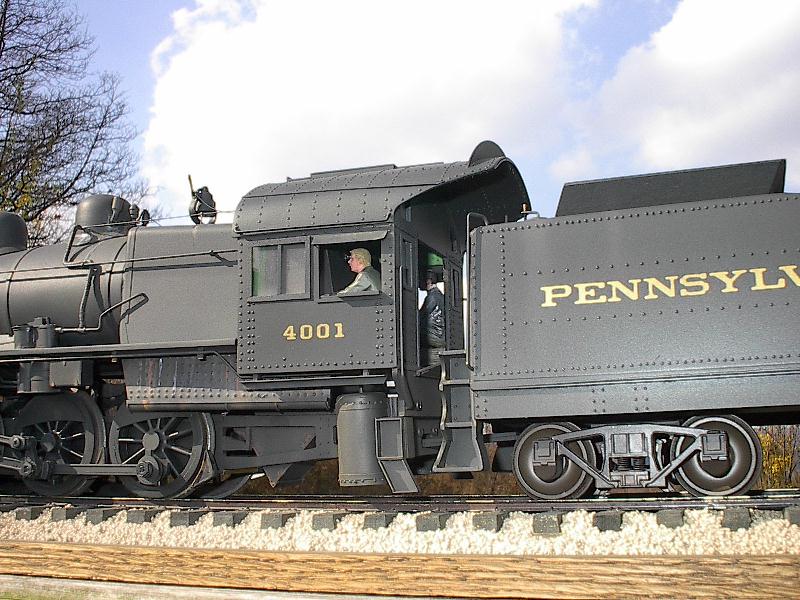
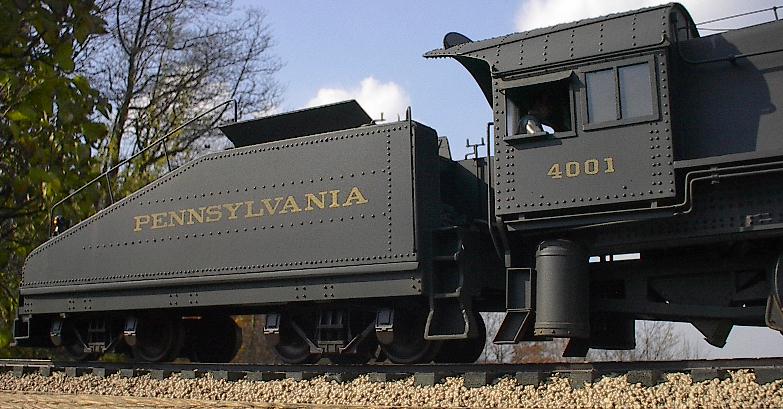
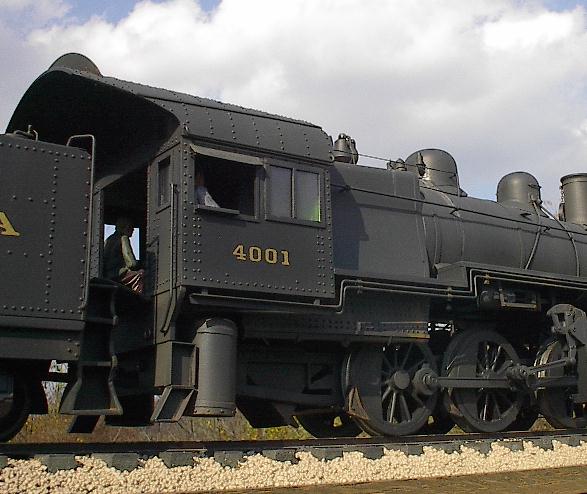
After working off and on on the B6sb for aproximately a year, I am nearing the final detailing. I have now finished the painting details and the decaling. Below is a "walk around" showing views of the nearly finished Locomotive. Details like the Cab Backhead and Tender Underframe will be in the works in months ahead. But these following photos are of the B6sb that I was after when I chose to tackle this project.
****************************
Now that I have completed this model, I need to choose another. I have an idea of what I want to do but need to look into the construction techniques to see if it is feasable. Stay tuned.......Thanks, Gary
Here are several other Links to my past Model Projects I have completed in 1:29th Scale.
Get a GoStats hit counter
***************************************************************************
********************************************