The Pennsy Locomotives on this page are models of the USA TRAINS 1/29 Scale Models. These are not "stock models" as they first appear. This A-B-A set has been modified to closely resemble the F3 (EH-15) Locomotives on the Pennsy Roster of the late 1940's early 1950 time period. The photos below are not of the fully completed models. Most are "in progress" pics. I am hopefull to have these completed soon. The completed models will appear here at that time.
As with PRR Steam Locomotives, PRR Diesel Locomotives had their own unique appearences also. I tried to incorporate those features in my Models. First item very noticable on any early PRR Diesel is the Train Phone Antenna System. I scratch built one Antenna Mast and had the rest cast in a quality Resin by a manufacturer that works in this type medium.
The next item modeled was the Lift Rings attached to the Nose of the A Unit. Again, Resin was used for these parts.
The Pennsy also ordered Passenger type Pilots on these F3 Freight Locomotives. I modified the USA Pilot to represent this type. I actually modeled several versions of this Pilot. The First is the version with the "Closed Coupler Door". The second is the Pilot with the Coupler Slot. I am also working on a third version that represents the Coupler Doors in the opened position. It is looking good!.
On the rear of the unit I added what I call a "Buffer Plate" This plate has molded on Lift Rings. Simple design but adds alot to the sparce area. I removed the rubber Diaphragms for 2 reasons. First they just looked silly and secondly, the Pennsy ordered their F's without these Diaphragms.
The most involved work on these models was the addition of the "Streamlined" Number Boards. USA Trains chose to model their F3's with the large Bug Board type. I wanted the earlier type. So to get what I wanted I had to disassemble the complete loco, remove the large Boards, fill in the resulting hole with putty and finish with lots of sanding.
Once all that work was done the need for a new paint job was tackled. The original USA Trains paint job was lost when all the modifications took place. No big deal, it wasn't the best rendition anyway. Wrong color, size etc. When I repainted the locos I used Floquil Poly Scale PRR Brunswick Green. It was the color I was after. I managed to find G Scale Microscale PRR Decals to complete the finish. These were modified a bit to more closely match the lettering and stripping found on PRR F Units.
I am pleased with the results so far. You too can have your USA Trains PRR F3 look similar to these with some effort and parts. All parts I mentioned with the exception of the Small Number Boards will be available in resin at a later date. You may email mittner@webtv.net for more info.
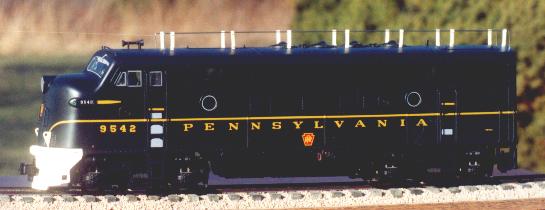
Photo 1: A Unit with Open Coupler Slot and basic Details temporarily attached
Photo 2: A Unit with Closed Coupler Door Pilot and Basic Details temporarily attached.
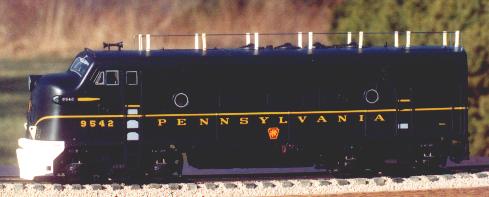
Photo 3: Open Pilot
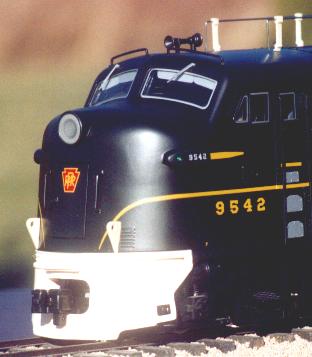
Photo 4: Train Phone Antenna Mast Location (approximate)
Photo 5: A Unit rear showing "Buffer Plate"
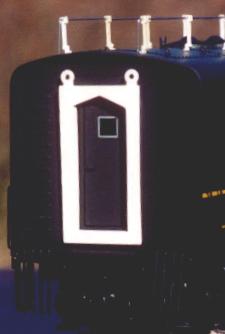
Photo 6: B Unit rear showing "Buffer Plate"
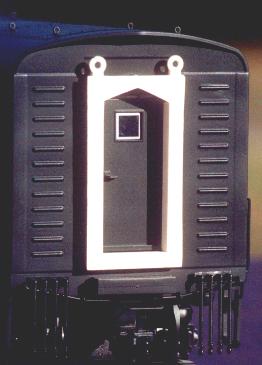
Photo 7: B Unit showing new Paint Job. No small detailing needed. Buffer Plates yet to be added.
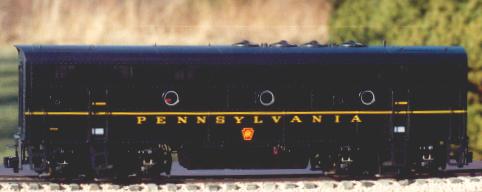
Photo 8: A Unit nose showing Pilot, Lift Rings and Antenna Masts not applied as of yet.
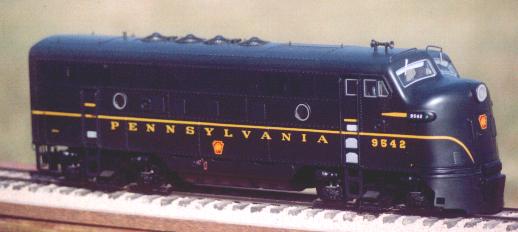
Photo 9: Closeup of painted A Unit Pilot. No Rings or Antenna Mast mounted yet.
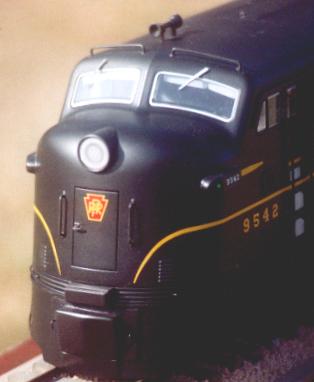
Photo 10: Unit Closed Coupler Door Pilot
