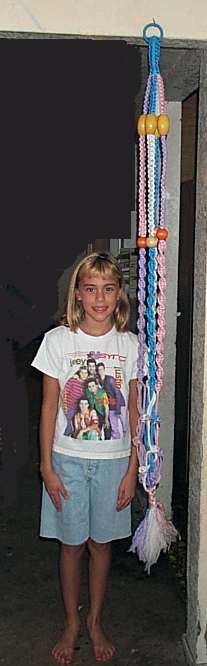
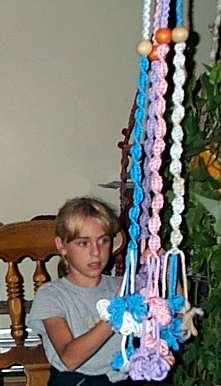
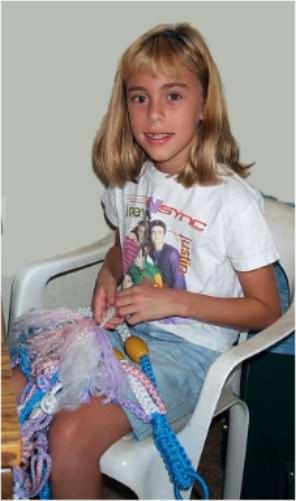
It took two days for her to complete a hanger that is 48 inches long. It was made of pink, lilac, blue and white 6 mm cord. She learned only two knots and how to butterfly the cord, to make this project and had to complete the bottom later, using a crochet hook to make it all fluffy.
To estimate the yardage of a hanger, allow four times the finished length desired, DOUBLED. For example the finished length is 48. Four(4) x finished length (48) DOUBLED x 2 equals 384 inches or 32 yards. Total number of cords used 16, so you would cut eight 4 yard cords. To make a 48" hanger you will need a total of 36 yards of cord, with a 2 yards to wrap the ring and two yards to hold the ring, and she used a 2 1/2 inch ring.
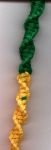
Step 1: Cut 2 - 2 yard cord ( she used the blue cord) and start with a 2 1/2 inch ring and wrap it with one of the cords and tie it tightly , making sure the cord is covering all of the ring, when the ends meet, tie a square knot . Do not cut off the ends as they will be hidden in the loop. Which will hold it in place.
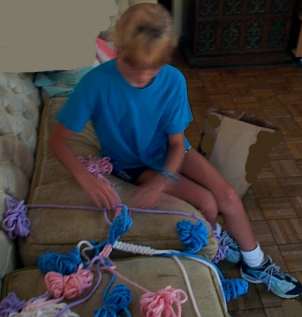
Step 2: Cut 8 cords 12.5 yards long, she used two cords each of the color. Fold the 8 cords over ring , tie them in the middle of the cord with the ends of the cord on the ring to hold them in place, and Butterfly the 16 cords and fasten each with a rubber band to make working with the long cords easier.
Step 3: Starting at the 2 inches from the where the center is and with one of the ends from the ring as a filler, tie 2 inches of square knots on each side of the ring with the two yard cord, when at the center put the other end in to hide it. When two inches are done on each side, then fold the cord over the ring and tie the cords all together with 2 square knots.
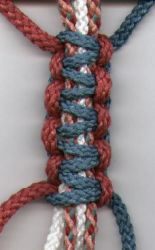
Step 4: Divide the cords into groups of four. She used two pink and lilac, and two blue and white in her groups. With each group of four cords, using the center 2 cords as filler cords, and the ends from the above steps as fillers in two of the groups, tie 6 inches of square knots.
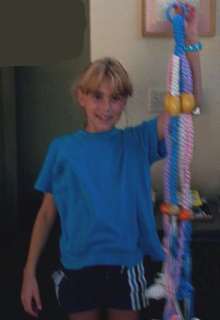
Step 5: She added a bead here it was a wooden 2 inch bead, all the cords were feed through the center of the bead. Be sure to butterfly each cord after feeding it throw the bead. To make your work easier.
Step 6: Using the filler cord from last knot as working cords tie 13 inches square knots.
Step 7: She added a different type of wooden bead here. The ones she used were 1 inch wooden beads.
Step 8: Using the filler cords as working cords tie 20 inches of half knots, they twist left or right depending which cord is overlapping. It will automatically twist when the proper number are made.
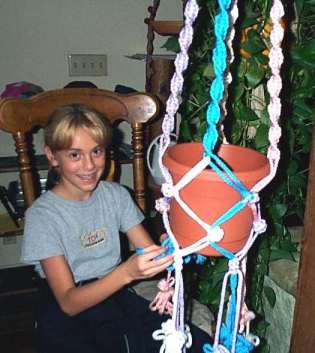
Step 9: TO FORM A BASKET: Skip down 4 inches and tie a three square knot, making sure that they are all even in length, pull on the cords of each group and see that they all come to the same place, before completing the making of the square knot button.
Step 10: Skip down 4 inches and tie another row of 3 square knot - square knot buttons, making sure that they are all even in length. This is where you might have to adjust the distance between your knots, so the pot you are going to use, will fit into the basket you are making for it.
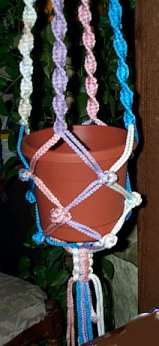
Step 11: Skip down another 4 inches and tie another row of 3 square knots, making sure that they are all even in length, for another square knot button.
Step 12: Using the 4 longest cords skip 3 inches and tie 4 square knots around all the other cords. You will be using 2 cords as working cords here. Make sure they are snug.
Step 13: Trimming tail. She trimmed it to be 4 inches long. You can unbraid and comb it or leave it alone. She tried to unbraid it using a crochet hook, but found that by doing just taking each strand apart it was a little easier. I consider this the hardest part of the whole project! And I must say she did too.
Good Knotting!!!!
Knot instructions:
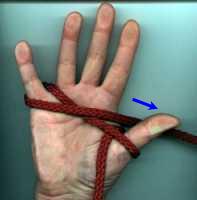
Start with the end of the cord and make a figure eight around the thumb and little finger. Butterfly the cord ends leaving 18" free to work with. Grasp the center of the butterfly and slide off your hand. Place a rubber band or a piece of cord around the center to secure it. A gentle pull will release cord as it is needed. HINT: Start from the work and go to the end, so it will not tangle!
With each group of four cords using the center 2 cords as filler cords tie half knots, they twist left or right depending which cord is overlapping. It will automatically twist when the proper number are made.
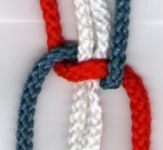
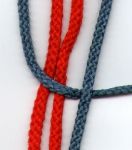
Using the outer cords as working cords and inner cords as the core cords. Place working cord to the left over core cords and under working cord on right. Place working cords on right under core cords and up through loop in left working cord. Place Left working cord over core cords and under Right working cord. Place Right working cord under core cords and through loop in Left working cord. Tighten cords.

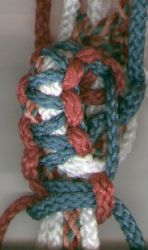

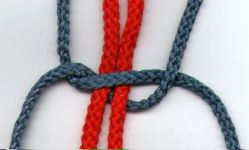
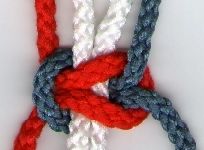
Tie three square knots. Make sure the knots on all groups are even before pulling the filler cords through the center. Take the filler cords and thread them between the center of the filler cords at the top above the first square knot. Pull ends until it forms a ball. Tie a square knot directly under the button to secure it. Shown above is a 5 square knot button. This pattern calls for a 3 square knot button.
|
|
|||||
|
|
|||||
|
|
This page copyright © 1997-2003 tses
Last updated 9 /7/2003