
|
Brushless modification
|
|||
|
making the main body
making the cyclic control system
an introduction to electronic components building an airborne video system
|
My first speed 300 motor died after about half year of flying. In order to have better performances, I decide to change the engine into brushless. There are several choices of brushless motor in the market, such as the Hacker and Astro. By the way, there has been a mania for using modified CD-Rom motor in our RC models. Needless to say, I have joined the groups that are trying to find out the potential of these wildly available and low-price CD-Rom motors.
In brushed motors, brushes are used to transfer power from the battery to the commutator as the motor spins. they provide the armature coils with electric current at the right time and polarity. it raises some problems in brush life, brush residue, electrical noises etc. The brushes and commutator have been eliminated in a brushless motor and the windings are connected to the control electronics. The control electronics replace the function of the commutator and it energizes the proper winding. Therefore, no more brushes have to wear out. There are two kinds of brushless motor: sensored and sensorless. The brushless motor I'm going to talk about is the one without sensor ( sensorless ). The microprocessor in the controller detects the voltage variation from the stator coils and calculates the rotor-position CD-ROM motors are "outer-rotor" motor, they are originally sensored brushless motor in the CD-ROM drive. If you ripe apart the drive, you will find 3 chips under the stator. They are the hall sensors which help to analyze the position of rotor. There are several sensorless brushless ESC on the market such as Jeti, Castle Creation Phoenix, MGM and Shulze Future 18be etc. The Phoenix 10 is allegedly the best for your outrunner motor. Just paying few bucks more, you can get several excellent programming options, such as timing advance and throttle type. Be careful that these brushless ESC are very delicate and are tapped at high prices, wrong polarities or shorted circuits can cause serious damage to the ESC.
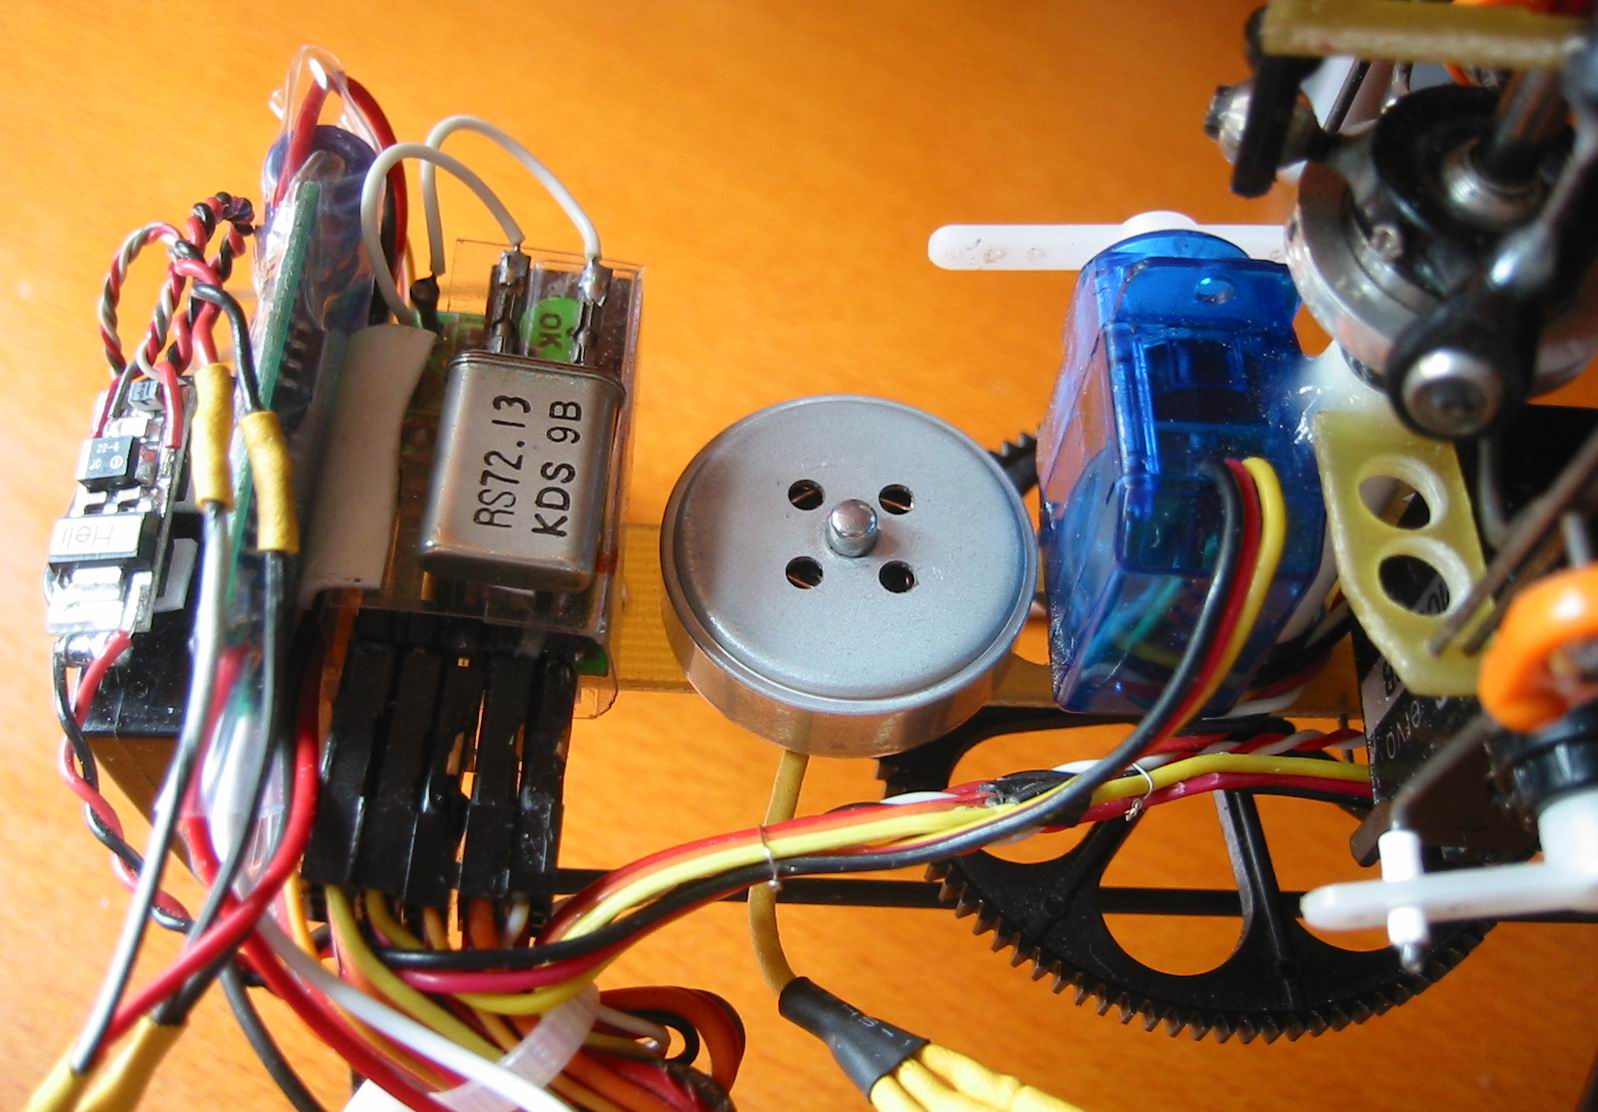
What's powering my helicopter at the moment? Here it is:
The motor in the above photo is from a dead Sony 40X CD-Rom. the total weight after the modification is 16.1g. Same as most other CD-Rom motors, it is a 9 poles brushless motor with strong neodym ring magnet. Each pole is rewound with 18 turns of #26 coated wire to form a star winding.
A picture is worth hundreds of words. Here is a wiring diagram for the star configuration that I have found from the net. you are better to do this with great circumspection or it would be easily end up with a burned ESC. The first photo shown above is one group of the windings on the stator. Two groups are wound in the second photo while all three groups are wound in the last photo. The starts of each three groups are soldered together and the three ends are the phase wires that connect to the brushless controller. After all wire had been rewound, connectors are soldered on the 3 wires which are then covered with heat shrink tubes. Is it good looking?
Just forget to mention that the brass brushing in the motor had been replaced by two 3*6 ball bearings which are simply glued in place with CA. make sure that the wire on the stator should not touch with the rotor. Up to this step, all the things seem go so smooth. Actually, It is really quite simple. However, what makes me annoyed the most is how to mound the stator on my helicopter. I have tried to use epoxy to hold it on the main body. It is good until actual operation of the motor. the heat generated from the stator will make the epoxy to become soft. It means that the motor is actually dislocated. I'm now using two screws which are screwed into the small holes on the stator to hold it on.
Here is my phoenix 10 programming setup:
|
||
| Remark: |
The motor run very smooth. the flight time out of GE increase significantly. However, I encounter some misfire problem during hard maneuvers at the beginning. After carefully match the throttle with pitch. it runs flawlessly now.
|
||
|
|
|||
Copyright © 2002 to 2003 Ben Hui - web master 2003 |
|||


