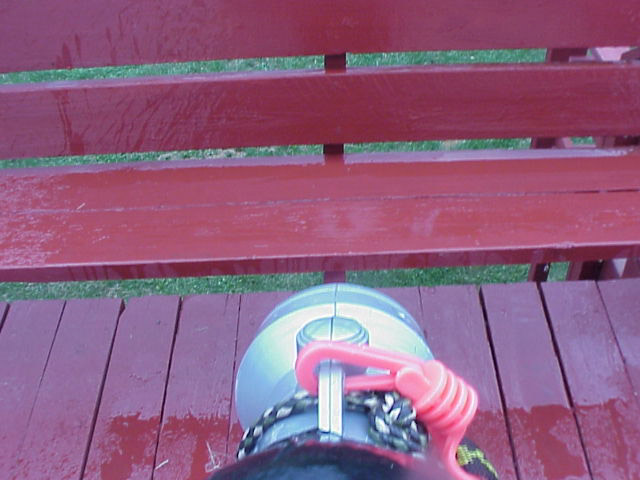
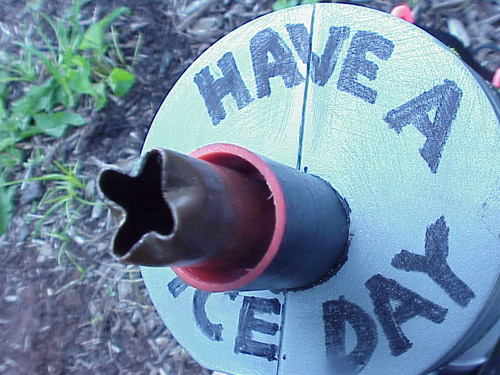
while the shotgun nozzle piece is not in the gun
for this shot, I get a nice picture out of it!!!
For this project, you will need the following:
1. Safety Glasses
2. Micro saw
3. Metal saw
4. Flathead screwdriver
5. Hammer
6. 5/8 copper pipe (same as WMG)
7. A vise or some way to hold down the copper pipe
8. Electric tape
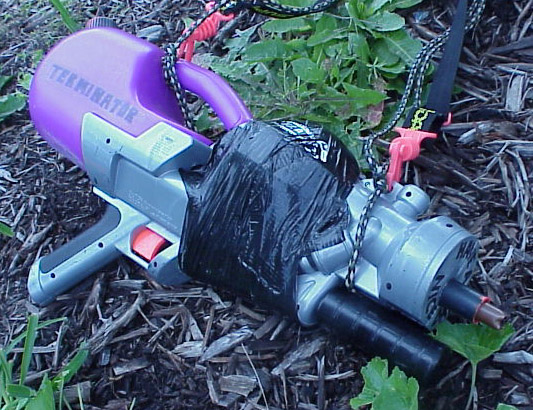
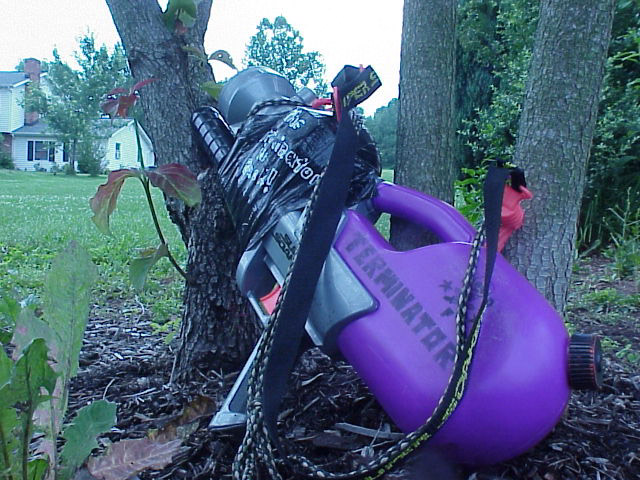
ahhh, one of my all time favorites, my CPS-1200
Shotgun.(nevermind the duct tape around the pressure chamber!!)
hehehe...
Directions:
Before you begin, check all pictures on this site,
so you can get a better idea of what is being described in the directions.
First, pry off that silly looking orange nozzle on
the front of your 1200. You may have to saw a slit in the top of it.
Next, measure up the nozzle 1 and 1/4 inches from
the grey plastic mold. It's better to start from the top, and slowly work down
so you don't cut off too much(I don't know if all CPS-1200s are the same) Then cut it
off!!!
Next, with the metal saw, cut off a piece of copper
pipe about 2 1/2 inches long. Next, turn the copper pipe on it's end so you can look
through it. Put it in the vise this way(vertical) Make sure you have your safety
glasses on. Take a flat head screwdriver, and tap on the edge of the end of the pipe
at a 45 degree angle until the rim starts to bend in, you do this 4 times, all the way
around the copper pipe. After testing the gun, you may have to adjust it.
Next, the copper pipe is just a little to skinny to
fit snugly into the sawed off orange nozzle. So at the end of the copper
pipe(opposide the hammered end) wrap a few times around with electric tape. This is
where the test fitting comes in. If you put in too much tape, it won't go into the
nozzle, and if you put too little, it won't hold, it will leak, and could fly off, being
dangerous. It should be snug enough so that you cannot take it off when your hand is
wet, but when your hand is dry, and brute force, it will come out. (I have had to get mine
off with pliers before. If you test the gun out, and it leaks, it is too loose and
needs more tape. It should be fairly tight. It should go in about 1 1/2
inches.

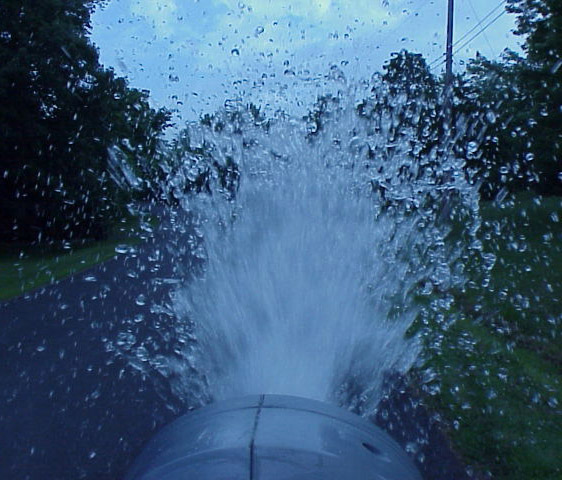
Here are some shots of the Terminator in
action. Sadly, these shots do not do justice to this amazing weapon...the weapon is
a lot more powerful than it looks, and gives a good kick.

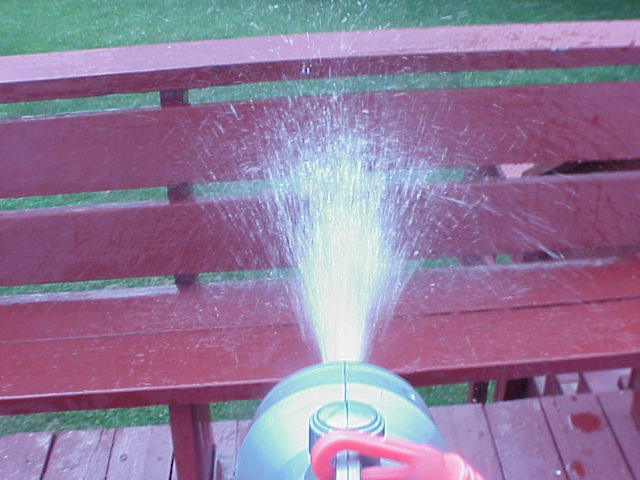
sad, this gun is so much more powerful than it
looks( after getting shot with it in the face, one comes to the realization of this
fact.:)