

 Back |
How To Make A Graph by Cheryl (a.k.a. Cinnaminn or Cinn) Copyright © 2002. |
Next |
|---|
I got PC Stitch 6.0+ from a seller at eBay in July 2002 and have been playing with it ever since. *L* It has taken some getting used to but I think I've finally caught onto the idea. *grin* Just check out my graphs for crocheting, cross-stitch, knitting, etc. and let me know if you think I've gotten the hang of them or not? *L*
After having received more than 1 e-mail asking about how to make a graph, I thought it was time to try to write down the steps/process for what I do when making a graph to use for cross-stitch, crocheting, knitting, etc. Please remember that I'm definitely not an expert on doing it and am still learning how to do things.
I have an IBM-PC compatible computer with Microsoft Internet Explorer so my tutorial will be geared towards those with the same thing. I do not have a Mac so if that is what you have/use, the following may not be of much use for you but hopefully you can pick up some useful information.
For starters, it may be useful for you to have at least one or more of the following software programs:
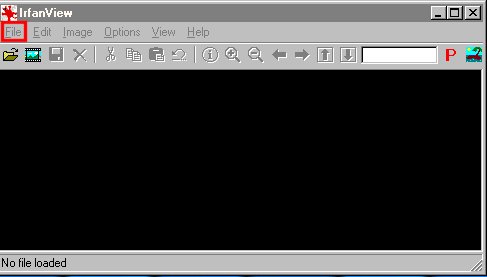
Step 2 - Using IrfanViewer:
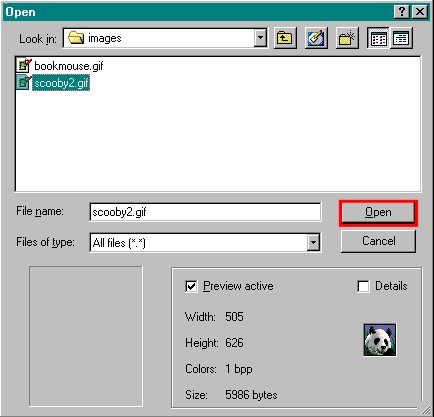
Now open up IrfanViewer and click on File/Open link (marked in the red square in the first graphic below) and open up the scooby2.gif file you just saved on your computer as shown below (marked in the red square in the second graphic below).
Step 3 - Preparing to Resize:
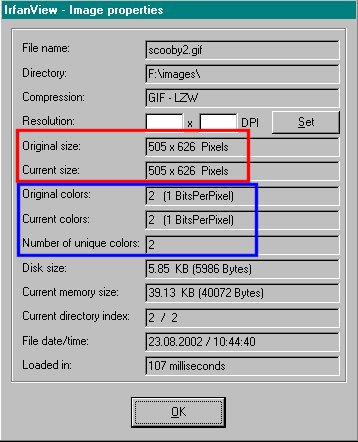
With the scooby2.gif file open in IrfanViewer, click on the Image link at the top of the window and select Information which should bring up this display box to tell you about the image you are viewing. Look at the size of the graphic in the display box below that is in the red box and it shows that the present size of the Scooby graphic is 505 x 626 pixels. This graphic can be made into a graph as is but it would result in a very big graph/pattern which is not what we're trying to do here. *L* Also look at the number of colors in the graphic as shown below in the area in the blue box.
Step 4 - Resizing:
We are now ready to resize the graphic to suit our purposes. *S* Click on the Image link again and this time, select the "Resize/Resample" option. You should get a box similar to this one. Now you have a choice to make about what size you would like the graphic to be. You can type in any number in either the width or height under the "Set New Size" section and it will fill in the number for the other box and automatically resize the graphic to keep it in the aspect ratio. Or you can choose to set the new size as a percentage of the original graphic. For this example, please type in 20 in the "Set new size as percentage of original" and then click the OK button. *S* The new size for the graphic should be 101 x 125 pixels. (For the graphs I've made so far, I usually try to have the height of a graph somewheres around 100-150 pixels.) Now click on the Image link on the tool bar again and select the "Convert to Greyscale" option. Please note that this option along with the "Decreasing Color Depth" is now available for use as it is showing up in the box now and is not grayed out as compared to earlier.
After converting the graphic to grayscale (2 colors), try clicking on the "Image" link in the tool bar again and select "Information" from the drop-down list and the information there should be similar to what is showing here.
Step 5 - Saving Your Work:
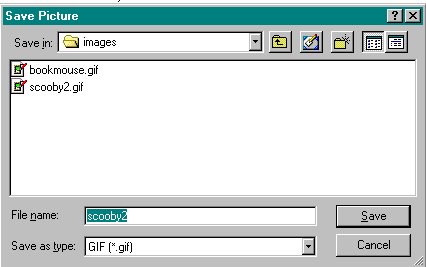
Now that you are done resizing and converting the graphic, you are ready to save your work. Click on "File" from the tool bar and choose the "Save As" option. You might like to give it a slightly different name so that if something happens to your work or you don't like the end result, you still have the original version of it to use again. I'll be calling mine "Scooby7" since I have already made six other Scooby graphs. Be sure to save the file as a .bmp one and nothing else. PC Stitch will import other types of files such as .jpg, .tif, and many others but it will not import .gif files unless you convert them before importing into PCS. You should see a "Save File As" box similar to this one. (And if you want an explanation as to what a .bmp file is, you can try this link for one.) Now you are ready to go onto the next step......Using PC Stitch! *S*
 View Guestbook

Web page background, site, and design created by Cheryl (a.k.a. "Cinnaminn").
Originally created 23 August 2002 and updated as of 26 March 2006.
Guestbook courtesy of HTML Gear. Some graphics courtesy of Lacefairy. ![]()
![]()
