IndexThe Unpacked KitRibbon Lining End-Piece Set Guitar Top Top Bracing Guitar Back Back Bracing Attaching the Back Attaching the Top Edge Bindings Fitting the Neck Truss Rod Fingerboard Fretting Fitting the Nut Grain Filling Lacquering Attaching the Neck Attaching the Bridge Saddle and Nut It's Done! |
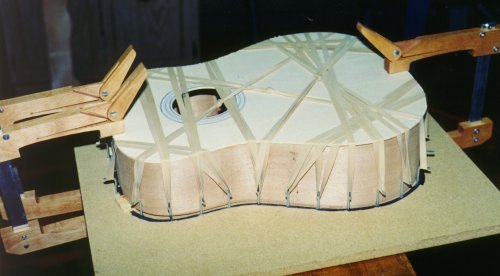
Gluing on the top followed the exact same procedure as gluing on the bottom. Because the back of the guitar is curved, I shimmed the neck end of the bottom to provide a solid clamping area without putting stress on the sides.
Once the top is glued, the top is trimmed to its exact size with the laminate trimmer. After that is accomplished, I performed some of the finish sanding to smooth out the body of the guitar, up to 180 grit sandpaper. After that, you start the binding process. |
| Previous Page | Return to Home Page | Next Page |