Site hosted by Angelfire.com: Build your free website today!
"The 2002 Online Graphics Class" by Gary Bailey - Page 3

"The 2002 Online Graphics Class"

Class 3A & 3B will not be finished. At present a slide display and some art exhibits are requiring all of my time.

I have no idea how long I will be working on them, I leave these classes unfinished, and dedicate them to the best made plans of mice and men. At present there are four pages of drawings and a couple of hints that you might find useful. If you go to the hyperlinks, on these four pages, there are some great free lessons on how to use different programs. Drawing is not a job, drawing is something that you have to love. These programs can not change your feelings only your ability.
.


No liability of any kind is accepted for any of the materials, concepts, opinions, or thoughts presented in any of these web pages. These drawings may be reproduced for classroom purposes only. The links to other web sites belongs to the owners of those web sites. No responsibility of any kind is accepted for the actions or lack of actions of those who own any of the web sites that are linked to these pages. Everyone should take these things into consideration prior to using any information on these pages.

Want to brush up on a painting program ?
Below are links to four different classes. The first link leads to classes of many different types. I tried a few of the their classes and thought they were very good, the sound was not all that great but it stated that the sound quality was decreased so the programs would download faster.
Give it a try. If you go there
click on the DEMO button under ON LINE LEARNING.
FREE ONLINE CLASSES VIDEO & ORAL-IN DEPTH INSTRUCTIONS ON MANY SUBJECTS


ADOBE PHOTOSHOP TUTORIAL


PHOTO SHOP PRO OR PSP TUTORIAL


COREL DRAW and COREL PHOTO-PAINT TUTORIAL


All classes are dimissed as of March 17, 2002.
Thank you for your time and I am sorry that I am unable to continue with these classes at this time.


I hope everyone enjoyed our last class. Before we get started with this class I would like to show you one of the designs we will be using next month.


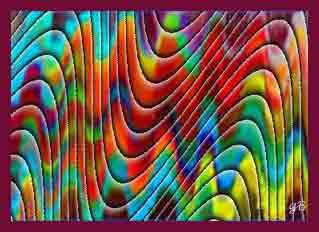
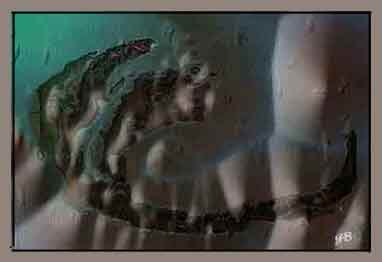
The reason that I call this drawing
"210 MPH"
is that it looks as if it would take a great deal of time to place all the details

This drawing is faster and easier to do than most people would think.


.

Today we will be dealing with a lot of different effects and plugins. The design below was given the SWIRL EFFECT using a Plugin. Most of the drawing programs have a similar swirl effect. Some swirl effects give a little different twist to things.

"Design 241"


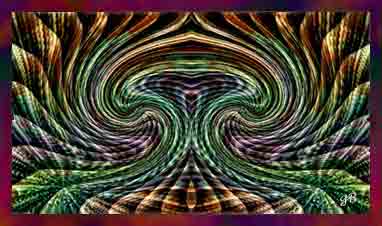
"Design 441"
Photoshop 6.0 was used to create "Design 441" using the design above and steps similar to:
  • Click on- SELECT
  • Click on- COLOR RANGE
  • Place X in IMAGE BOX
  • Select the EYE DROPPER third on the left
  • Click on- IMAGE background
  • Place X in the SELECTION BOX
  • Select and use the + and - EYE DROPPERS
  • Click on- the IMAGE
  • Click on- OK
  • Click on- EDIT
  • Click on- COPY
  • OPEN NEW IMAGE- Click on FILE- Click on- NEW
  • Click on- EDIT
  • Click on PASTE
  • Try again, again, and again.


"Design 453"
SELECTION TOOL
MAGIC WAND

This drawing shows a typical use of the MAGIC WAND. Here it has been used to select many small areas and to use different cloud effects on each area. The MAGIC WAND selects an area that has similar colors.


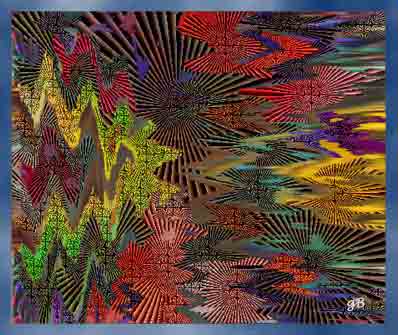
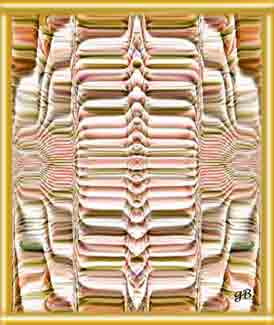
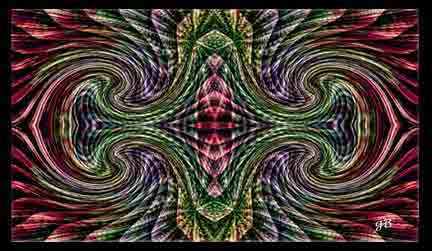
ALTERED "Design 453"
SELECTION TOOL
MAGIC WAND

Many different areas of "Design 453" were selected and radius blades were inserted by a plugin named BLADES. BLADES can create up to 255 radius blades in the area that you select.


ALTERED"Design 453"
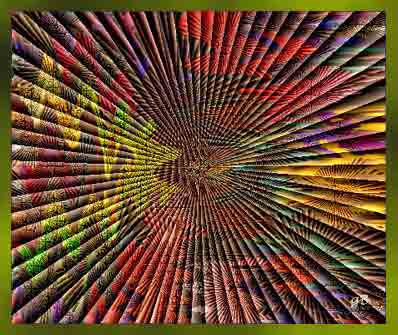
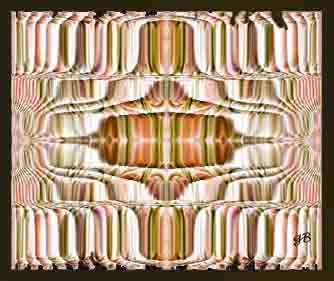
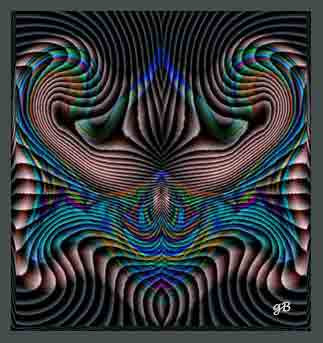
Using the whole image.

BLADES has been used on the whole image. If no area has been selected you are working with the whole image and there is no need to SELECT ALL or to DESELECT. The frame was added after the Blades effect was used, but it might be neat to add the frame prior to using the Blades effect.


Adobe Photoshop 6.0 is a very good drawing program it has many tools, effects, and features, I am sure it would take a lot of time reading instructions and using this program, before you were able to make use of all of its features. You may download it from the Adobe web site for a free 30 day trial. Photoshop 6.0 is a very large program and it would take a long time to download with a 56 K modem.

Corel Photo-Paint 9.0 has a free online try out - I have not been able to use this online try out, the Applet, which is furnished by another company, would not start for me, but that doesn't mean that it won't work for you, give it a try and let me know.


"FRAME 1"

If you do not want to cover part of the image with your frame, you will need to enlarge the canvas or paper by about three tenths of an inch in width and height."FRAME 1" was made by making a selection with the rectanglar selection box on each side of the image, and then using the GRADIENT EFFECT.


"Frame 2"

This frame was made by
  • enlarging canvas three tenth of an inch, color similar to image
  • Using MAGIC WAND to select the border color.
  • Using the FILL TOOL to add black.

  • The area that I selected ran into the image. Note the black at the top and bottom of the drawing. The MAGIC WAND SELECTED more than I wanted. No big deal just Click EDIT and Click STEP BACKWARD or in some programs UNDO.


    "Blades Design #460"
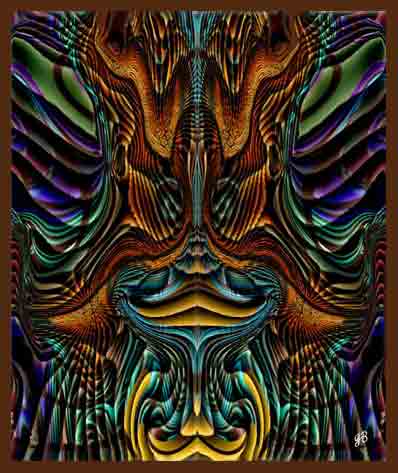
    Apply the BLADES plugin effect to any image then SELECT the left half with the SELECTION BOX
    Click on- EDIT
    Click on- Copy
    Move the left half of the image to cover the right side of the image
    Click on Image
    Click on Rotate Canvas
    Click on Flip Hortizontal
    Click on EDIT Click on Paste
    align and match the two halfs together, sometimes it is very helpful to enlarge the image 2 or 300 percent while matching them together..


    ADD COMMENT


    ADD COMMENT


    ADD COMMENT


    ADD COMMENT


    ADD COMMENT


    ADD COMMENT


    ADD COMMENT

    ADD COMMENT


    ADD COMMENT


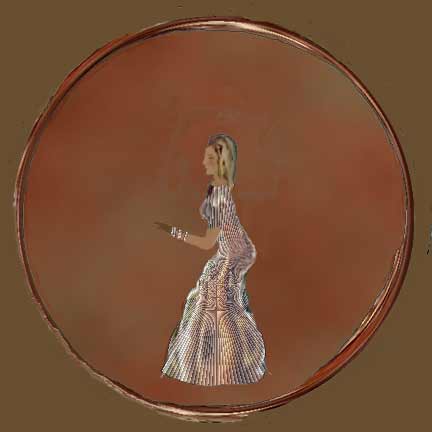
    Plugins and effects can lead you to some interesting designs and drawings. When anything catches your eye seperate it out and work with it. In the drawing to the right I cloned the green background, trying to make the figure stand out.


    Often
    you will
    not be able
    to draw
    anything.

    or

    Your tired
    of drawing
    the same
    old thing.

    Time to use
    plugins
    and effects
    time to
    relax
    and play.


    "Dancing on Clouds"

    Everyone sees things differently, I am just one clique after another, but I guess that's what makes the world go around. When I am working on a drawing I will change course in mid stream. Usually What you see is what you get, when I see something I go for it. Well enough of that.

    I was drawing a leaf and using some effects, I pushed a button and there was no leaf, now I had no direction to go. I sat there looking at an unfamiliar image, I thought of going back to the saved leaf, but I don't like to go back, guess I have seen too many John Wayne movies, he never seemed to go back or was that Alan Ladd in Shane ? Anyway after looking at the curves and colors for a while I realized I didn't have to do anything. The image told a story, it made me laugh, and it was finished. Most people look at this same drawing and do not see what I see in -

    "Tommy Take Your Bath"

    The leaf and Tommy's story are on page 4 of Computer Creations.


    "Fancy Dress"
    You can make a fancy dresses in about two minutes.

    In order to do the dress you must have Blades installed.
    Blades is a free plugin and the link is here
    Short list of Plugin links

    To save "Dancing on Clouds" click your right mouse button on the image (sometimes left)and Click on SAVE PICTURE AS, and you may use my image in class only. I used Adobe Photoshop to create a two minute dress- Using "Dancing on Clouds"- Select the Magic Lasso start at the bottom of the dress and click the magnetic lasso when it needs to be clicked, you will discover when, outline the dress, do not include the ladies head neck or arm. If you have not selected what you want to select -Click Select, Click Deselect, in some programs you will only need to click outside the selected area to start again. when you get the dress selected. Click on Filters, Click on UnPluged Tools, Click on Blades, Set Amount at 148, set Red, Green, Blue at 136, Set Brightness at 105, Set Sub - Add Brightness at 185, Click OK. There is your two minute thousand dollar dress. Do you realize that you can do this same thing with photographs? This sure makes that robe you, or your other half, or both of you were wearing Christmas morning look great. Suggestion - If you are a straight couple you had better just use this dress design on your wife's robe. Or if you have some very close friends with a great since of humor put a dress on both of them.

    Your "Dancing on Clouds" dress will not look like the above image because I worked about an hour doing clean up, changed girls figure, changed lines of dress, changed the arm, and face. What follows are a few of the effects used to create "Fancy Dress" Using Corel Photo-Paint open "Dancing on Clouds" - take steps similar to the following - Click Effects, Click 3D, Click Sphere, Set Sphere lever to the right to 98 degrees . Click OK. The image DOC will now be upside down with a ring around it. Rotate the image 180 degrees, save and open in Adobe Photoshop clean up the ring frame and smear the background all the same color or until the Magic Wand will select most of the background. Use the Magic Wand to select the background, then Click Filter, Click Render, Click Different Cloud Effects once or twice. If not satified with the color Click Edit Click Step Backward, and start over picking different colors.

    There are hundreds of plugins, some are free. There are many plugins that you will use only once. In a recent survey over half of the people that downloaded plugins said that they would only use the free plugins and there are a lot of free plugins.


    "The Mountain Scene"

    I used many effects in the Mountain Scene, the Texture Effect to create the stones along bank of the river and the contrast in the surface of the mountains. The stones along the bank remind me of the Walker River on Highway 395, in California, except that if it was the Walker River it would also have large stones in the center .


    "Desert River"

    In the "Desert River" The lines in the stone were created with effects and the Smear tool. I used Photoshop's Distort, Ripple, and the Smear tool on the water fall, and their Clone and Smear tool on the clouds and river. When I use Effect and Plugins I can create better drawings and images much faster.

    Link to free classes below
    I have linked to these same classes on almost every page. I took two or three and they were informative, but like most things, on my 56K Internet, it took a while to download the video programs. Someday when I get my direct line I am going back and take all of the free classes they have,
    and they have class on many different subjects. Like most free offers they have something to sell but they have to give to get. I am not recommending or asking that you purchase anything, from any of the links on any of these pages. If interested in a few free classes Click on the link below.

    FREE ONLINE CLASSES VIDEO & ORAL-IN DEPTH INSTRUCTIONS ON MANY SUBJECTS
    Go to the above site Click on DEMO under ONLINE LEARNING.


    Email to COMPUTER CREATIONS
    Drawing is much like life, kind of a do it yourself sort of thing.


    "CLASS 4A & 4B" WILL NOT OPEN but there are a few drawings there.


    "Door to CLASS 1A & 1B."


    "Door to CLASS 2A & 2B."


    Below you will find 6 links to
    "COMPUTER CREATIONS".
    Six links to an online art gallery featuring ....
    Guess who?
    .

    Door to Computer Creations 1

    Door to Computer Creations 2

    Door to 3 Computer Creations 3

    Door to Computer Creations 4

    Door to Computer Creations 5

    Door to Computer Creations 6

    Great Designs PAGE 1


    Door to anywhere you want to go
    Go with Google it is my favorite search engine, give it a try you'll like it.
    .

    Google