
|
Class 2A - FIELDS OF FLOWERS -&- Class 2B SMEAR FLOWERS by Gary (Bill) Bailey Best viewed at 800 X 600 pixels . No liability of any kind is accepted for any of the materials, concepts, opinions, or thoughts presented in any of these web pages. These drawings may be reproduced for classroom purposes only. The links to other web sites belongs to the owners of those web sites. No responsibility of any kind is accepted for the actions or lack of actions of those who own any of the web sites that are linked to these pages. any information on these pages. Below are links to four different classes. The first link leads to classes of many different types. I tried a few of the their classes and thought they were very good, the sound was not all that great but it stated that the quality had been decreased so the programs would download faster. Give it a try. If you go there click on the DEMO button under ONLINE LEARNING.
If you have any comments or suggestions please use link below - |
| Email COMPUTER GRAPHICS - CLASS 2A |
|
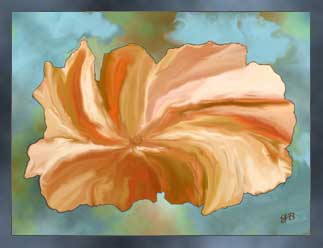
"FLOWER PHOTO" There are 9 images following this drawing. They are easy to do. After we look at those 9 drawings we will start Class 2A Fields of Flowers. |
|
|
A CLOUD EFFECT was used on the background and the frame. To create a dark line around the flower, paint your background a dark color prior to using the CLOUD EFFECT. |
|
|
Create A simple frame:
|
|
|
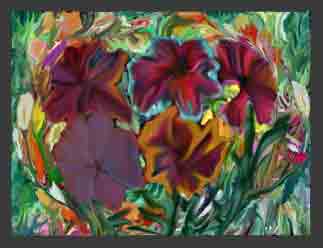
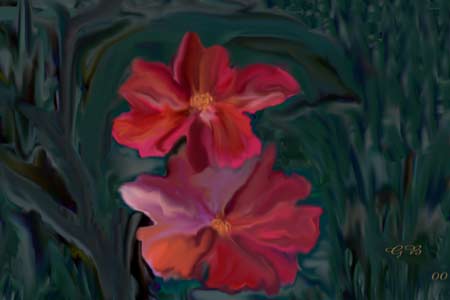
The first drawing, "Flower Photo", was used to create this drawing. When you smear any bright colors you can come up with some flowers. Now seperate out the five flowers from the background. |
|
|
If you enjoy drawing don't wait until you are ready to quit to save your work, SAVE your work at all stages. When you see something you like SAVE IT. |
|
|
I know backgrounds are not a problem for Bob Ross but they are for me. I usually do one of three things CLONE a background Or create a new background |
|
| Link to Bob Ross's web site, it is very commercial site- However if you look around you will find some information that might be useful in your art work. |
|
I only Smeared a couple of these flowers I CLONED, COPIED, and/or PASTED the rest of the flowers, smeared in the vine and did some additional smearing of the flowers over the vine. |
|
|
I like the stem of this flower but sometime in the future I am going to do some more work on the blossom. |

|
|
Smear 8 Anytime you are drawing or writing, save your files often. I sometimes use the date as a file name, followed by a letter, number or descriptive word, such as tree or flower. I have never been organized with my file names, |
|
|
Smear 9 Isolate the flowers that you see in the smear. Smear until you see some flowers to isolate. I have several faces that were isolated from one page of smears. Smearing is kind of like life, sometimes you find what you are looking for. |

|
|
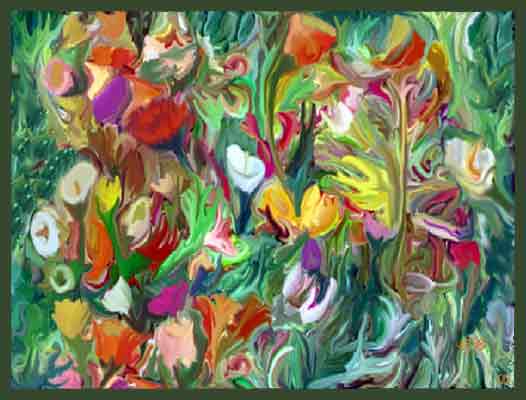
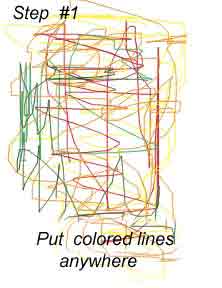
"Field of Flowers" A fields of flowers is a pretty thing to see. We will create a similar fields of flowers from a blank page in 4 easy steps |

|
|
Step # 1 Put a few lines on a new page. I think it would have been better to have put darker colors and more lines maybe even covered up the page, But that is hind sight. |
|
|
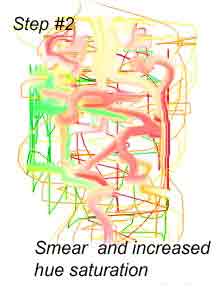
Step # 2 Smear the colors around. As you look at Step # 1 and 2 you loose all faith in my artistic ability, but there are tools and effects available that do the most marvelous things, things that I could never do by myself. |
|
|
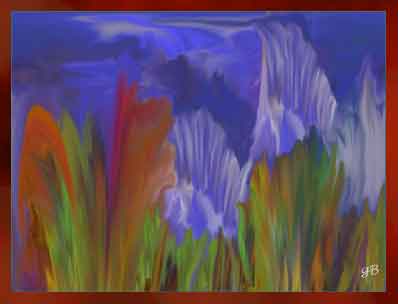
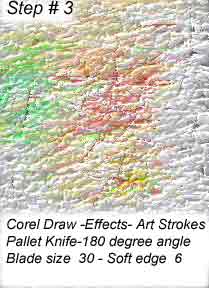
Step # 3 I switched to Corel Photo-Paint for this effect but there are other effects and tools that will give you a similar "Fields of Flowers" I will get into some of the different effects, tools, and plugins in a couple of weeks. |
|
|
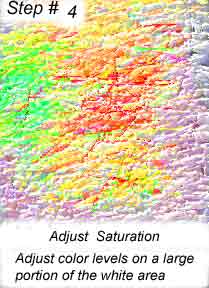
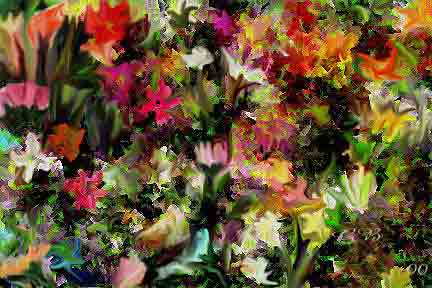
Step # 4 Well there you have a very modest "Field of Flowers" There are three similar fields of flowers below. |
|
|
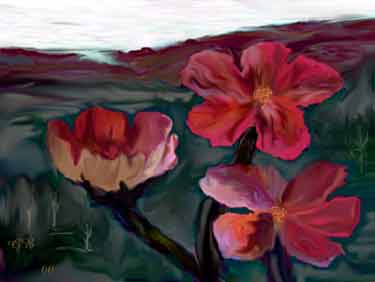
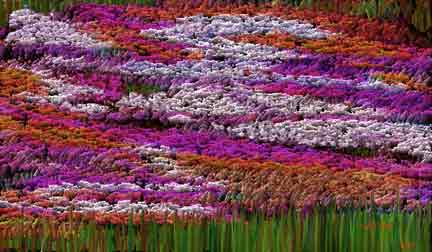
This is one of the first Field of Flowers that I can remember drawing. It looks like a SHEAR or RADIAL EFFECT was used on it. I like the crooked rows and the dark holes and banks that make it stand out. |
|
|
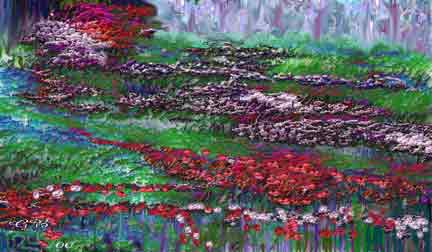
This image was created by CLONING areas of another "Field of Flowers". It is easy to see the CLOUD or SHADOW EFFECT on the field. The grass and flower stems in the foreground, and some trees in the background, were drawn in to complete this image. |
|
|
To CLONE from another image: Enlarge the the canvas or paper that you are working on, to allow you room to place your CLONE image next to the drawing you are working on. |
|
| I was going to do two more Fields of Flowers but I think that would be a waste of time. If you try out a few effects and plugins you will be creating great Fields of Flowers in no time. |
|
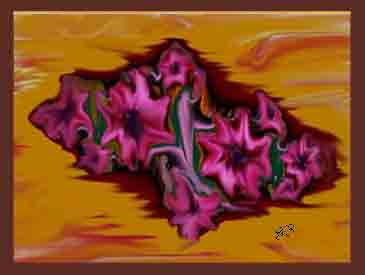
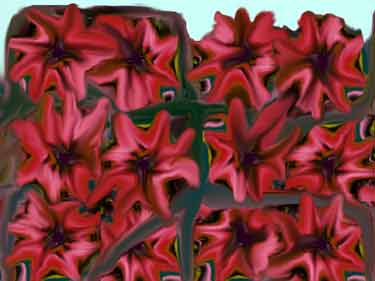
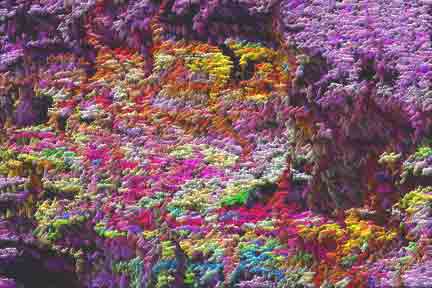
SMEAR FLOWERS -Contrast- In this image contrast makes five or six flowers stand out from the rest. Opposites attract our attention. |

|
|
Black is important. The black areas in this image create depth. Some of the contrast in this image was created by using the Sharpen Effect on Selected areas |
|
| The left side frame, on the image below, was created by selecting about 3 tenths of an inch of the page, then placing the CLONE tool on the center of the top frame, being careful not to move the master CLONE tool, move the CLONE BRUSH down the selected area, clicking on the mouse as you go. |
|
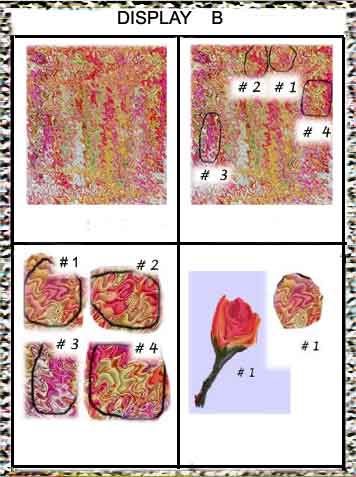
DISPLAY A SMEAR FLOWER I will show a couple of ways in which I draw Flowers 2- Use different effects and tools 3- RIPPLE effect 4- RIPPLE effect 3 and 4 show two RIPPLE EFFECTS to demostrate the same name being used by two major programs for two different effects. |

|
|
SMEAR FLOWERS 1- OCEAN RIPPLE EFFECT 2- Circle what you like. 3- Four items saved to work with 4- Magnify 300%, use SMUDGE & CLONE |
|
|
The sides of this frame are from the image above it. I selected one side at a time using the rectangular selection tool and then FILTER - TEXTURE - TEXTURIZER - BURLAP EFFECT were clicked in that order. When you do the other sides of the frame you only have to pick the top choice as that will repeat what you did last. With Adobe Photoshop you can select more than one area at a time .. but I have gotten into the habit of selecting only one area. In older programs when you select a new area the earlier selected area was deselected. |
|
Remember SAVE! SAVE! SAVE! This is the end of Class 2B, thank you for your time and trouble. and they have class on many different subjects. If interested take a trip on the link below. Like most free offers they have something to sell but they have to give to get.
|
|
A short review of Class 1A and 1B How to save an image on the internet. __________________________ Place the mouse cursor on the image. Click the right mouse button (sometimes left). If you are using a popular Browser a menu will drop down, you can save the drawing and work with it. How to find a word on a web page ------ if it is there. To find the words -COMPUTER GRAPHICS- Click on Edit then select "Find on this page" -- or-- Press the CTRL key (hold it down) press the F key, then select "Find on this page" Enter ----COMPUTER GRAPHICS--- Click on "Find Next". You will go to COMPUTER GRAPHICS, if those words are on the page. COMPUTER GRAPHICS is on this page many times it will go to each location ____________________________ At the bottom of the page you will find links to FREE AND DEMO PLUGINS The frirst link will lead you to four free plugins- Colors, Effects, Shapes, and Tools. You will like BLADES it is in this Tools folder. |
| Email Computer Creations |
| Visit Mickey Mouse |
|
Door to Class 3A Under construction - come watch the carpenter
|
