As you can see minor floorpan rust, it's not real bad yet but will be if I don't stop it now! Time for some primer and trunk paint, then I can install the new heat barrier material.


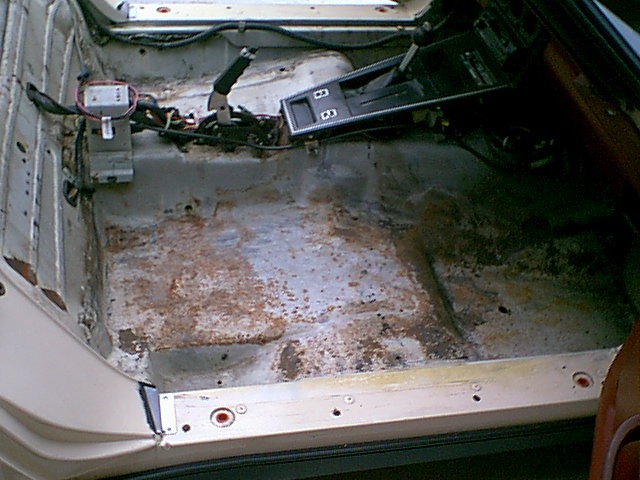
After wire brushing all the rust off the floor pans I primed and painted with trunk paint from the local parts store. The turnk paint was thick just like the rubberized undercoating I used for the fender wells so it should give good protection under the hear barrier material.


And finally the heat barrier material I got at Lowe's. I learned about this from the corvette forum, what a great bunch of knowledgable guys/gals. I could have never got this far if not for their knowledge, support and suggestions. Thanks guys/gals, you are the best!!!


While the dash is out I figured a little insurance wouldn't hurt by replacing the heater core. I would hate to get the new carpet in and have a major water leak in the interior. I decided to rebild the heater and A/C components "while I'm at it". Well below you see what was in the A/C not to mention the passenger vent. I also replace the fresh are seal on the vent while it was out. I think the seal for the vent was around $10 and $40 for the seals for the AC/heater core box.


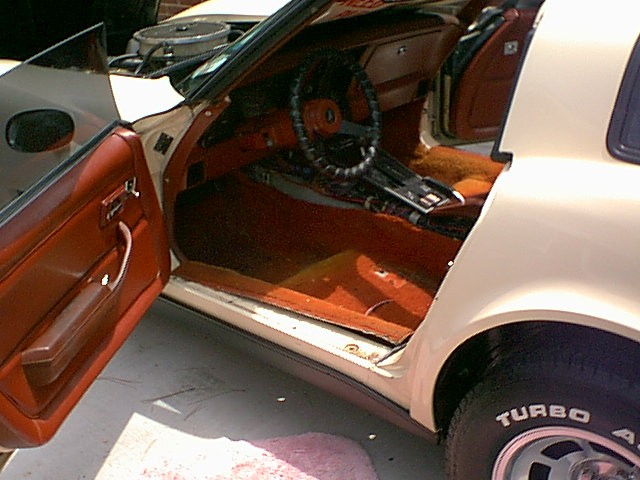
Now the doors have been painted with black die, and all new hardware. Next I will be ordering new carpet and and a new dash pad to install next summer. Now lets get those seats recovered. The new leather like seat covers arrived right before xmas break, but were not correct for my 81. After I received the correct ones I began the learning process of how seat covers were installed. If you ever try this yourself, do yourself a favor, go ahead and spring for the new wires and rings, the old ones were rusted to the original covers and would have been impossible to reuse. I'm glad now I bought the kit, it even came with hogring pliers that really came in handy!!!

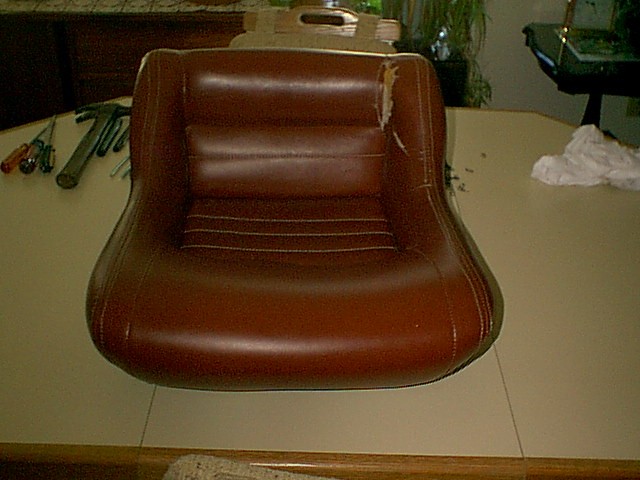

Here is what the foam looks like after the seat covers are removed, this is not all that hard to do once you get the hang of it and figure how the wires are made into the foam.


Here is what the completed seat look like. The carpet is now on order and should be here next week. Pictures of the installation will be next.


The new carpet has arrived, and inprocess of being installed. Pictures of that adventure are on the interior page 2.
Interior Page 2
Back to start
My summer project, rebuilding my engine
My summer project, rebuilding my rearend
My summer project, rebuilding my frontend
The new vette home


