

Front engine blocks:


Inner gearbox blocks

Two outer gearbox blocks
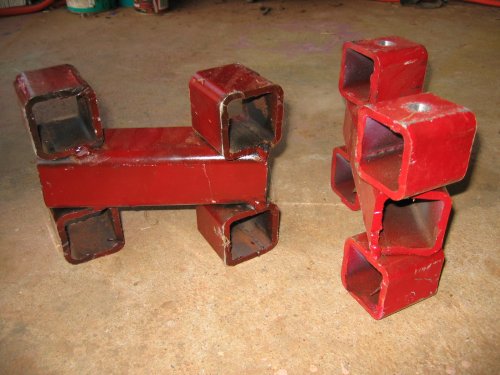

blocks for on top of Macpherson struts.

Inside engine bay:

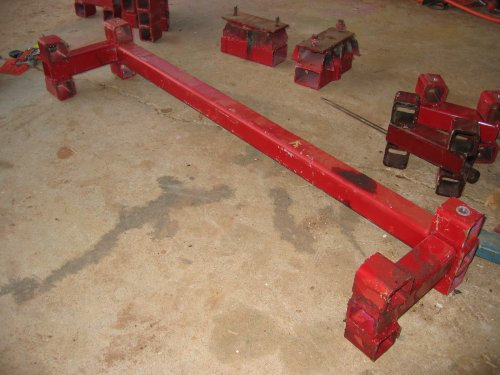
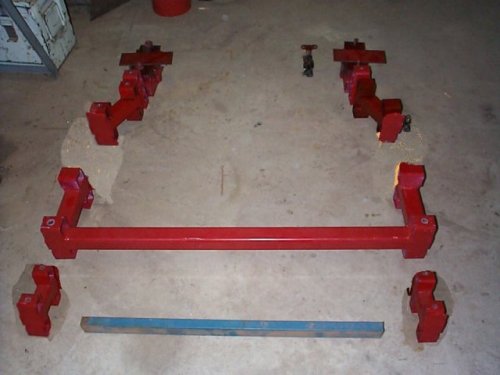
Rear torsion bar suspension blocks. Left side of picture goes towards front of vehicle. Big long cross-chassis RHS goes towards the rear.

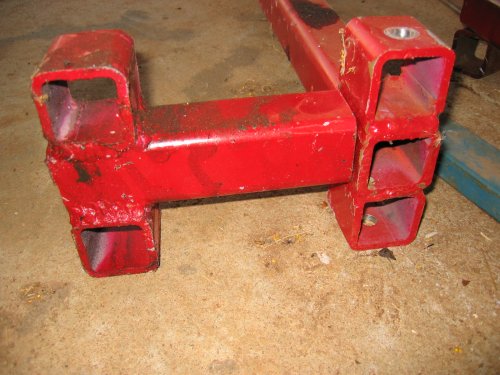
Closer look at rear suspension blocks. Measured fairly accurately but left unwelded until bolted in place. Will then be tack welded, pulled out, welded fully and then re-bolted back in.
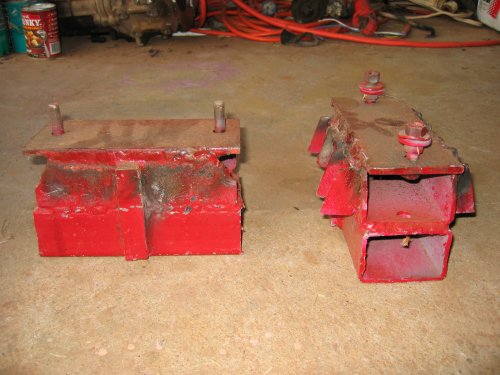
Rear diff carrier blocks. Something like the engine block, but a bit shorter.

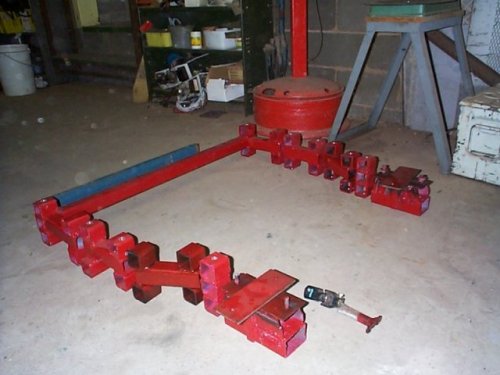
How the blocks will go in to Subey. Facing from rear towards the front.
I stuffed up laying out the blocks when taking these three photos. This one is the correct layout after my record breaking two minutes and 25 seconds of digital manipulation in paint shop pro.
Incorrect layout of blocks - side view.

Incorrect layout of blocks - side view.
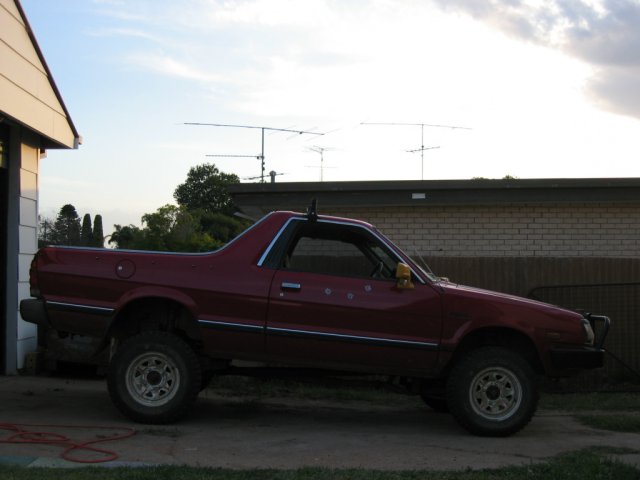
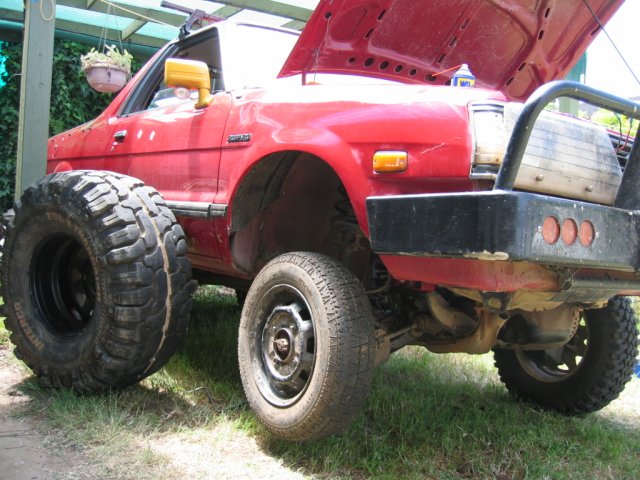
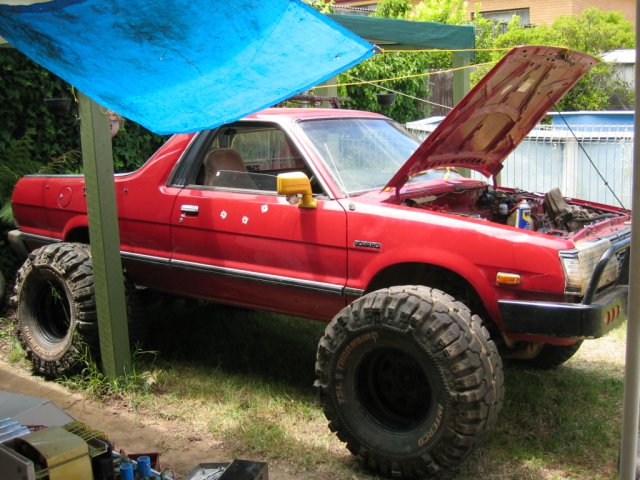
Sometime around September, got stuck in one Friday night and installed the rear 6" lift. Started at about 6pm, and finished around midnight. Fairly strong... I've done approximately 8 to 10 ute loads of blue metal, each being roughly 1/2 tonne. 100kg over the 400kg payload maximum. No sweat.

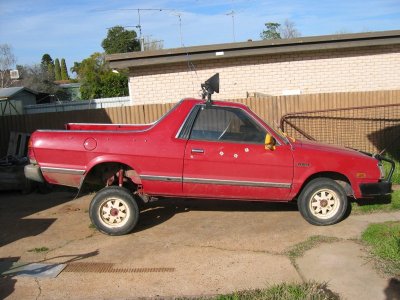
Come the weekend of 29th-31st October '04, finally got stuck into it and lifted the front. Took approx 26 hours - didn't help much that I was doing it all in a rush to have it back together again by Monday 5am to go to work. So I was in a bit of a panic to get it all done in one weekend. Having a mate or three around would have helped heaps - I'd recommend either having a bunch of loyal mates around giving a hand, or another vehicle and doing this over, say a week or two. Both options were out for me, I don't have any mates...
Plenty of little Gotcha's when doing this kinda thing. Some were:
Air conditioning pump brackets - it has to be raised about 3 to 4 inches to avoid hitting the chassis rail.
Fuel and vacuum lines - About four brackets had to be made to extend/lower the existing mounts that hold various lines. Fuel filter had to be relocated about two inches.
Gearstick and transfer levers - Biggest headache (and currently still is), is the gear throw. Heaps of time was spent getting reverse working correctly, but the gear throw is still off putting. About 30mm between 1st and 2nd, 3rd and 4th. She's a racing car gearbox now - and I cant stand it. Its either in or out.
Hand brake lines needed to be re-directed a fraction.
Needed to bang in the inner guards a fraction to get the 27mm offset in place for the front Macpherson struts.
Sump guard/bash plate needs to be extended and re-bent and re-designed and re-welded etc to fit lowered engine
Front driver (aussie driver side) lower panel needed to be removed to lower engine.
Accelerator cable needs to be re-directed.
Clutch line just fits - any more and would need something else.
Engine support needs removing, adding more length and re-mounted
Brake lines need to be extended, but fortunately I did this 2+ years ago, using 8" proper brake lines
Steering - interesting design I came up with. Cut and lengthed with double welded with additional over-sleeve. Uses 25mm x3mm pipe. RTA still wont like it though coz its been welded.
Upper and lower original radiator hoses were fine. I was very worried about these.


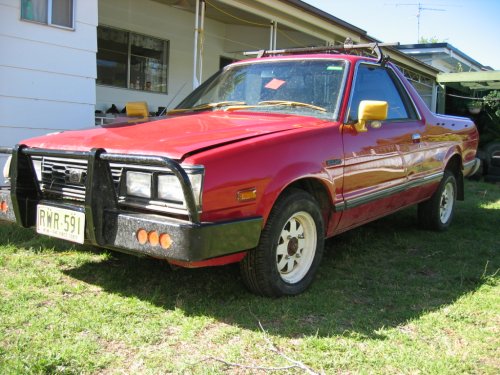
Then six weeks later, the RTA pulled me over and I got a nice red sticker on it, which basically means "unroad-worthy". And got slapped with a $600.00 fine.
So the lift was then taken out. Sux big time.
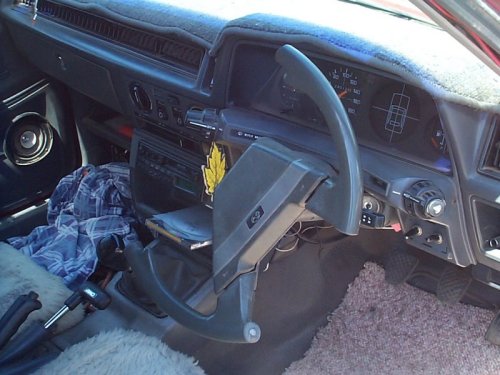
My old steering wheel...
More photo's HERE of my old girl and other lifted Brumbies/Brats.
Download Stuff:
Out of Town lift instructions are here (.PDF)
Back yard boys lift instructions are here (.PDF)
Lanny's lift is here (Word 97 .DOC)
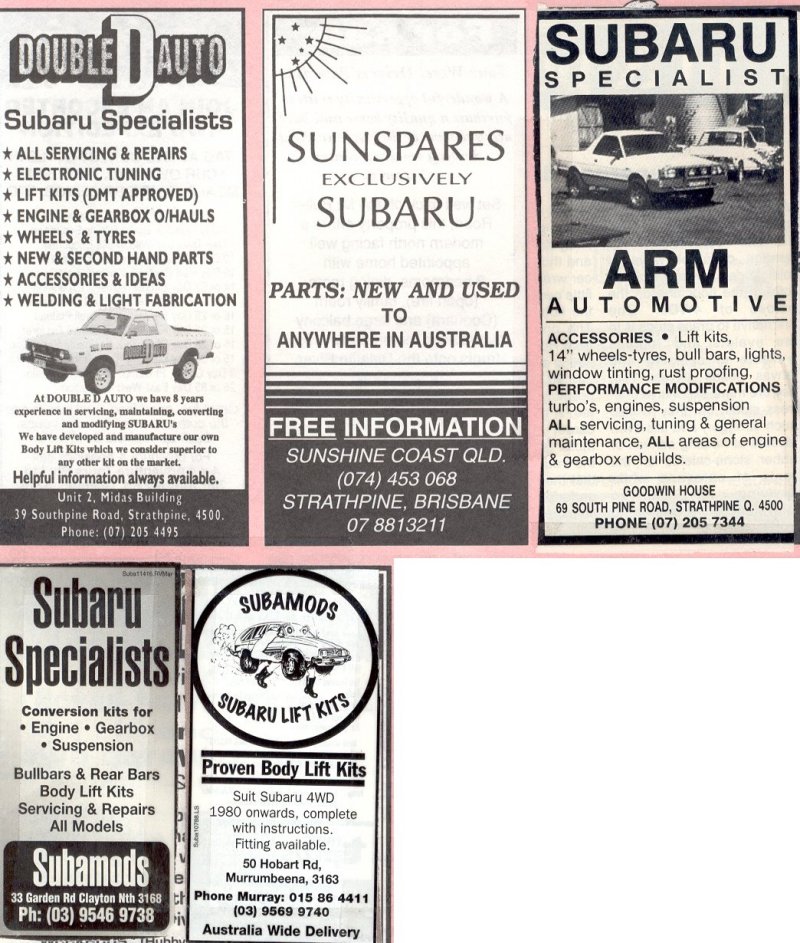
Piccy of Subaru Lift advertisments in Australia.
Links:
Lanny's old site. Full explanation of 6 inch lift with photos. Reproduced without permission.
Lanny's current Brat site. 6 inch lifted Subey.
Scott's Brat site. 6 inch lifted Subey.
Subey Page
email me: djmaunder@rockdale.com.au

