

---------------
Note: Graphic Intensive.. Please allow time to load & read the whole tutorial before beginning.
1. Open up a blank transparent canvas in PI8 (400 X 400, RBG selected)
2. Click on stamper & choose the pen stamp you want to use for graphic... (pen set attached different from sample)
[deselect after placing stamp so marching ants are gone by clicking on background]
2a. Add shadows to stamps. Go to Object (on tool bar)>Add Shadow>select first shadow.. set X axis =3 set y axis to 3 Transparency=50, shadow size=100 Soft Edge=10)
3. Using Text tool (T) select Font. (size 24) ("Calligrapher" was used in my examples & you can get that at www.fontseek.com searching for "Calligrapher")
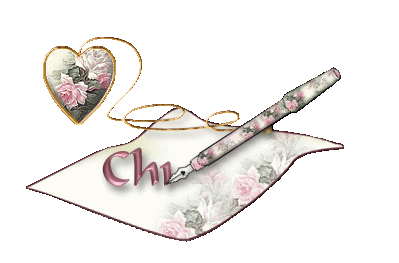
4. Type your name. With Material Gallery change font to a gel of choice "G01" (or use your custom made ones).
You should now have something like this:

5. Select Name (from Layer Manager or by clicking on it so there are marching ants.) Go to object (on top tool bar) > Convert from text/path to image.

6. Click on pen. With arrow tool picker move up on image (also in layer manager drag pen so it is at the top of the layer manager so it will be on top of letters.)
6a. Using rotating tool, rotate pen to the left 33 degrees.

You should now have this:

(This frame will be used for duplicating.)
7. Go to top tool bar... Select Edit>Duplicate. (Duplicate frame with base image)
8. We will now be using the eraser tool. Click on name in layer manger (or name on canvas) so there are marching ants. Erase all of the name except the tip of the first letter. With tool picker, move pen on top of the tip of the letter (as shown in example below)

9. Merge save as quill2.ufo
*note: there are 2 ways to continue... one way is to keep duplicating the frame from step 7 and continue erasing, moving the pen & then saving as you continue through the letters, OR you can in step 9 after saving, go to Edit> Undo up to the step of the first erase. (see screen below)

10. Select Edit>Duplicate. (Duplicate original frame with base image.) Or Use the one from the undo. Again click on the text so it has marching ants and erase additional parts of first letter.
11. Again move pen with the tool picker so that it ends at the end of the letter.

12. Continue steps 1-11 until all your letters are done remember to save each one as quill#.ufo.
Below are the samples on how to complete & how I follow the movement of the letters so it will look natural as if you are writing.
***PI TIP: If you find that you started with your image with too small of a canvas & need to make the width wider, there is an easier way of fixing that without having the image move or redoing. Go to Format on top tool bar. Select EXPAND CANVAS. Go to box that reflects right & add 25 or 50 to the right box & UNSELECT EXPAND SIDES EQUALLY. This way your pen doesn't get cut off.


At the end of the letters, I move the pen down so it is underneath the text.

I now save the original frame as the last frame to reflect the pen laying down.

Animation:
13. Now open up ULead gif animator [Go to "Switch" in upper right corner], select Gif animation wizard, size 400 X 400 (or size of frames) & open quill frames (add quill1.ufo from hard drive. click on add button adding quill2.ufo etc.)...frame speed 12.
14. Edit >Crop Canvas
15. View animation.
16. Select last frame (example is frame25) at bottom & go to top & select Frame>Frame Properties.. set frame at 40.
16. If your image is the way you want it , Save as .gif file. Done!!!!!!

{Note: If image is too large
After saving as a gif, I open up in PSP animation shop resize to 50% & then export each frame into PSP to sharpen.. then I resave as the gif in PSP Animation Pro.)
