
Step 4
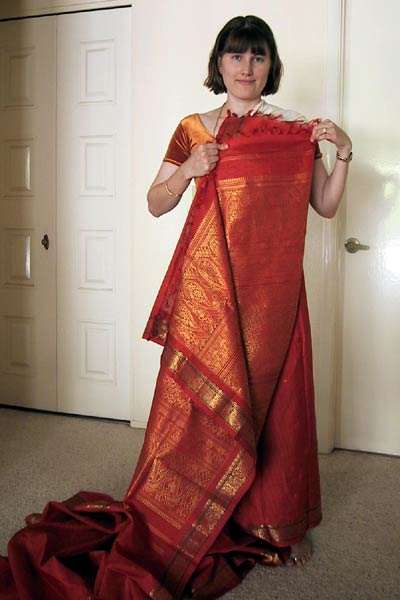
Find the pallu again, and try to loosely fold it.
Do not worry about doing it well yet, just fold it to get it out of the way.
Step 5
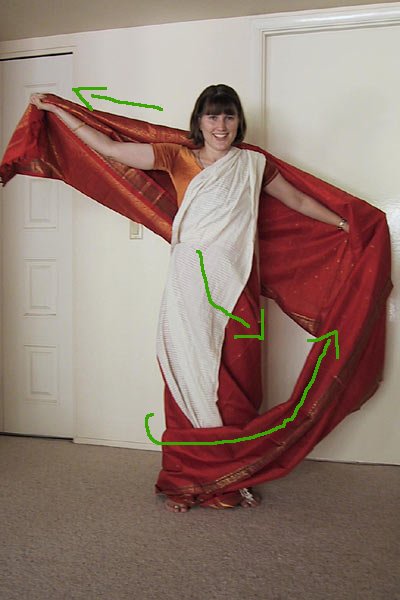
Take the pallu and bring it once fully
around the body clockwise.
The arrows show the flow of the fabric
starting at the place where you have tucked in front of the bellybutton,
to the end of the palllu.
Try not to twist the fabric in the process.
Step 6

Bring it around to the front, making sure that the
fabric
from your waist to the end of the pallu is not twisted.
If so, untwist it and make sure the pallu is
resting on your shoulder in the same direction
that the rest of the sari is flowing.
It wiill be clear later on if it is twisted,
so don't worry if you don't understand this step the first time through.
Step 7

Pull the pallu down over the left shoulder to the
desired length.
This is usually a little above the knees,
but is left up to the individual wearer.
