|
Travels With Charley A WebQuest for 9th, 10th, 11th and 12th Grades (History, Reading and Writing)
Designed by:  Introduction | Task | Process | Evaluation | Conclusion |
|
Students are divided into four groups, 4-5 students per each group.
Students are encouraged to each pick a different route in the WebQuest.
All of the research materials are provided in the
WebQuest. However, the students are encouraged to go beyond the
information provided to find additional information on the Internet and in
the library. The students work in teams and record what they have seen and
something of the history of several stopping points. They record the
information in a journal, which is produced on a word processor.
Images in the form of pictures and maps are used to
illustrate the journal. Skills in narrative writing, research, organizing,
computer use, and collaborative learning are important activities in the
process. The final product is submitted for a grade by each group and
presented to the class. The WebQuest is flexible, allowing for variations
according to academic level and limitations in technology. Students should
have some prior preparation with search engines, word processing, and
manipulating graphics.
The teacher could ask the students to look at a map
of the United States to locate and pronounce some of the cities and towns
between New York and Los Angeles. When the stage has been set, the teacher
announces that the entire class is going on a journey from across the
United States with a dog named Charley. Introduce the book, Travels with Charley by John
Steinbeck. The teacher uses the included rubric to explain how
the activity will be evaluated. Students are given a copy of the rubric
for reference. All of the forms required are in the WebQuest. It is
important for the teacher to explain to the students how to complete these
forms accurately.
The teacher can "walk" the students through the
various steps of the process, discussing some of the activities required
to complete "A Travels with
Charley Journal." When the students have an adequate understanding of
how to navigate the WebQuest, the lesson can begin. The teacher must
monitor the progress of the writing and research and the techniques the
students are using to coordinate text with various images. All of the
materials for the teacher and the students are on the WebQuest site, but
the teacher might want additional resources to accommodate specific
students. Only the teacher can determine the length of time required for
the class to complete the lesson. After the research and the writing has been
completed, the final product is submitted. The journal will be submitted
as a Word document or in some other word processing format. You may want
the students to use a desktop publishing program such as Microsoft
Publisher, Corel Ventura 8 Publisher, or Adobe PageMaker. When the journals have been completed, the
presenter of the group will get up and give a 3-5 minute speech about
their group's journal. PowerPoint can be used for this part of the
WebQuest. Then, after speeches are completed, the teacher asks all of the
students to look at the journals of the other groups. Each student can
refer to the rubric and decide the strengths and weaknesses of each
journal. Awards can be given for various categories: writing, graphics,
design, and creativity. |
|
Body:
Using the John Steinbeck book,
Travels with Charley as a
guide, you will record your journey in a Traveler's Graphic Journal. You
will join a Travel Team and work together to write a narrative of your
experiences illustrated with photographs, maps, charts, and other
graphics. Get ready for a wonderful experience. Students..... start your
engines!" Using Internet resources, you will
create an illustrated journal documenting a simulated journey from the
East Coast to California (depending on which route you take). This journal
will include written descriptions of many of the places you may see along
the way, including pictures of interesting places, people, map references,
historical references, graphics, and references to web sites for
additional information. You will be creating this journal as part of a
research team. You and your team will combine your talents to create a
well-written, graphically interesting, and exciting account of a 500 mile
journey. Your completed journal will be printed and handed in to the
teacher after being presented to the class by your group.
Arrange the class into groups. The
WebQuest calls for four groups, having between 4-5 students in each
group. Review the responsibilities of each role with students and have
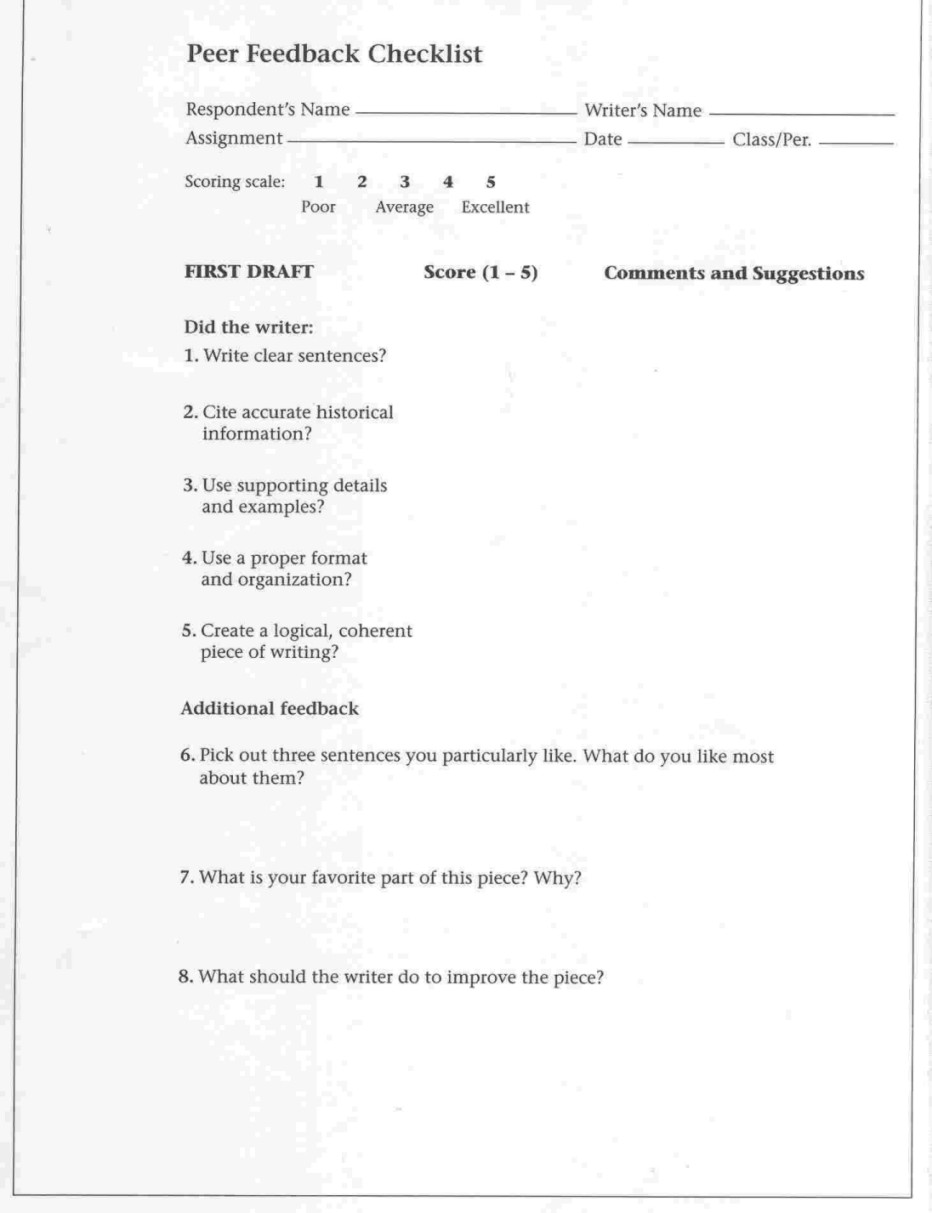
them pick what role they want to assume. Print out the rubric for the
lesson and discuss the details of the assessment process. Give each group
a copy of the rubric
and Peer
Feedback Checklist. Students' roles are listed below: In this step you can assign the
route each group will take in their journey from the East Coast to the
West Coast. Or, you can have each group make that decision. Although there
is no reason why all the groups can't take the same route, a variety of routes might result in a more
interesting assignment
Place a time limit on all of this decision making. Assist each group in making this
decision. ROUTE
#4: PAGES
209-277. Using the Traveler's
Planning Form. Each group should print out one form and complete the
information on the first day of the assignment. Keep this form for your
information and to assess the activity of each group as the assignment
begins. Ask students to open the
Traveler's
Team Activity Log. Pass out a copy of the form, discuss it's purpose
and when it is due. This form is for you to evaluate the progress of each
team. Students record the miles traveled along with notes about their
research, writing, conferences, and decisions. Students write a Daily Travel
Journal. This is the on-going writing and research process. Ask
students to use the word processor to take notes and write journal
entries. Although the Writer is responsible for most of the narrative, all
members of the team should be involved in the writing process. The
Historian gives the Writer important information to add to the journal.
The Designer gives the Writer suggestions for graphics to illustrate the
text. Ask the students to save all the work they have done to a disk on a
regular basis. Graphics may be saved on a separate disk or in a separate
file. Have an adequate number of blank floppy disks available and label
each disk with group's name. |
|
Conclusion Activity: Step 7: Publishing the Traveler's Graphic Journal: When
students have completed the writing process, they can add photos, titles,
and other images. Take time for instruction on the effective use of
graphics and how to add them to a page of text. Color photos will
reproduce in clear and crisp black and white. Use the black ink setting on
the printer. If possible, ask the students to print the front cover in
color on someone from the group's home computer. Suggestions for
publishing the journal: Presentation: The Presenter will
through a prepared speech or PowerPoint presentation show their group's
Journal through images and journal descriptions. Speech/presentation will
be 3-5 minutes in length. Notes/PowerPoint will be turned into instructor
after the speech. Each group will present their journal to the
class. |
|
Assessment: Teachers can use a
rubric
to assess students on the following criteria (research, organization,
writing, design, and collaboration): Conclusion: A Traveler's Graphic Journal has given you an opportunity to "travel" to places you may have never seen. You have made observations concerning history, geography, and literature and the arts. You have learned how to look carefully at details and write about your observations. Your journal is a document to the history of people you may never meet. Perhaps you learned something about the diversity of the United States. Your journal reflects only a small portion of the history and culture of millions of people. Now you can continue your journey by taking another route to another destination. There are millions of destinations for you to experience. Continue to explore. Credits: |