Now head back to Matoya's Cave to give her back her crystal. Her cave, if you remember is just north of Coneria. You can take your ship right under the bridge that the king built for you. Then take the east coast up to a port, head north from here to the cave. |
 |
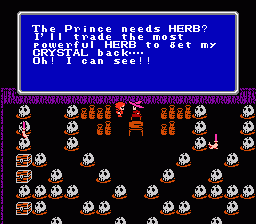 |
Matoya will gratefully trade you the crystal for a HERB for the elf prince. But, if you talk to her again she tells you that you have no business and to leave, whatever. You have the HERB now so head back to Elfland to cure the prince. |
When you get back to Elfland head to the castle. The elf by the prince is very happy that you have the HERB and the prince starts to awake. |
 |
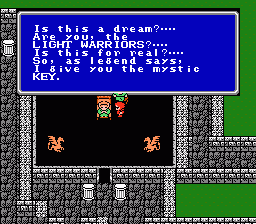 |
The elf prince can't believe that the legend is true and thanks you by giving you the infamous MYSTIC KEY!!!!!!! Now you can go get all that treasure that you've missed throughout the game. (Note: It is not necessary to get any of the treasure locked by the key except at Coneria Castle, but it is highly recommended.) |
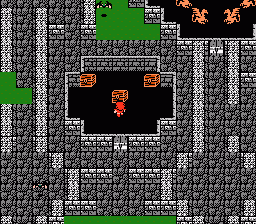
Let's start with the castle you're in right now. The room in the upper right hand corner of the screen can be opened by the mystic key. In it you'll find a copper gauntlet, a silver hammer, and some G. Nothing real big, but still worth getting. |
 |
 |
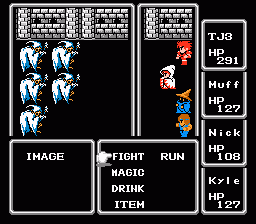
Next let's head back to the Northwest Castle for some goodies as well. In this room you'll find some nice iron gauntlets for your fighter, a falchon, and a nifty power staff that's worth 12345G!!! (Sell it!) But beware, these treasures are guarded by images and mummies. |
The images and mummies are both fairly strong foes. Simply use FIR2 or HRM2 if you want to knock them out. I recommend doing a little leveling up at this point because you can gain some quick EXP and G here. Simply move back and forth in front of the treasure chests. You can avoid these enemies by not walking directly in front of any chest if you wish. |
 |
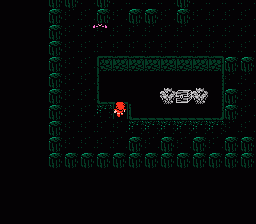 |
In Marsh Cave remember the very bottom 4 rooms were locked, well they're not anymore. Only bother with the two on the left side, the other 2 are empty. There you'll find a silver bracelet and a silver dagger. Watch yourself though because the same wizards that guarded the crown are guarding these 2 treasures. |
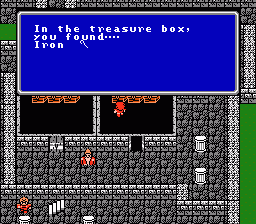
The next treasure is at Coneria Castle. The items include an iron staff, a sabre, some iron armor, an iron shield, and TNT. The TNT is a necessary item in the game and even if you get none of the other treasures locked by the Mystic Key you must get this one, it will come in handy pretty soon. |
 |
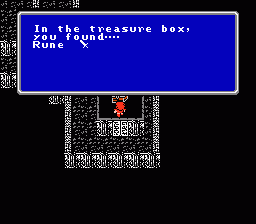 |
Your final stop is at the Temple of Fiends. Pick up the Rune and Were swords and a soft in the top and bottom right hand corners. These chests are guarded by Gargoyles but they shouldn't be any problem by now. If you have a thief give him the Rune sword otherwise just sell them both. So where to next? Head back to your ship at Coneria. |
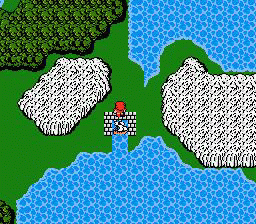
The only place left to go is Dwarf Cave. To get there first head west in your ship along the coast from Coneria. You will eventually come to the port shown in the picture. Get off here and head towards the west. You will hit a fork in the road, head down, the path to the left is a dead end. |
 |
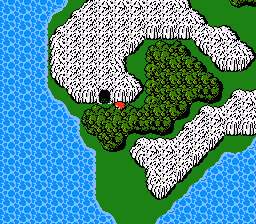 |
This is the entrance to the Dwarf Cave, they are interested in the TNT you have to help them build a canal. There's also some treasure for the taking. |
-Now that you tied up some loose ends it's time to concentrate on the crystals, the dwarves will help you get to the first of them. |
|
|