|
+
Paint Shop Pro Instructions+
The
following are the instructions for setting up your
doll that you've made from "Instant Dollz"
page if you are using Paint Shop Pro.
*I
would really appreciate it if you put up a banner
or a link for me if you are going to use the dolls
that you have made on my page*

If
you are going to use Paint Shop Pro (Start -->
Programs --> Jasc Software --> Paint Shop Pro)...
*NOTE*
Paint Shop Pro is not standard on all Windows
Platforms. If you do not know if you have it or
not, then you better go back to the Windows
Paint Tutorial
1.
After you've made your doll in the white box,
press the "Print Screen" button on your
keyboard. (This
is next to the button that says F12)
2.
Then go into Paint Shop Pro (where? Look at the
blue section up top...it may be a little bit
different on your computer, but you know where it
is!).
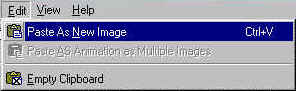
3. Once you're in PSP, go to Edit --> Paste As
New Image,
shown below:
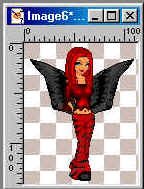
4. Once you paste in
the image, it may appear to be really scrunched up
and small (Figure 4.1), so just go to View -->
Normal Viewing (Figure 4.2), if your image looks
normal, then skip this step.
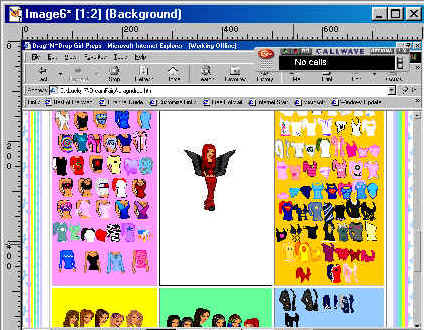 Figure
4.1 Figure
4.1
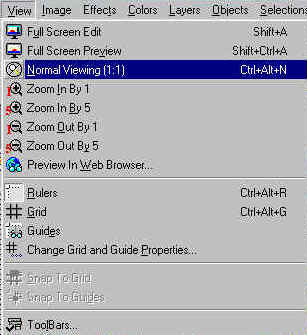 Figure
4.2 Figure
4.2
5. Now that you can
see your doll normally, click on the Cropping Tool
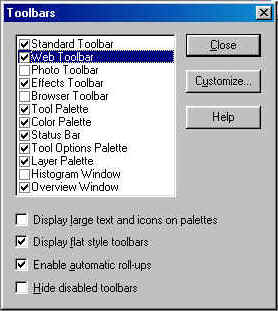
on your Tool Palette (Figure 5.3). If you do not
see the palette then go to View --> ToolBars...(Figure
5.1) and then put a check mark in the box next to
the words "Tool Palette" (Figure 5.2)
and then press "CLOSE"
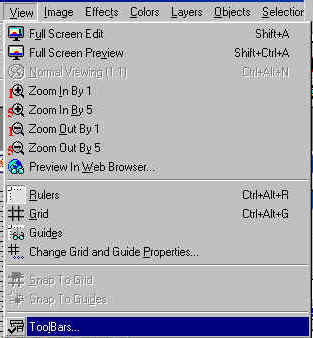 Figure 5.1
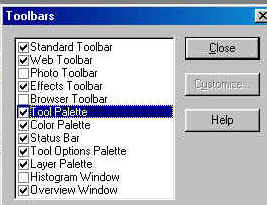 Figure 5.2
 Figure 5.3
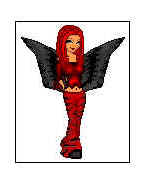
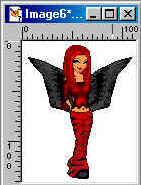
6. Now, crop your
doll by dragging your mouse and putting a box
around the doll on the WHITE background like the
following:
7. After you have the
box around your doll, go to View --> ToolBars...(Figure
5.1 up top) and then put a check in the box that
is next to Tool Options Palette (Figure 7.1) and
then press CLOSE:
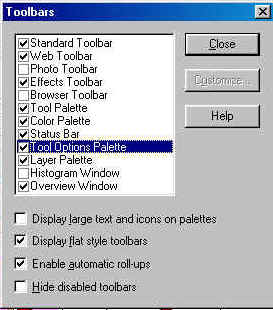 Figure 7.1
8. A new tool bar
should thus appear on your PSP screen (it may only
be a little blue bar like Figure 8.1, but once you
put your mouse on the blue part, it'll become
bigger like Figure 8.2)
 Figure 8.1
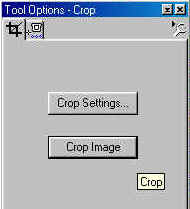 Figure 8.2
Now just click the CROP IMAGE BUTTON and you're
picture should look like this:
9. Now you have your
own doll. If you want a transparent background (if
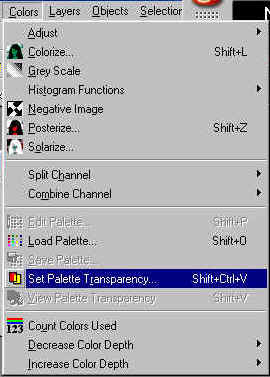
not then skip to step #13) then go to Colors
--> Set Palette Transparency shown below:
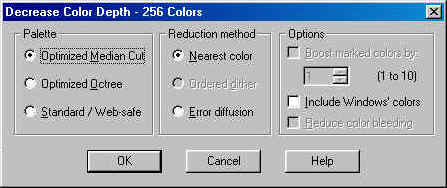
10.
Then when the Decrease Color Depth window pops up,
make sure everything matches the following and
then press OK:
11.
When the next window comes up, put your mouse over
the white background of your image so that it
turns into a black and white version of the
following:
 (a
eye dropper) (a
eye dropper)
Then click on the white background and now your
window will look like the following (so that the
dot is next to "Set the transparency value to
palette entry" and the color next to that
statement is white...the number doesn't necessarily
have to match
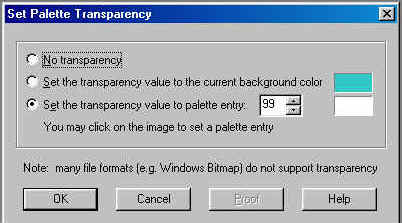
Then press ok
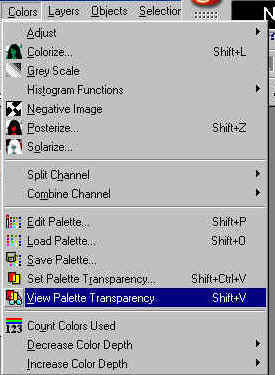
12.
To view your transparency, go to Colors -->
View Palette Transparency:
Now there should be boxes behind your doll
(alternating colored and white boxes):
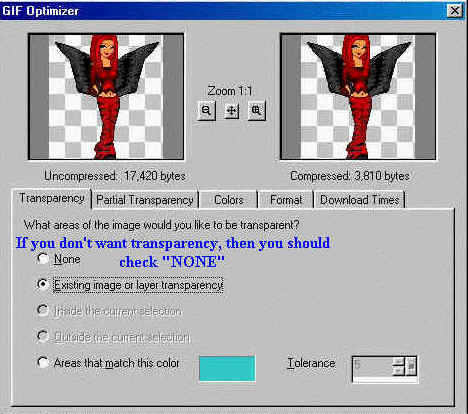
13.
Now, you must save your image under a gif format,
follow the next few pictures and make sure
everything is EXACTLY matched (unless you have a
different version, it should match exactly. I have
PSP 7.0 so if you have a lower version, just try
your best for it to match). If you do not want to
have transparency, then make the changes from the
pictures by doing what it says in
blue.
If all the pictures do not show up, either refresh
this page (if you've accessed from www.angelfire.com/realm/icyparadise/)
or right click and say "Show
Picture"...if neither of those works, just e~mail
me: The stuff in
red
is very important
Figure
13.1
 Figure
13.2 then press close
Figure
13.2 then press close
 Figure 13.3 Click on the GIF button
MAKE SURE EVERYTHING MATCHES:
 Figure
13.4 Figure
13.4
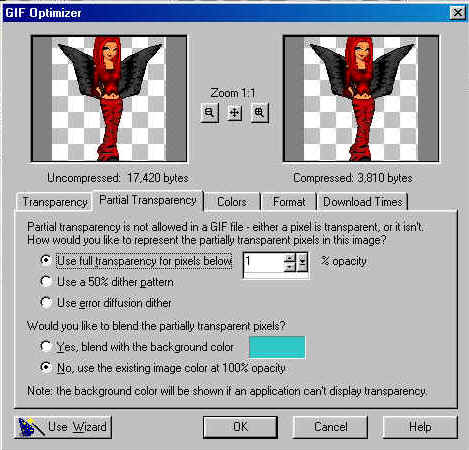 Figure 13.5
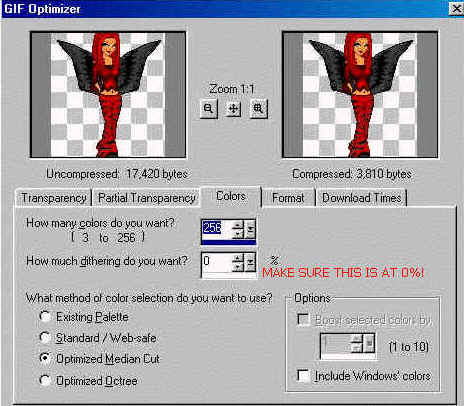 Figure 13.6
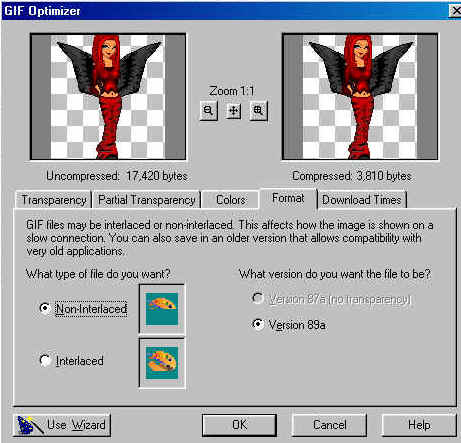 Figure 13.7 then click OK
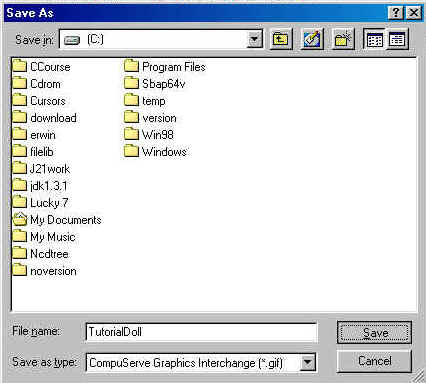
14.
When the window pops up, find a place that you
want to save your doll in and then give your doll
a name. Press SAVE:
CONGRATULATIONS
YOU'VE JUST MADE YOUR VERY OWN CARTOON DOLL!
Last
Updated
|

