CURRENT PROJECT PAGE
- PROJECT ARCHIVES
Welcome to ALL WORK'S CURRENT PROJECT page where we post our most recent jobs along with photos and descriptions. We would love to hear any questions or comments you may have about any of our jobs. Please refer to our "PROJECT ARCHIVE" page to view our past jobs. THREE FOLD 11/09
This project, duly noted as "Three Fold", was a series of three medium size jobs.
Project #1 "Row Your Boat"
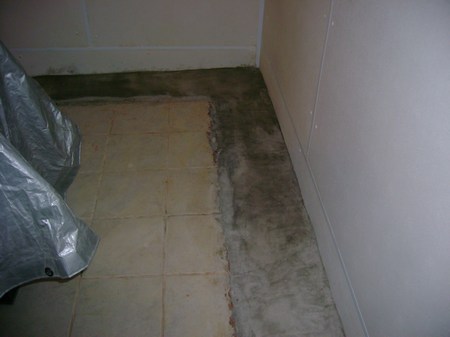
Starting out in the basement the client had a major rain event filling their basement with water ultimately damaging the perimeter walls with mold and mildew.
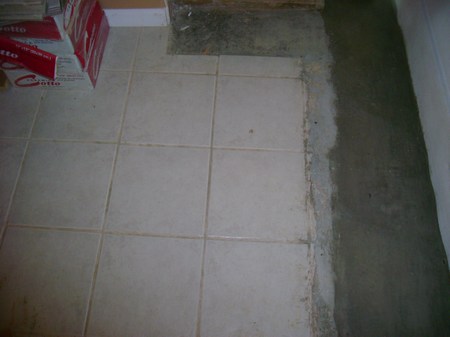
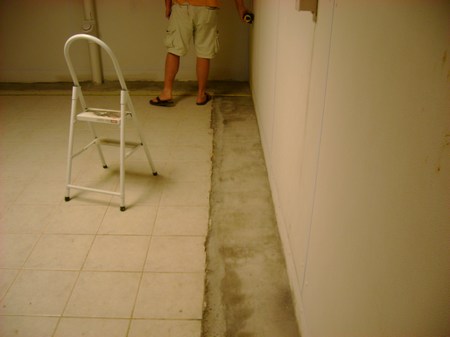
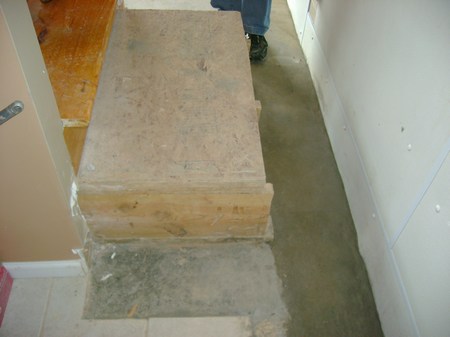
If you have a wet basement there are a few things you can do to get it dry. Our clients called in a company that specializes in dealing with leaky basement walls. The company jack hammers a channel around the perimeter of your basement excavating the soil beneath and installing a perforated pipe that collects ground moisture and carries the water away from the basement usually to a sump pump that removes the water.
Once the pipe is installed they fill the remainder of the channel with concrete sealing the channel up. This is where that company stops and we come in. They do not replace finish floors or patch walls that they remove to dig their channels. If you do have finish walls in your basement they will remove any section that crosses the path of their trench but it's up to you to put back what they take appart.
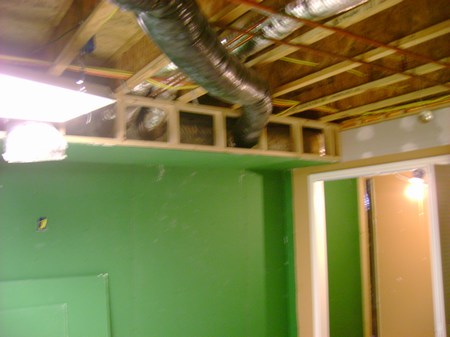
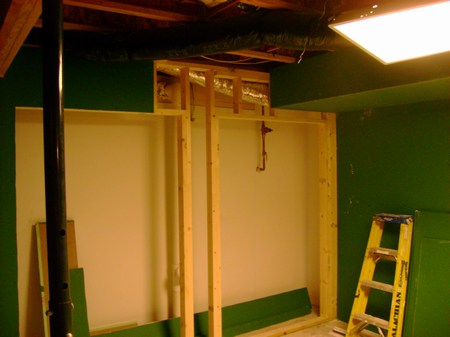
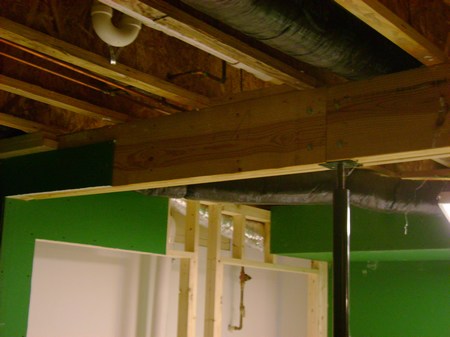
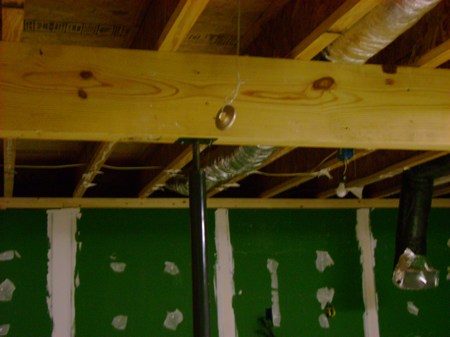
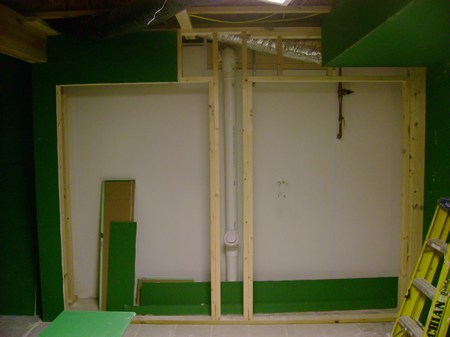
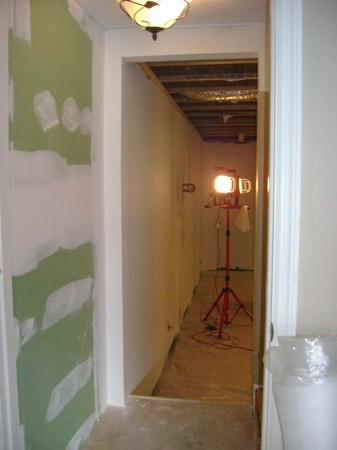
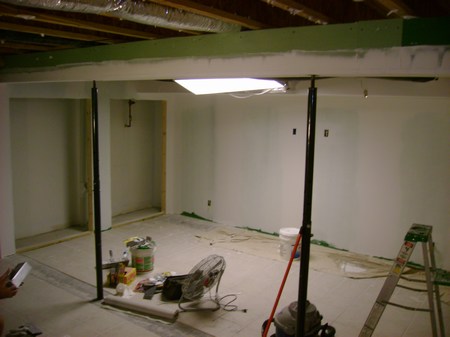
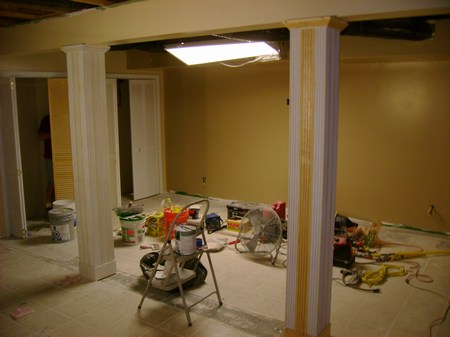
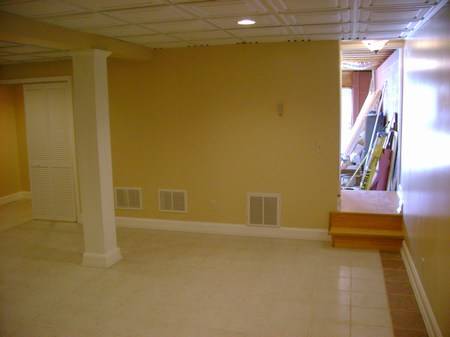
We frame up the outer walls, closets and support post then sheetrock using moisture resistant green board. ALL WORK uses the moisture resistant green board on all of our basement jobs. Basements are normally damp so we use green board even if the basement doesn't have a history of leaking.
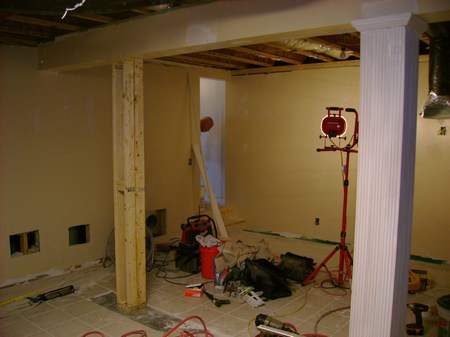
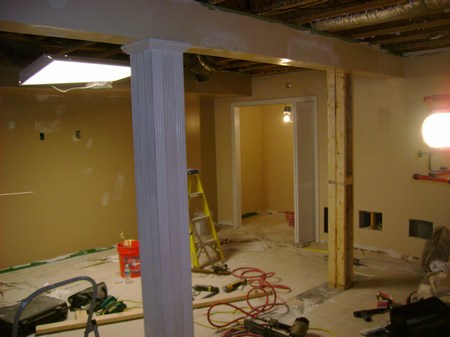
Next we frame around the columns to support our trim, in this case we use 3 fluted pieces of trim per side. This gives the columns a Roman style appearance.
Finishing up with some custom trim work on top and bottom now the columns are ready for paint.
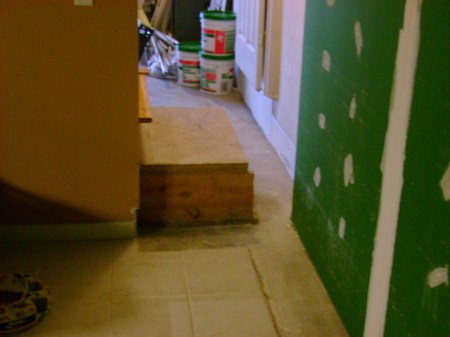
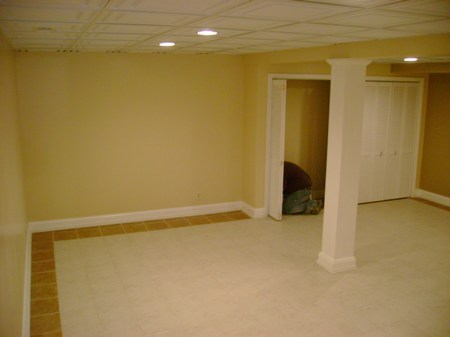
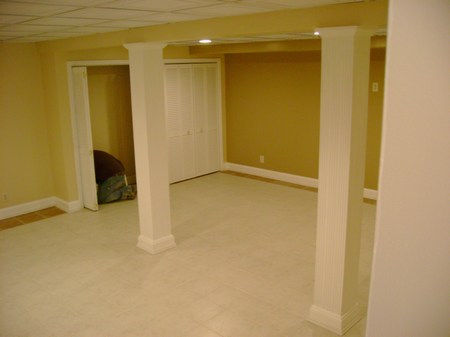
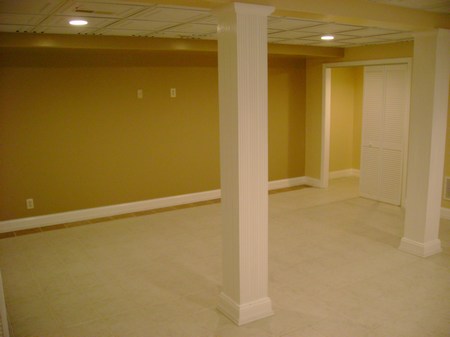
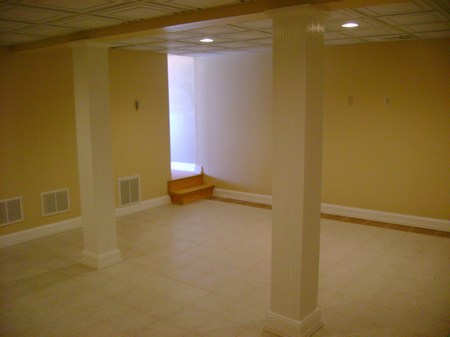
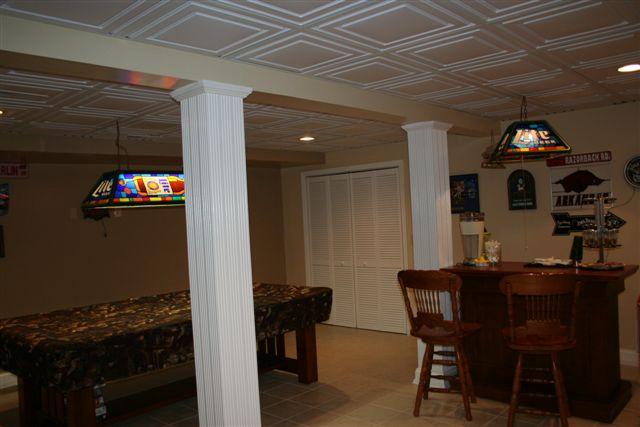
Finished Pictures of the Basement Project
Project #2 "The Bends"
Yet another Structural problem due to poor construction. We've seen this time and time again in this area where the contractor does not build the house correctly. If your a past visitor to our site you've most likely read up on some of our past jobs where we have encountered this problem from other contractors.
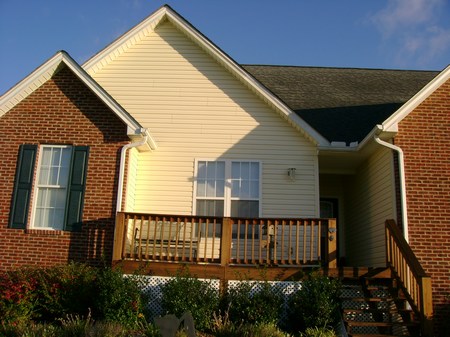
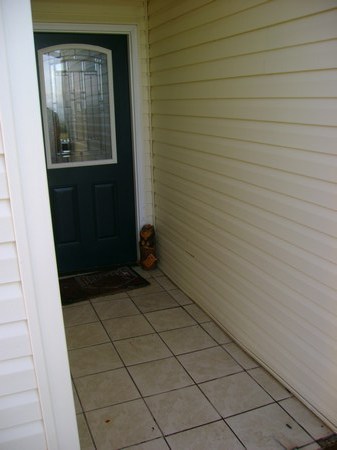
This is a very nice house located on the east side of Morristown. With the first glance it's tough to see anything wrong but a closer look you can that something just isn't right. The floor seemed to sag or slope from side to side. Notice how the entryway to this house was constructed back away from the outer wall of the house creating a small exterior walkway.
The problem here is two fold. The wind driven rain runs down the siding resting on the walkway with no where to go but to soak into the floor causing it to rot. The hidden problem is that this area was not framed correctly. Weight from both sides of the hall way press down on the walls and from the moisture weakening this area made the floor begin to sag.
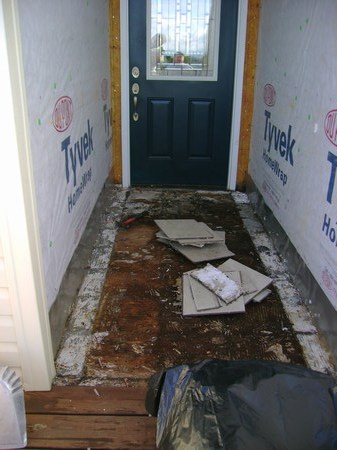
We start by removing all of the siding and the damaged and rotting floor.
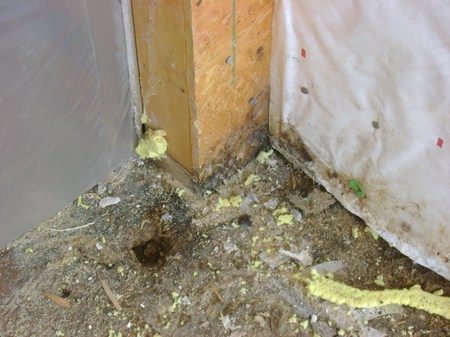
To the trained eye the problem here is obvious in the picture below. Notice the block wall beneath the floor joist. Now look to the left to see the wall of the house. This is a weight baring wall but has nothing below to support it. The block wall below should be directly underneath the weight baring wall for proper support. This wall carries the weight from itself, the flooring, siding, framing, roof framing and shingles and should transfer that weight to the block foundation wall. The original contractor missed this on the other side of the hallway as well, also a weight baring wall.
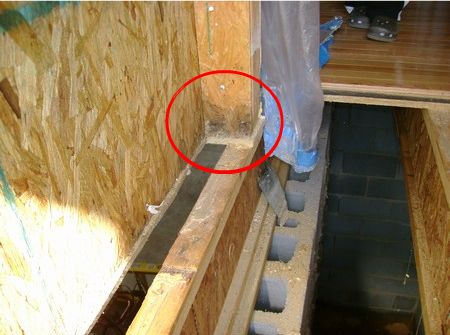
Notice the framing in red circle. This is part of the original door jam and the only area the contractor had sitting on the support wall from below.
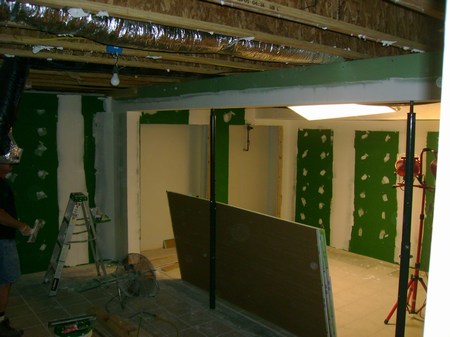
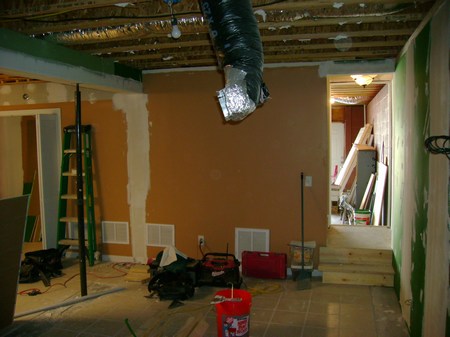
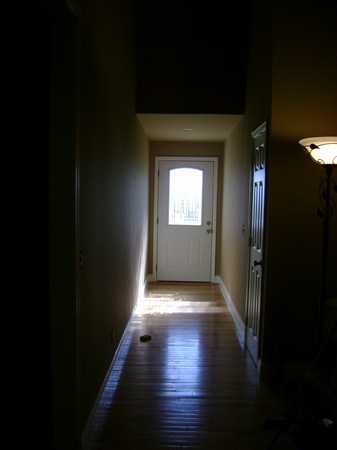
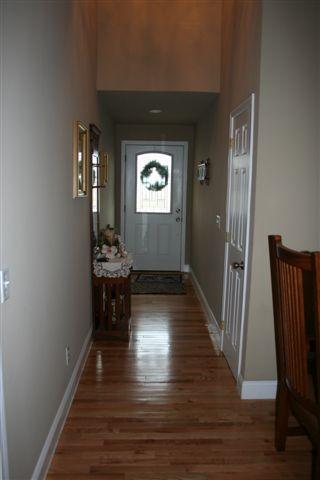
After we reframe the supports for the walls we strengthen the framing above where the door framing is to be removed. Next we reframe the door opening to the front of the building and re-install the siding. Finially we finish the inside by installing drywall, hardwood floors, trim and paint.
View from inside
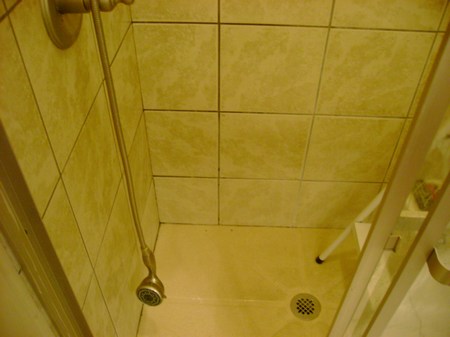
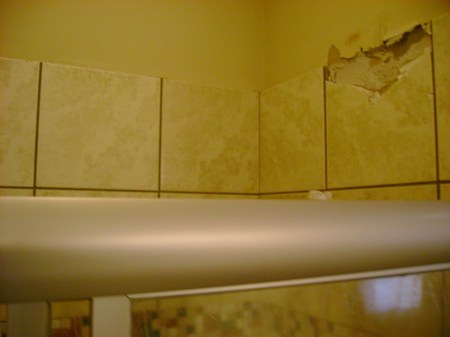
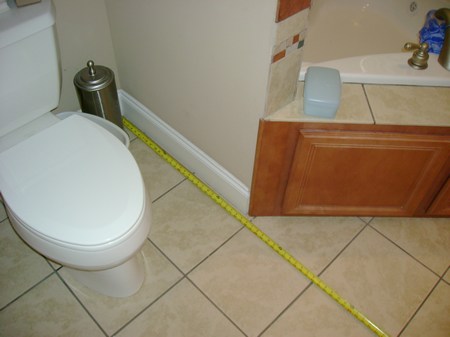
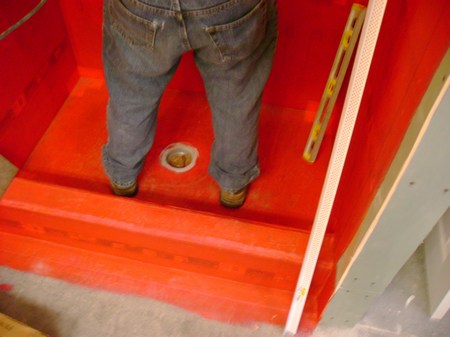
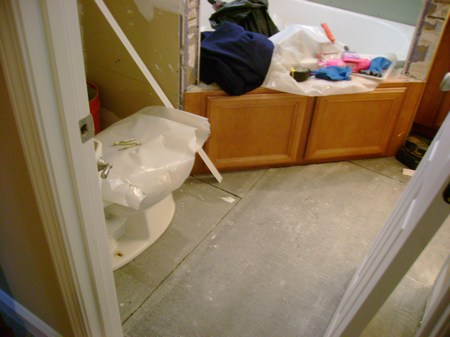
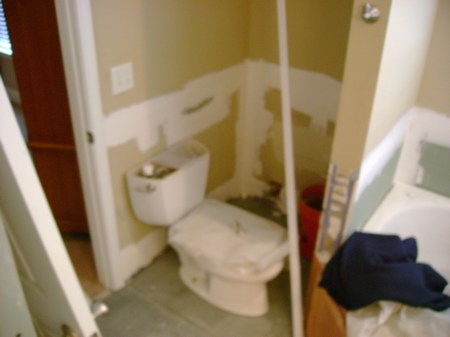
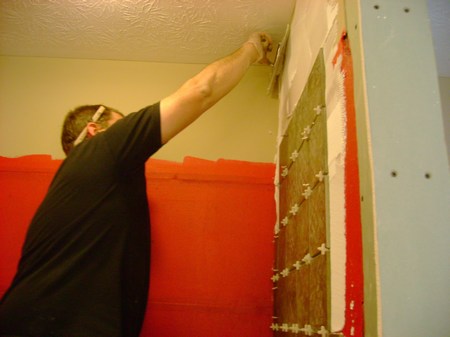
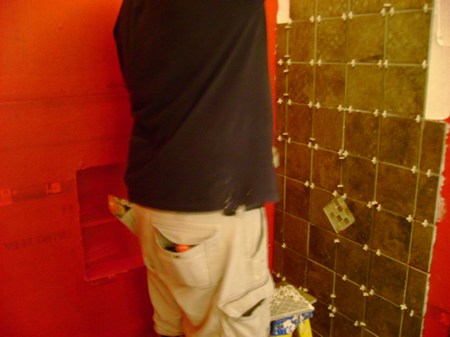
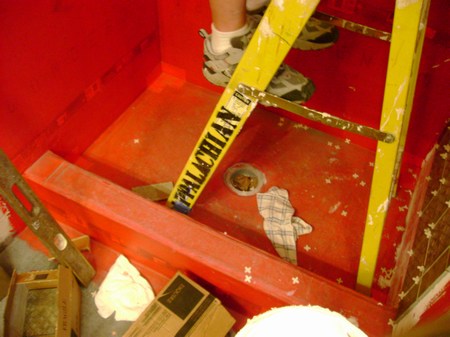
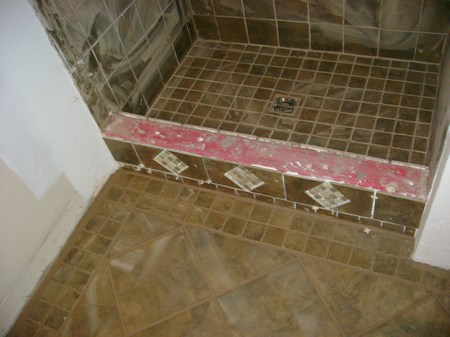
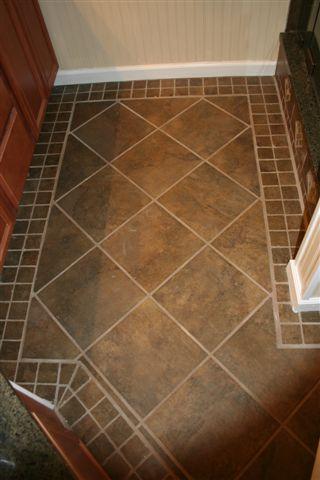
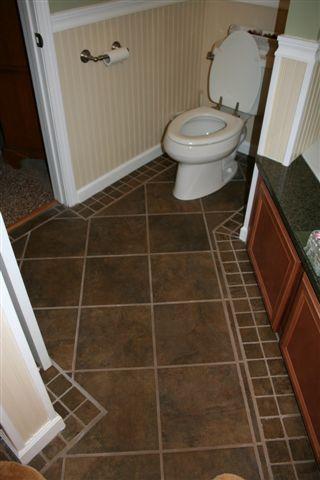
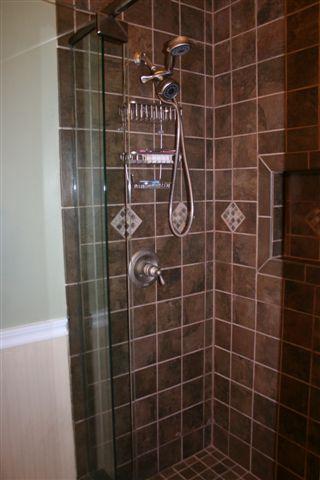
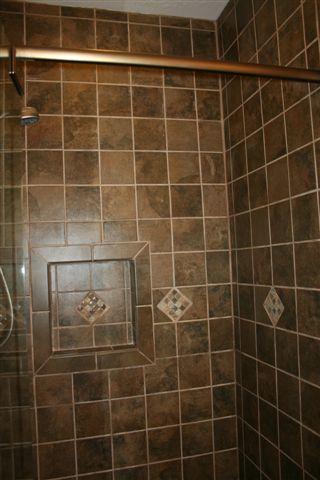
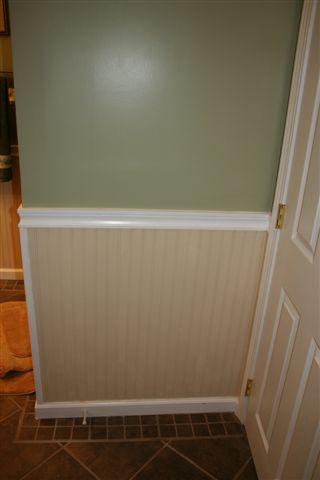
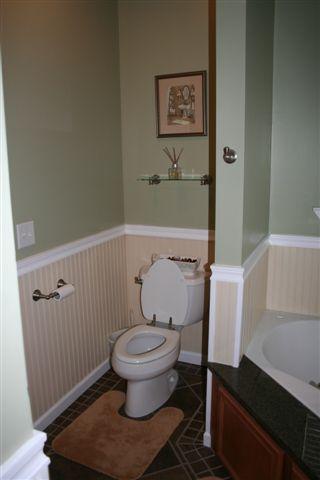
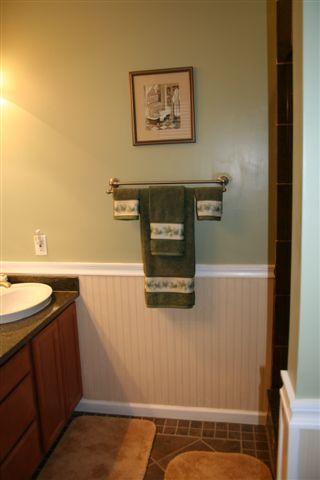
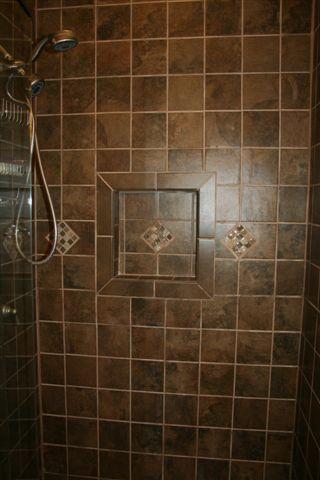
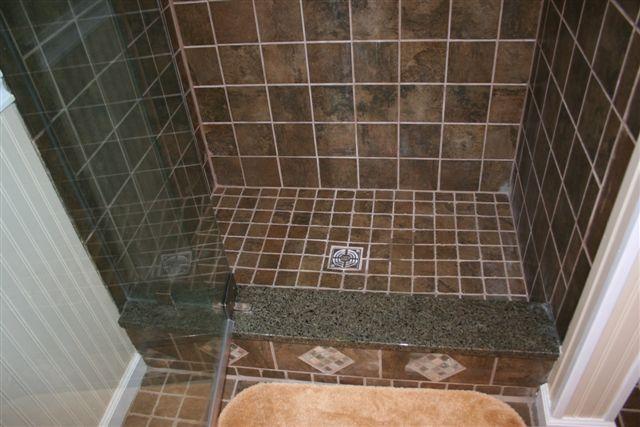
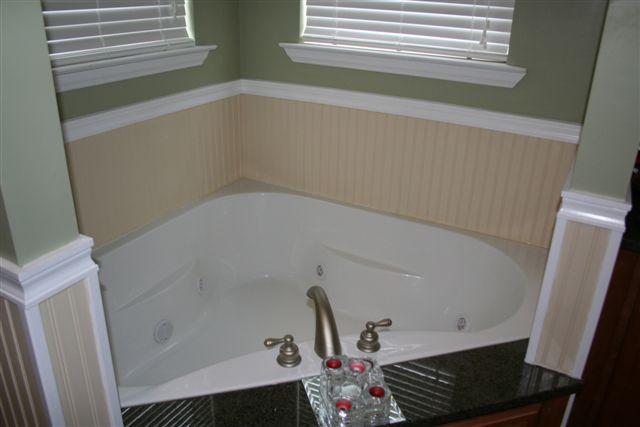
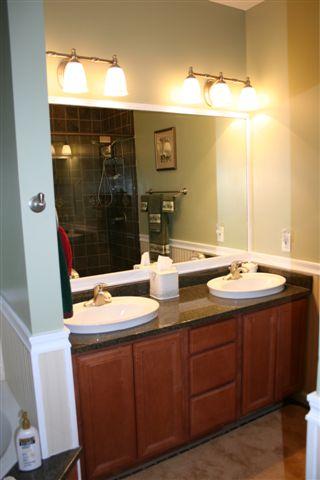
Project #3 "Lather, Rinse, REPEAT"
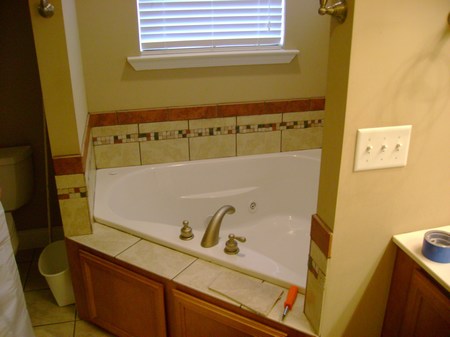
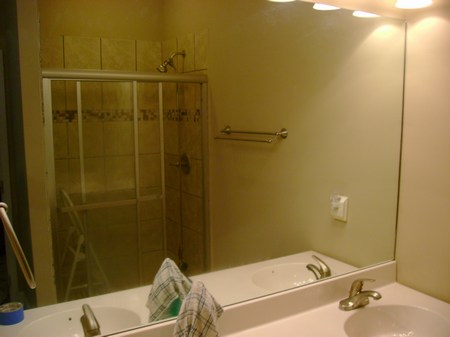
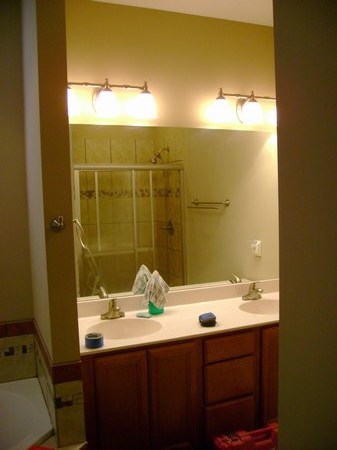
Master Bathroom Remodel Project: When our clients original contractor built the shower they didn't use a membrane liner or a rubberized sealer and the shower leaked onto the original finish ceiling in the basement causing a mold problem. This is yet another problem we've seen before from other contractors.
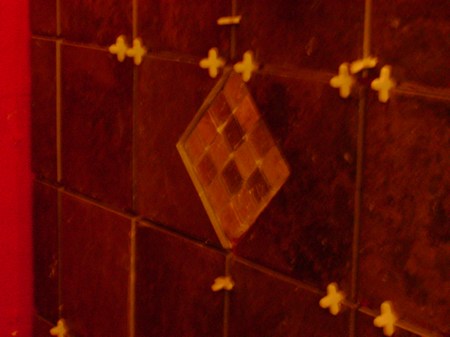
Original Bathroom
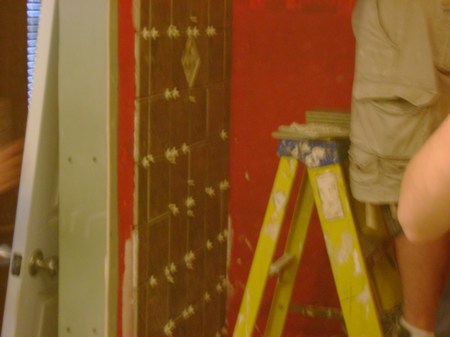
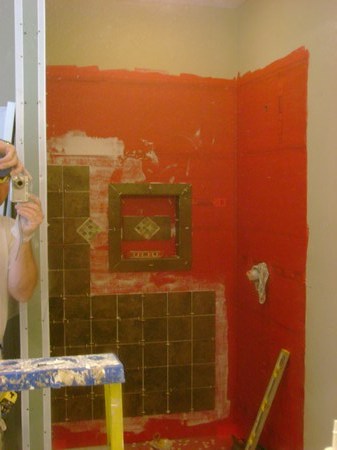
Project in Progress
Finish Pictures
2003 LEHIGH STYLE MAGIZINE - 2006 TDEC CERTIFIED |
|
Webmaster: cpr_design All Rights Reserved