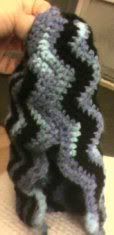
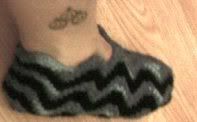
Awesomely Easy Ripple Slippers!!
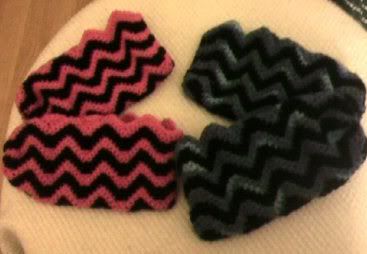
This slipper pattern was made to fit myself, and my 2 oldest kids, we wear sizes ranging from 4 – 6. I also plan to make a pair for my youngest who is almost 7 years old, and will post that as soon as I have the modifications figured out.
You will need:
about 4 ounces of Pink worsted weight yarn
about 4 ounces of Black worsted weight yarn (for a complete pair)
H Hook
Needle for sewing together and weaving ends in.
Instructions:
Chain 50
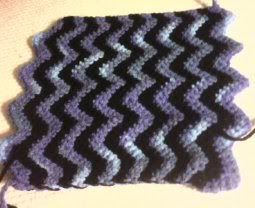
Row 1. Sc in 2nd ch from hook in and in next 3 chs, *skip next ch, sc in next 4 chs, 3 sc in next ch, sc in next 4 chs* repeat from *to* 3 times, sk next ch, sc in next 4 chs, ch 1 turn
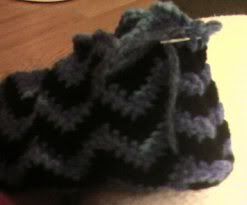
Row 2. 2 scs in 1st st, sc in next 2 sts, *sk 2 sts, sc in next 4 sts, 3 scs in next st, sc in next 4 sts* 4 times, skip next 2 sts, sc in next 2 sts, 2 scs in last st, change to black in last stitch, ch 1 turn,
Rows 3 – 15. repeat row 2, alternating 2 rows of pink & 2 rows of black.
Don’t break the yarn when changing colours, just carry it behind the other colour at the ends of each row and then pick it back up when you start that colour again.
At the end of row 15, finish off, leave a long end for sewing. weave in all ends.
Assembly:
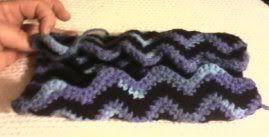
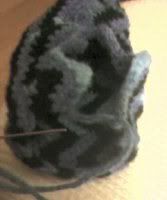
Holding it with the right side folded together, gather the toe by weaving the needle back and forth around the toe, pulling tightly and secure. Do not break yarn.
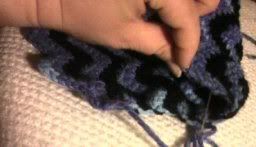
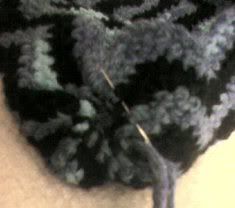
Sew the first ripple row to the last ripple row, from the tip of the toe to about 2/3 of the way down the ripple and finish off. The opening that is left is to put your foot in. Be careful to follow the ripple.

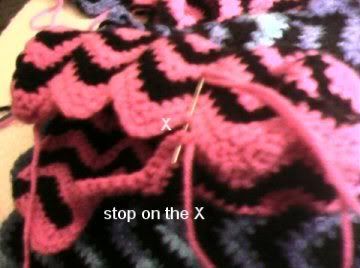
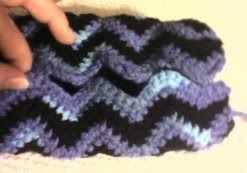
Sew the back of the heel closed. Weave yarn in and out of the toe and pull closed, securely tie off the yarn, and weave in the end. Turn right side out.
If you want, you can embellish with a cute pompom made with the same yarn colours that you used for the slipper or you could add a nice bow with a bell for Christmas.

MORE Free Slippers!
FREE Crochet Patterns!
Plastic Canvas Stuff!
HOME

Email: prpl_smok@yahoo.com

