Creating A Water Globe, Page 3
Creating A Water Globe, Page 3
Highlight one of the two globe images and with the picture tube tool click anywhere inside the globe
to add a water drop to it. Keep clicking in various places. You may make as few or
as many as you would like. Go to the other globe image and add water drops. Make sure that
you do not add them in the same location as the first. If you do then it will not have the
animated look when it begins to move.
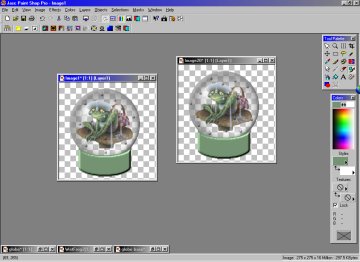
Once you are satisifed with the two of them you will now save them with a .gif extension.
Go to "file" on the menu bar and click on "save as" and give each of them a name. (e.g. "1.gif" and "2.gif")
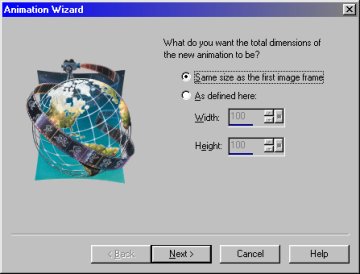
You are now ready to animate this so open up Animation Shop. You will be using the Animation
Wizard so click on "file" on the menu bar. Scroll down and click on "animation wizard".
Below is the first dialog box that will open.

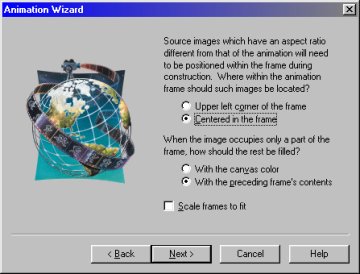
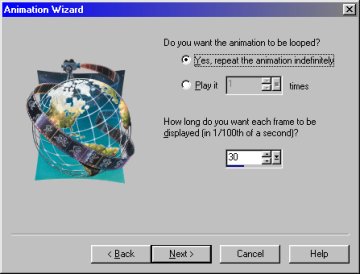
Follow the next few dialog boxes setting them with the numbers displayed.
When you get to the dialog box below you will click on the "Add Image" button and click on "2.gif" first,
holding down the SHIFT key click on "1.gif". This will highlight both of them. You must
click on the last image first because the animation wizard recognizes the numerical order
backwards. When you click on the "open" button after highlighting your images you will see
that they are in the correct numerical order as below.
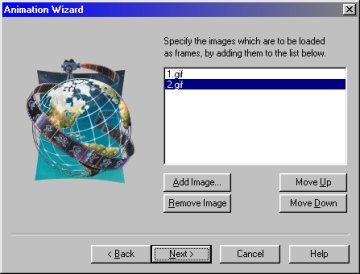
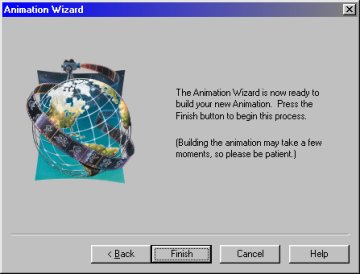
Click on the "next" button and then the "finish" button.
Page Four
E-Mail Me

