Creating A Water Globe, Page 4
Creating A Water Globe, Page 4
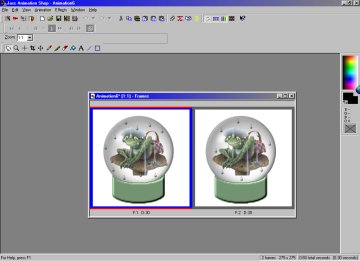
The image below is what you will now see. You will have the two frames visible in one animation.
You are now ready to start the animation.
After clicking on the finish button in the animation wizard you will now be able to see both of your saved frames.
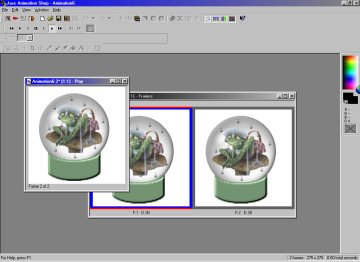
To see your results click on the view animation icon located on the menu bar directly to the left of the question mark icon. It looks like a film strip.
Your animation should now be animating.
To save this image click on "file" on the menu bar. Scroll down and click on "save" and give it a name.
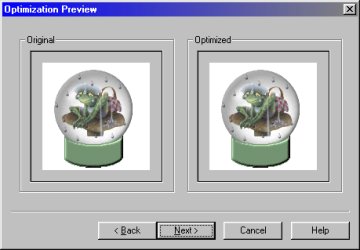
Click on the OK button and you will then see this dialog box below.
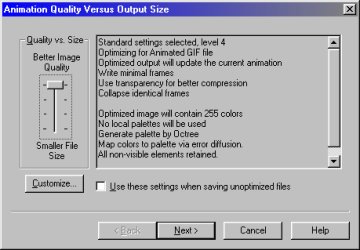
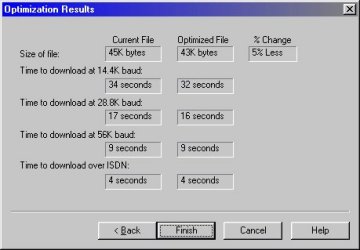
Keep clicking on the Next button for the next two dialog boxes.
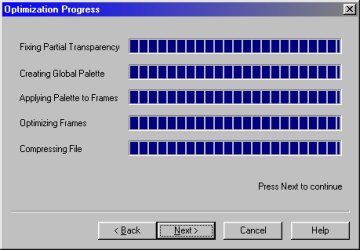
The last dialog box will now be displayed as below. Click on the Finish button and your animation is complete!
This is the final result.

Congratulations! I hope that you enjoyed this tutorial. If you have any questions please feel free
to contact me by clicking on my E-Mail link below.
Tutorial Home Page
E-Mail Me
Back To My Home Page

