Rose Trio Worksheet and Instructions
Enroll in 2 online classes and receive $10.00 off entire order of One Stroke Supplies totaling $50.00 and up. Shipping charges do apply.

Pick out a large sheet of scrapbook paper.

Fold the paper in half.
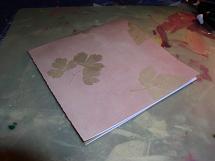
Fold the paper in half again.
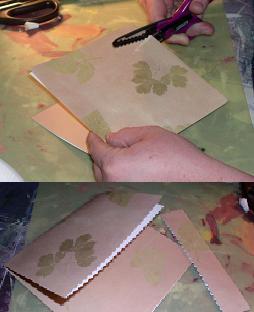
Cut about 3 inches off of the front side of the card with decorative edged scissors.
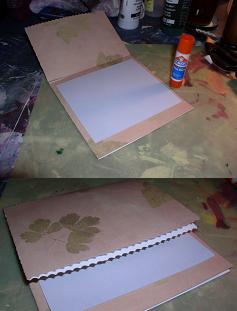
Pick out a solid piece of card stock and glue to inside of card.

Trim bottom edge of card with decorative edged scissors.
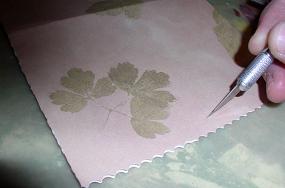
Using an exacto knife cut a small slit in the middle of the top half of the card.

Insert skinny ribbon into slit and tie into a bow.

Pick out another piece of cardstock and trim the corners with decorative edged scissors. Glue to the front of card.
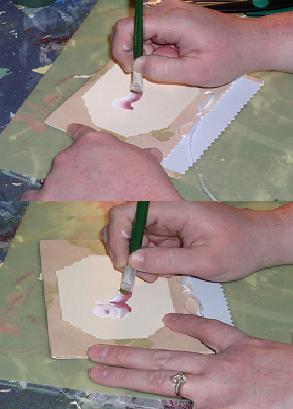
Begin painting your rose buds onto front of card using Folk Art Acryllic Paint in Wicker White and Rose Chiffon.

This is what your rosebuds should look like.

Add leaves to front of card using Folk Art Acryllic Paint in Wicker White and Thicket.

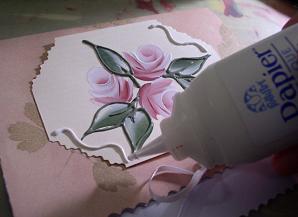
Using Papier Paint in Italian Sage outline your leaves and stem. Make sure you do not outline exactly like your painting. Go a little inside or outside to give your card character.

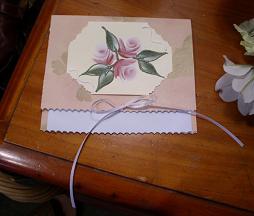
This is what your card should look like.
Make squiggles on card with Papier Paint in Wicker White.

This is your worksheet and design outline for your card. Congratulations! You are finished!
My Favorite Web sites
Papier Painting Newsgroup
Stacey's Picturetrail