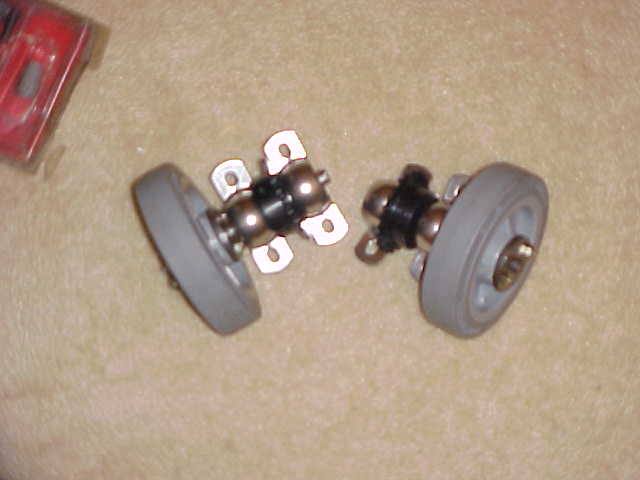
| This is a picture of 2 wheel assembly's. Colson, bearings, and drive sprocket all on a 1/2" keyed shaft. |
|
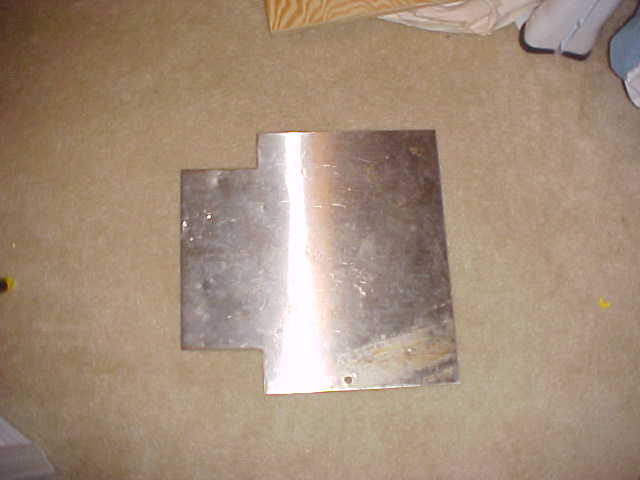
| Here is a picture of the baseplate, 16 gauge 304 Stainless Steel |
 |
| Want to know how I mounted the colson to a 1/2" shaft? Simple, the picture to the right shows the colson with 2 solid steel bushings bolted to it. You can only see one bushing in this picture, the other one is on the other side. I used 2 bolts instead of 4 to save weight. Its very solid.. |
 |
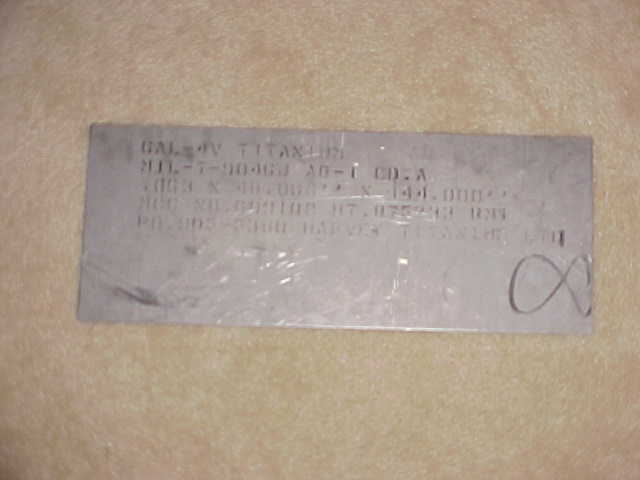
| 6-4 Titanium, pretty isn't it.. |
|
| The Sawblade Of Misfortune.. It doesn't like fingers.. |
 |
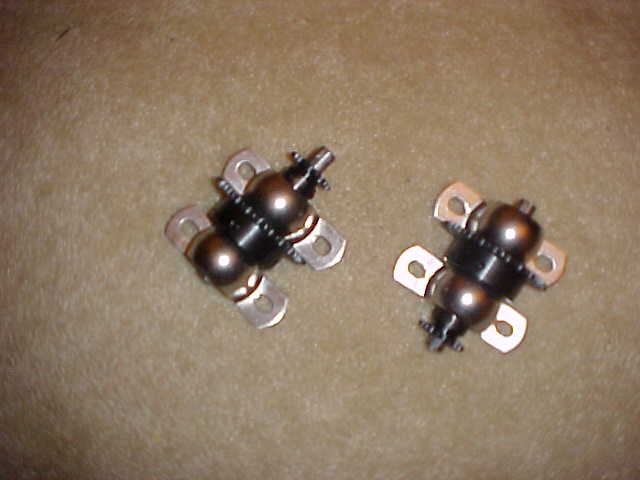
| The reduction assembly, this is used to complete the 6:1 reduction from the EV to the drive wheel. It plays an important role in the robots drivetrain. |
|
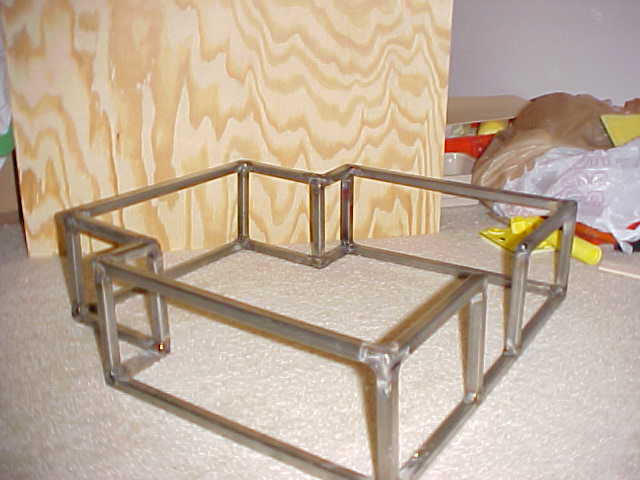
| Picture of the frame. Its constructed of 1/2"X1/2" 16 gauge SS tubing. 5" High and 18" square (except for the recesses in the back, those are for the wheels) |
|
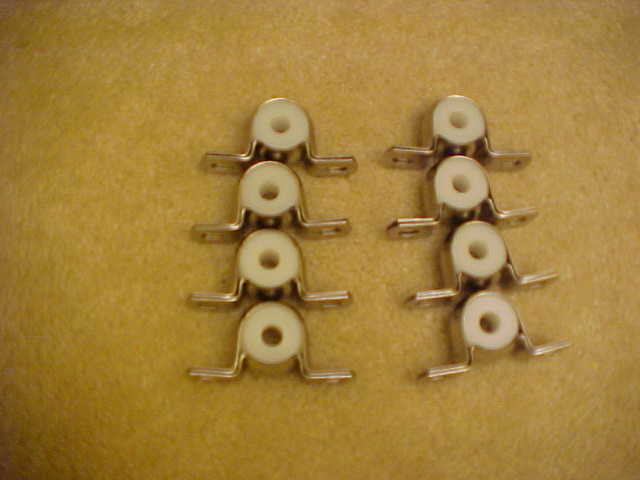
| 8 UHMV bearings in a stamped stainless steel mount, 1/2" bore. |
|
| 2 EV warriors in their pipe mounts ready for mounting. If you would like to know where I bought them, just go to the Information Page. |

|
| 10 Feet of #35 chain. |

|
| Aluminum flange bearings with oil impregnated bronze inserts. These will be used for the Sawblade Of Misfortune. muahaha...
|
 |
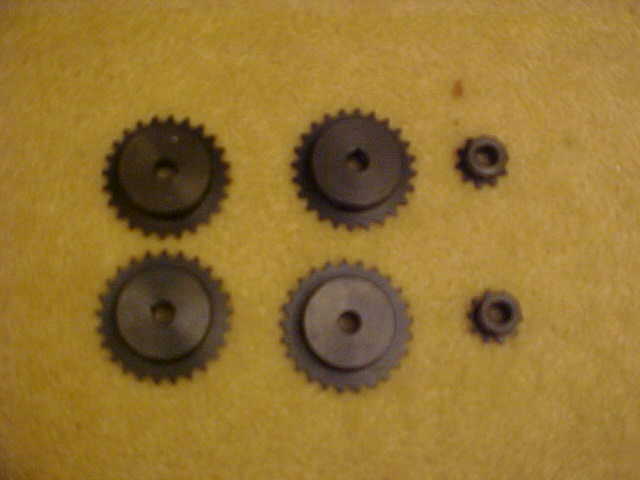
| #35 Sprockets: From left to right, 2 25 tooth sprockets, 2 24 tooth sprockets and 2 10 tooth sprockets. |
 |
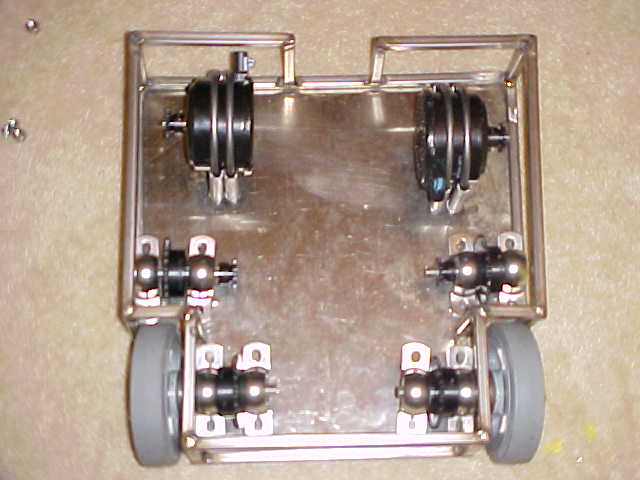
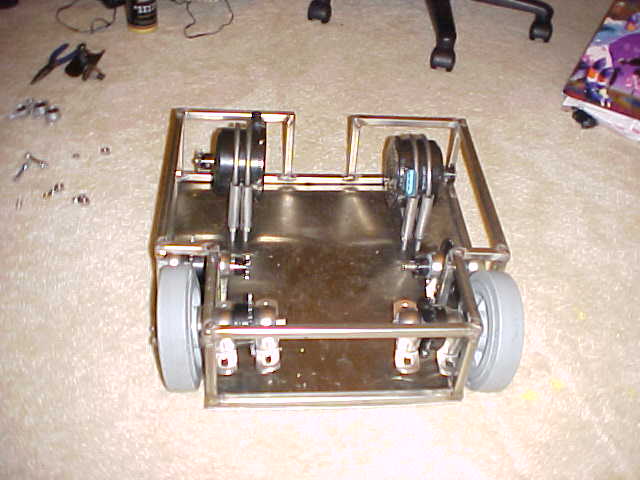
| This is the first of a few 'isometric' pictures I took. It shows all the components layed out in the robot. None of the parts are bolted in, but this is how the finished product will look. |
 |
| Another picture of the layout |
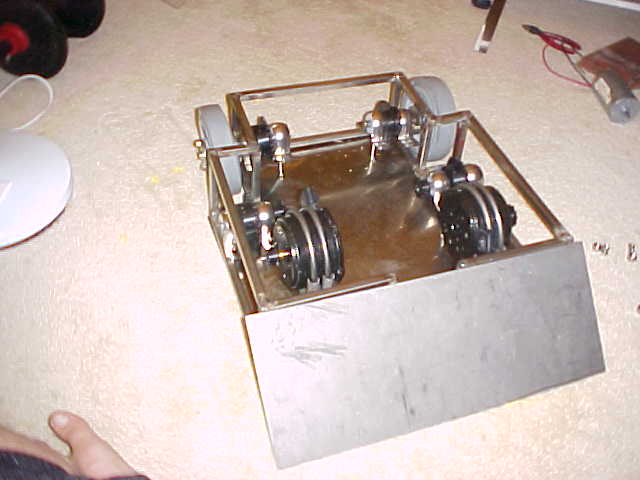 |
| And again.. |
 |