
Snowglobe with Base
Download Tubes & Grapic
Using your Eye Drop Tool get a background color for your new Image.
File>New Image at 600 Width, 600 Height color of your choice. Using Browse bring in your Bubble Tube and Fish Graphic and put them side by side. I have resized both for you for this Tutorial, usually you would go to VIEW>NORMAL to decide if ether needed to be Resized. You resize both Tubes and Graphics in IMAGE>RESIZE.
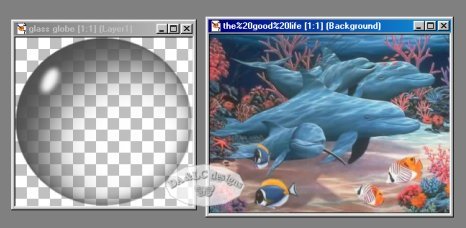
Make Active your Gray Bubble EDIT>COPY, Make Active your Fish Graphic and EDIT>PASTE as NEW LAYER.
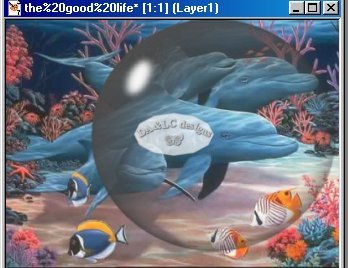
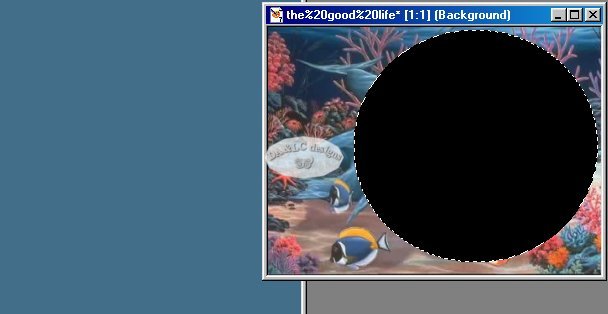
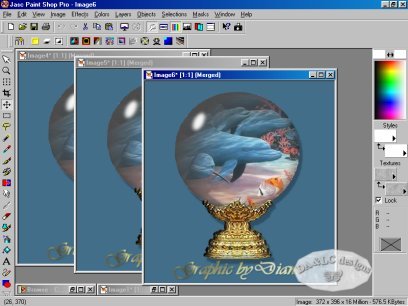
Move your Gray Bubble around on Graphic until you get the Image inside that you want. Be careful not to let it touch the sides of the Graphic as I did in the above picture! For the next step you will need to have space on all sides of the Bubble or it will not work.
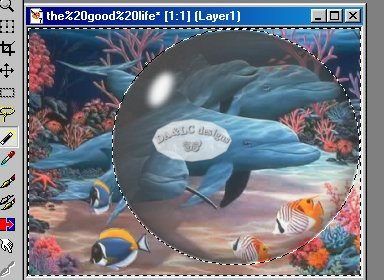
Using your Magic Wand tool click on any part of the Background OUTSIDE the Gray Bubble. Your Marching ants should be both around the Gray Bubble and on the outer edge of the Gaphic.
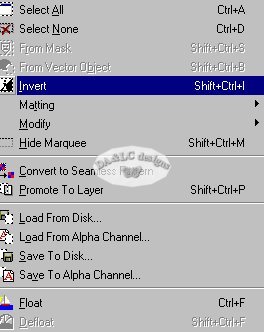
Go to SELECTIONS>INVERT
LAYERS>MERGE VISIBLE
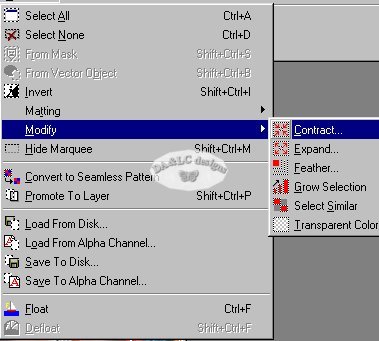
Go To SELECTIONS>MODIFY>CONTRACT
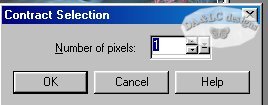
Number of Pizels we want is 1
Now you Can EDIT>CUT
If this does not work Edit Undo and redo exactly as I have above. If you do 1 step out of order it may not work. People who have a problem with Snowglobes find this is the step that confuses them. What we are doing here is picking an area to select because it's the only part we want. We then are merging the background and Bubble Tube together or we would only get a Bubble when we cut. With Modify we are chooseing only to take 1 pixel around the modifacation when we cut.
Make Active your Background Image and EDIT>PASTE as NEW LAYER and drop a shawdow if you like.
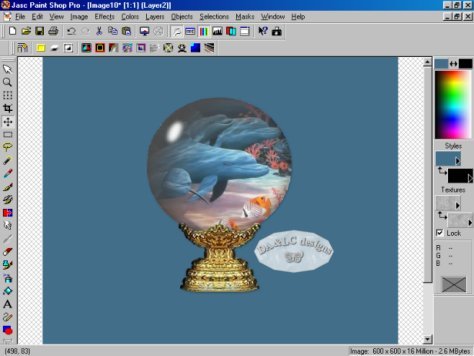
Open your SnowGlobe Base Resize it now if you need to. Make Snowglobe Base Tube active EDIT>COPY, Make your new IMAGE ACTIVE and EDIT PASTE. Move the base to the place you want and drop a Shadow if you like.
LAYERS>MERGE>EITHER VISIBLE OR FLAT
Using the Crop Tool Crop your image to a smaller size and add any Text or accent Tubes now. If you add them after this step your animation will not be exact and it may bounce. If you add more LAYER>MERGE>VISIBLE again
EDIT>COPY, EDIT>PASTE AS `3 NEW IMAGES
NEXT PAGE
All Tutorials and Graphics on this site ©byDiana/Laura 2000 do not use without permission.
