|
Overlays Step 3
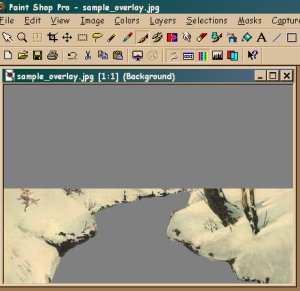
Ok, we just used our lasso to crop out the still water in our overlay, but we
were not very neat and need to "touch" it up. The screenshot below will show
some areas where we need to clean up.

Select the "Paintbrush" from the toolbar menu. I have it circled in the
example. Make sure the controls palette is open and look at the example for the
settings I chose for the brush tip. I generally use "round" for the tip, "1"
for size, "marker" for brush tip, and 100 for the other settings. I'll use a
larger tip size for bigger areas. Feel free to experiment with these options to
what suits you. Before beginning to paint, make sure the foreground in the
color palette (circled on example) is the same color as the area we cropped
out. Use the "eyedropper" (step 2) if you need to change the color. The active
foreground is the color that will appear on your "canvas" when you begin
painting.
Almost done! ... Save your image and let's move on to
STEP 4
to make the final adjustment, change the overlay image to a transparent gif,
and then put it all together.
Step 1 | Step 2 | Step 3 | Step 4 Introduction and Instructions | Alternate Ring Panel | Tips and Tutorials Ring Control Panel | Index of Sites | Ring Stats | The Lake Applet Forum Copyright © 2001 Reverend Grandma. All rights reserved. |