|
Home...Lacrosse Home...
Boy's Defense...Girl's Defense...Victory!...Lacrosse Pics
... A Cat's Grin...Max...Chester and Lily...Christmas Greeting!... Cat Pics
Dying Stick Heads
|
|
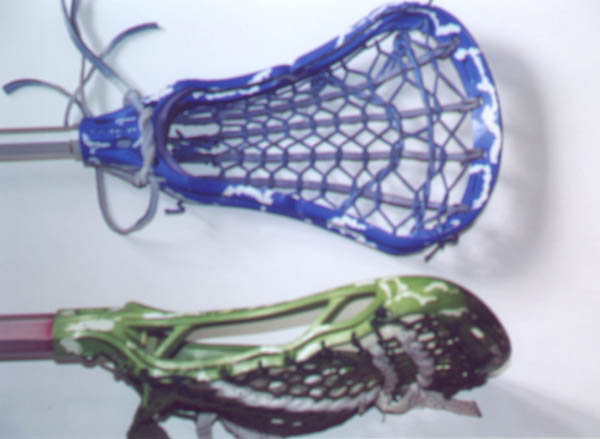
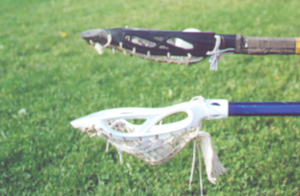 Want to turn ordinary heads into personally customized lacrosse sticks? Want to turn ordinary heads into personally customized lacrosse sticks?
You can make your stick match anything from your school colors to your cat's eyes, and it's easier than you think!
|
Materials you'll need:
RIT Dye
A Large, Flat Pan
Glue Gun
Rag towels and rubber gloves come in very handy! |
| Procedure for Dying |
A NOTE ABOUT WARRANTY: It is important to know that when you dye a stick head you void any warranty that the company may have provided upon purchase. Dying the head may weaken it, making it more vulnerable to breakage. A NOTE ABOUT STRINGS: Feel free to leave the strings on or take them off, depending on your preferences for string color and your ability to restring the head. The dye will not harm the strings. STEP ONE:
It's best if you remove the head from the stick. This allows you to submerse the head completely in the flat pan. If you don't want to remove it, you can use a deeper pan, like a large stock pot. Just be sure the entire head fits in vertically. The easiest way to proceed is to dye a new head before it's strung or mounted on the stick!
STEP TWO:
If you want to place a design on the head before dying it you'll need a glue gun. If you've never used a glue gun before, practice on another surface first. Follow the instructions that come with the gun. When you feel comfortable with your abilities apply the glue directly to the head. Remember that the more glue you put on, the less dye there will be on the head. I have never put glue on the strings nor would I recommend doing so. Let the glue dry completely. (This doesn't take longer than a few minutes. The glue will start out tacky, then harden. When you can't make a dent in the glue with your finger, it's ready.)
STEP THREE:
Make up the dye according to the package directions. You have to use very hot, almost boiling, water to make the powdered form dissolve. Be sure to let the dye solution cool slightly before immersing the head. (If you can leave your finger in the solution for 10 seconds, it's ready!)
STEP FOUR:
Immerse the head in the dye solution. Leave the head undisturbed for two to ten hours, depending on how dark you want the resulting color.
STEP FIVE:
Remove the head from the dye solution and place it in ice cold water for a few minutes. (I put ice cubes and water in the kitchen sink.) Remove the head from the ice water and place on a clean rag towel. If you have used a glue gun you can now remove the glue from the head. It should peel off easily.
|