|
Notes
First of all, I'd like to give Lou a big thumbs
up. He's a great guy with a great product from order to install
(including the instructions).
https://www.angelfire.com/fl/lscamaross/
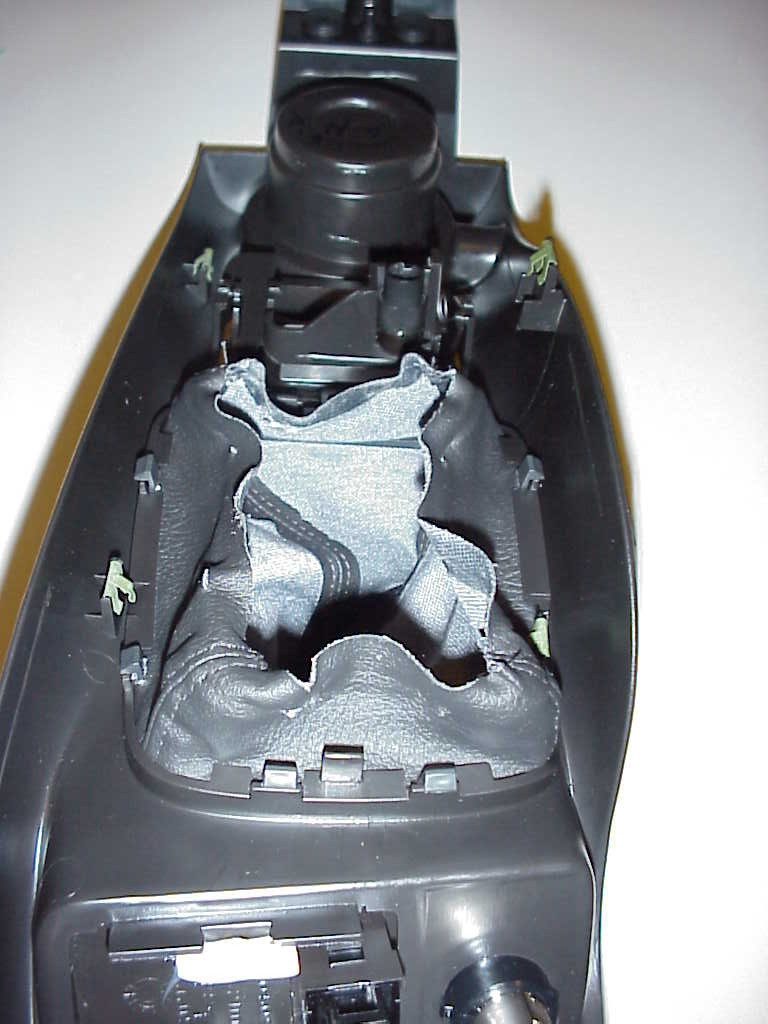
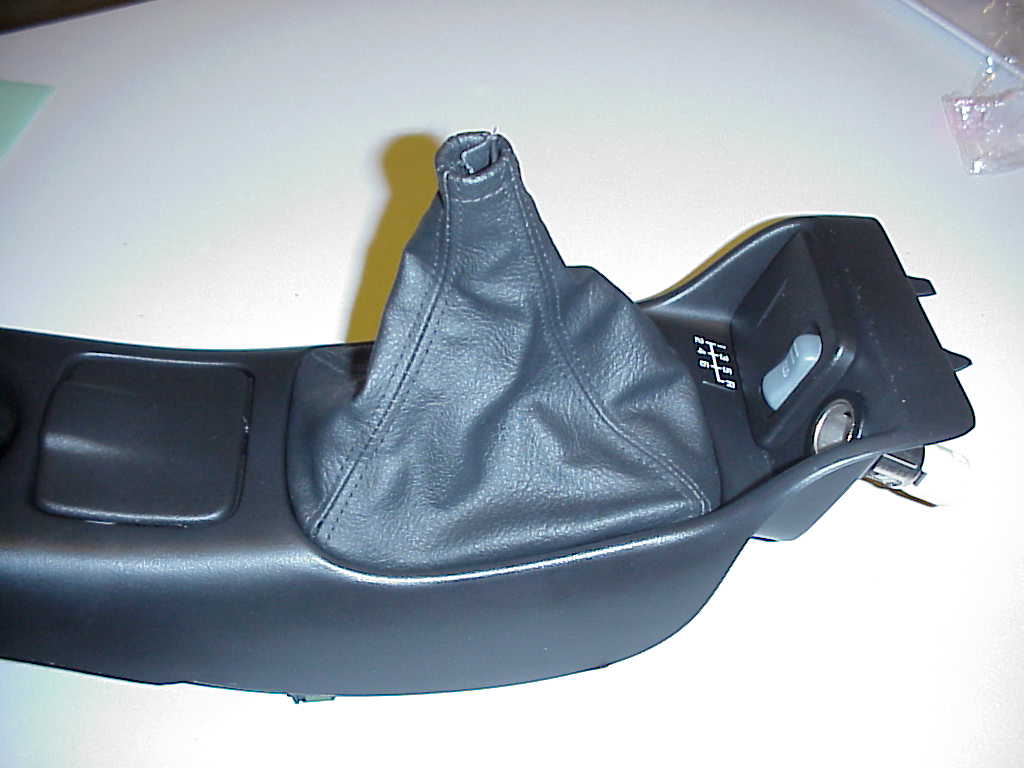
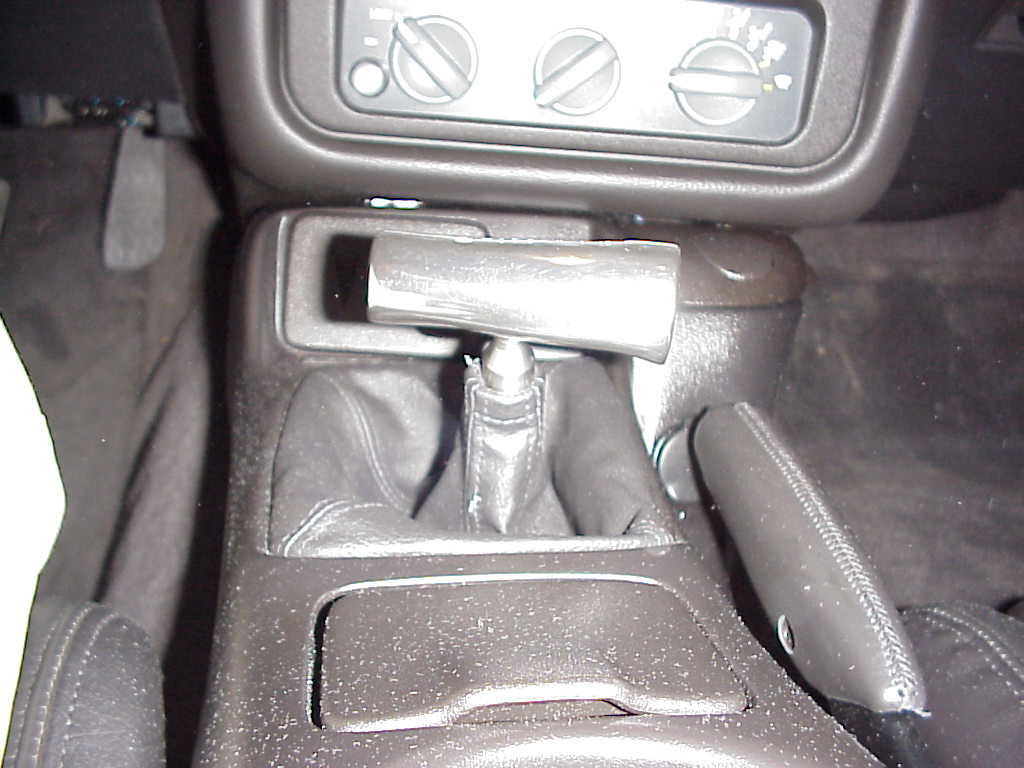
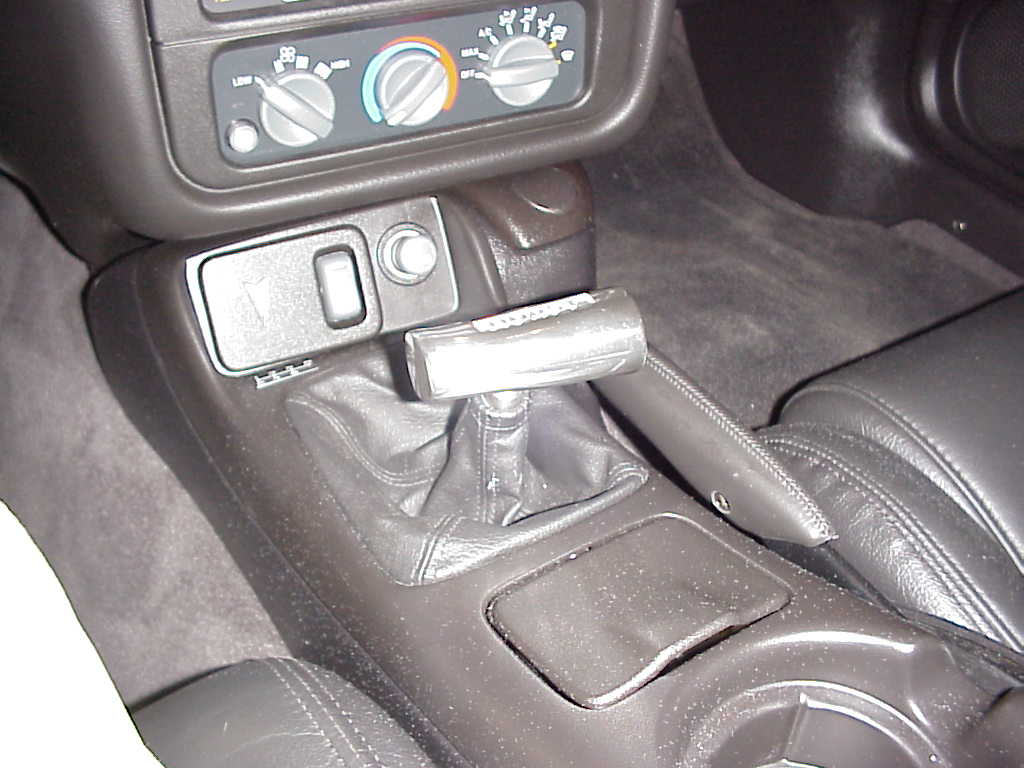
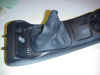
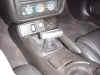
I have seen some questions regarding the extra cloth
that is left around the shifter after shortening the stick. After I got
mine apart I decided that I might give something new a try. Here's what
I did.
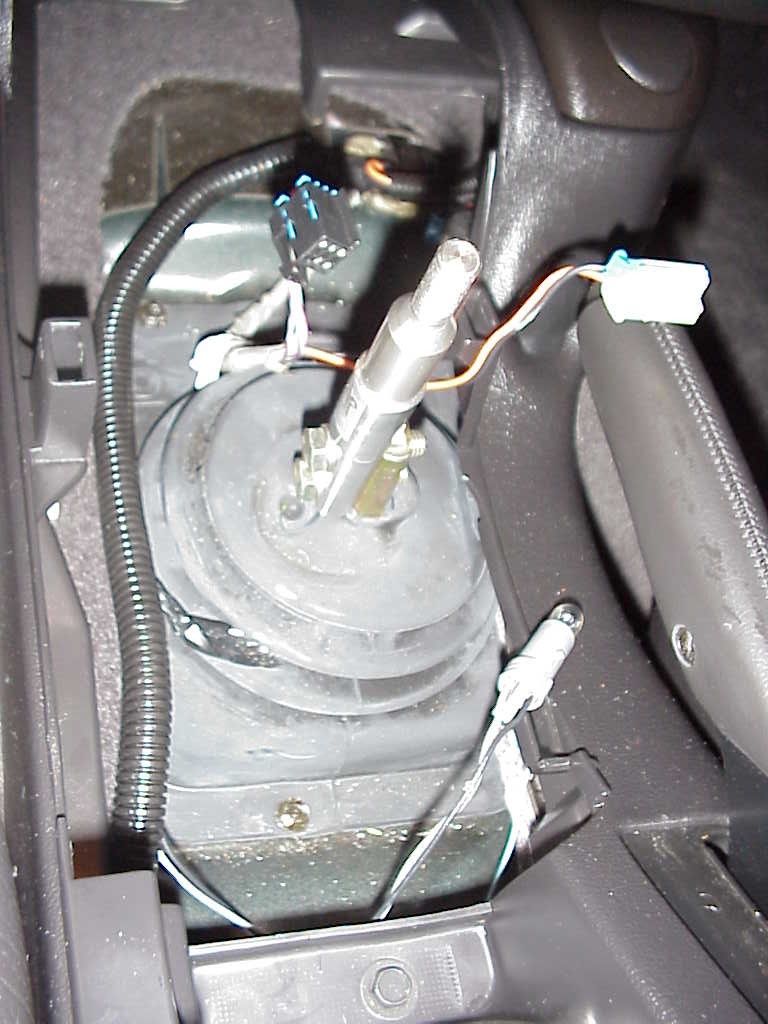
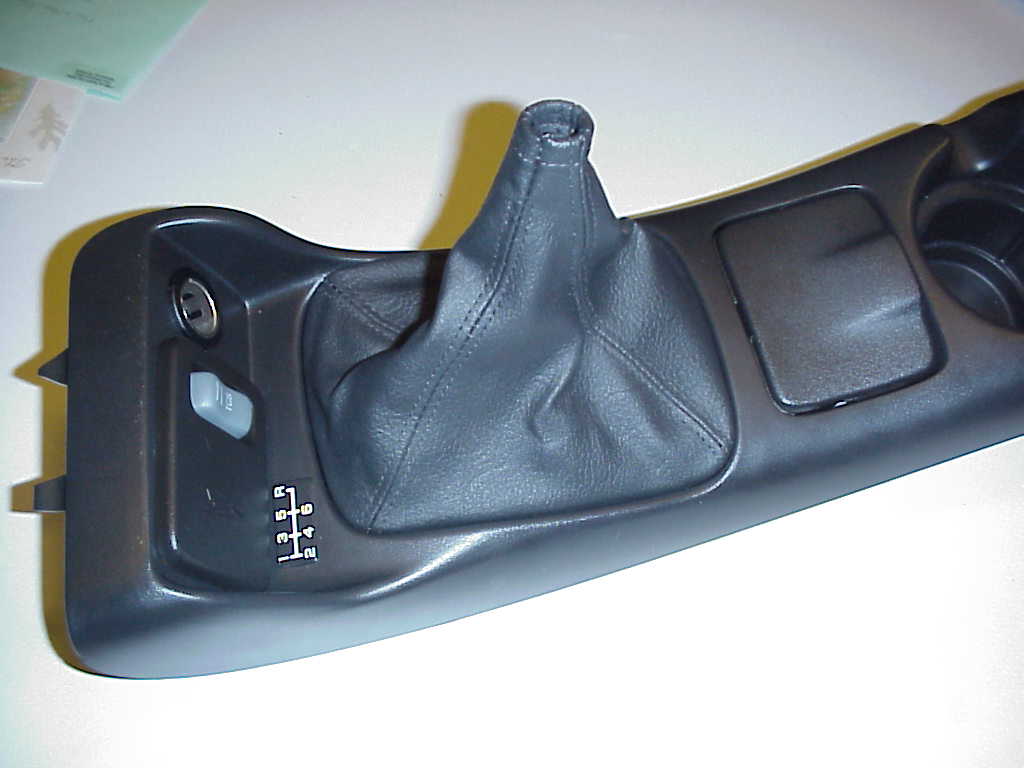
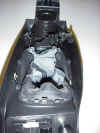
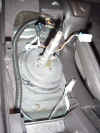
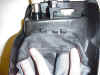
- Take the console piece with the shifter boot
completely out of the car by unhooking the switches and wires.
- Turn it over. There are the 7 tabs that hold a
ring in place. This ring has the cloth wrapped around it.
- Unhook these tabs and take the assembly out of
the console part.
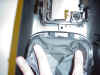
- Take the cloth off of the ring. There is a
little bit of glue holding it on, but it's not bad.
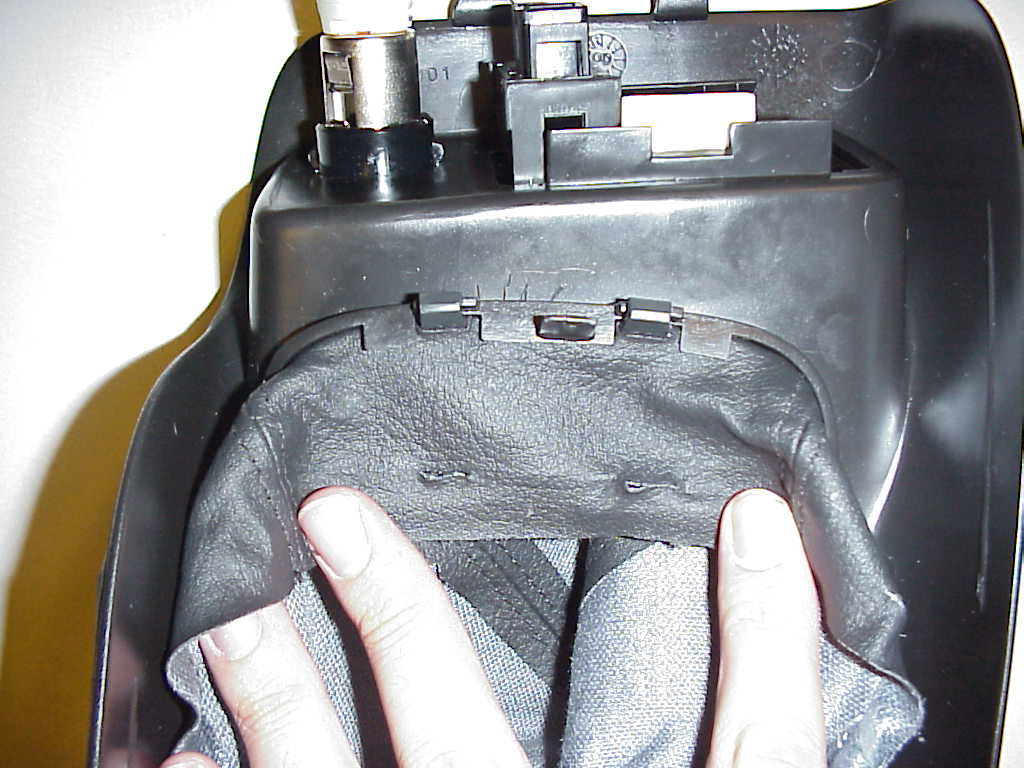
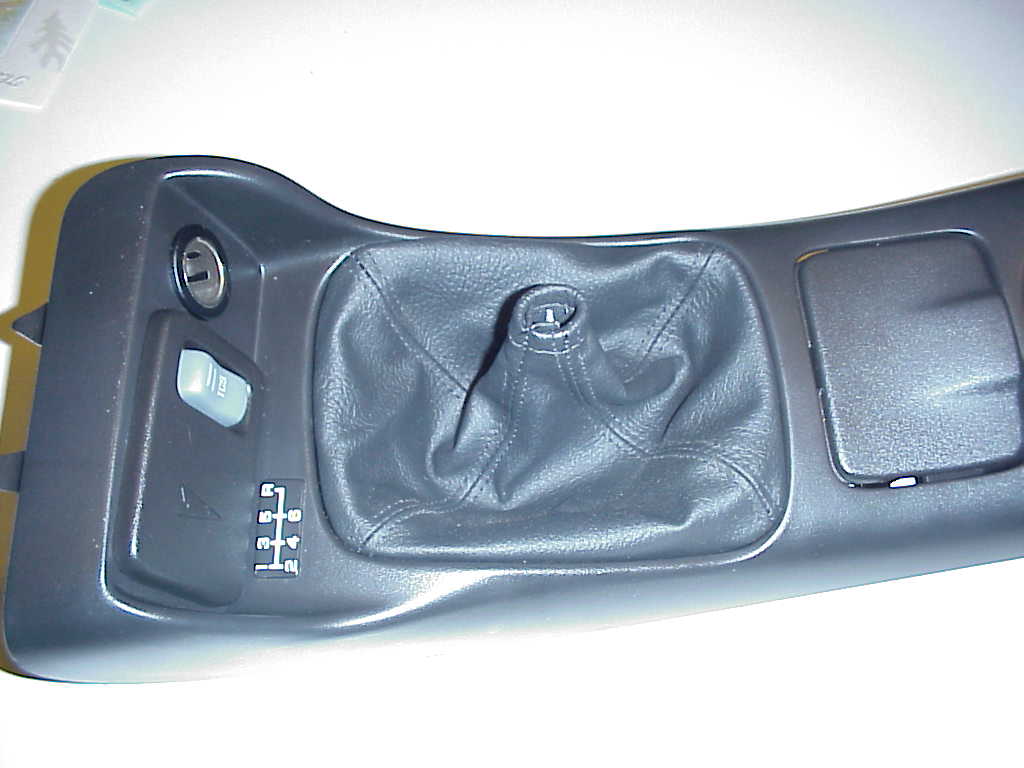
- Turn the cloth inside out.
- Take a black marker and make a mark 1 1/8 inch
above the 7 slits that are already in the cloth for the tabs. Make
sure to keep the same distance between the slits so that the tabs
will line up again.
- Take a knife and cut new slits on your marks.
Start small and only make them bigger if you need to. This will help
the fit.
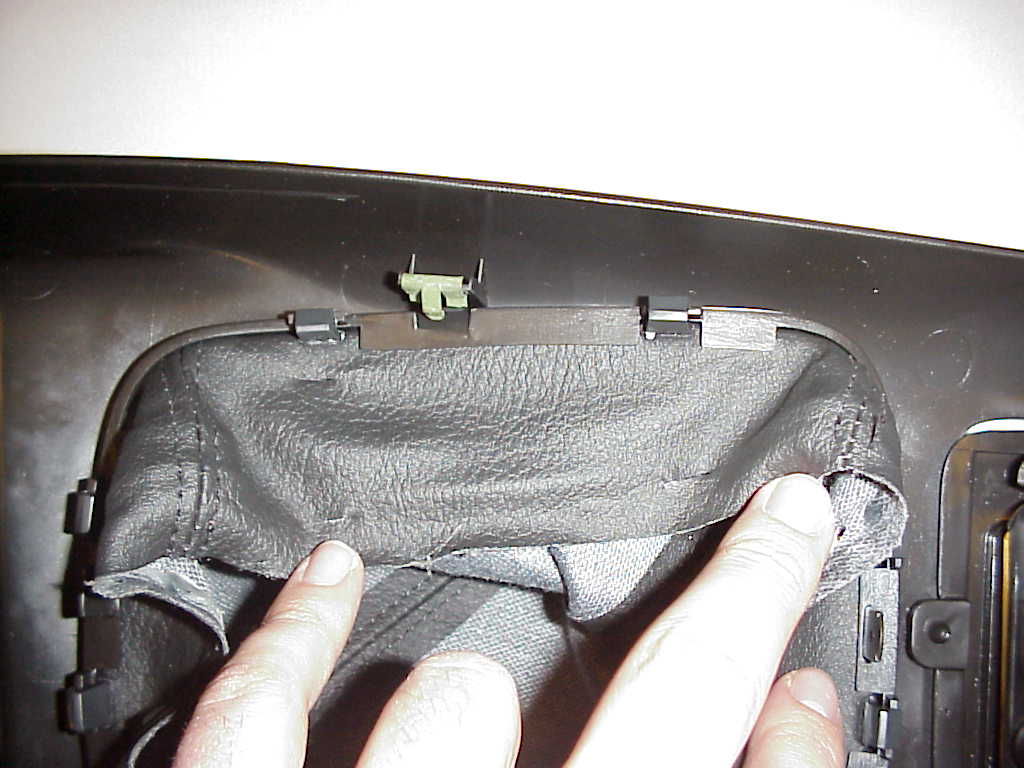
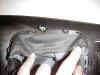
- Turn the cloth "outside out".
- Begin to stretch the cloth over the ring again
using the new slits for the tabs.
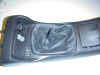
- As you go around, you may need to make one slit
or another a little bit longer.
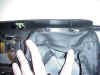
- Once this is complete, check for tabs where the
cloth may not fit properly. If so, try to adjust the cloth or
possibly cut another hole. Hopefully the new hole will be closer to
the shifter opening so you won't see the old slit after the install.
The picture titled Shifter_Side_Slits_1 on the right shows the area
where I had to make an extra cut.
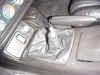
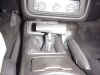
- Snap the ring and cloth back into the console
and make sure the cloth is stretched properly.
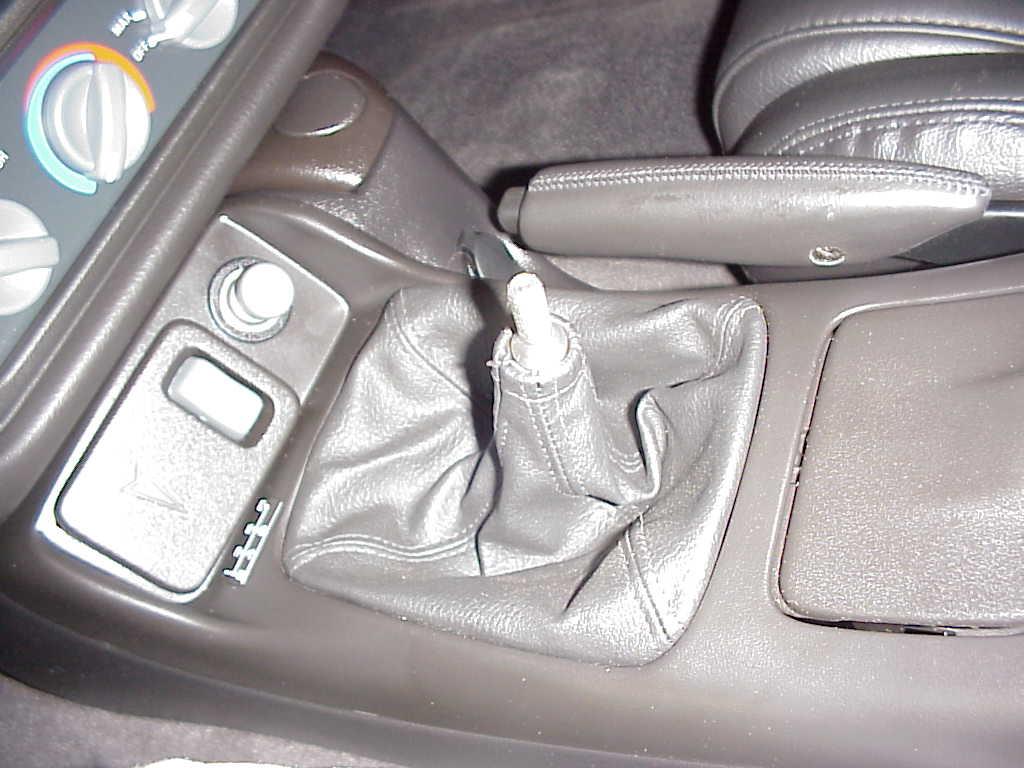
There you go - no more giant folds of cloth around
your new short stick. |
Pictures
NOTE: The names of the
pictures describe them. Click for a full size view.

|