

Doll Sized Hairbands
Ribbon
Elastic Thread
Fabric Glue
Beads
Scissors
Needle
Thread
To get started you need to measure how long your ribbon needs to be. You want to take a length of ribbon and wrap it around the doll's head, where you want the head band to be placed. Mark how long this is.
Now, cut out two pieces of ribbon to this length plus about 1 inch. This extra space is needed in the end.
Now, lay one piece of ribbon out flat on the table. You want to cut a length of elastic ribbon to half this length.
Take your fabric glue and run a thin line along each long edge of the ribbon. Tip: This needs to be slightly in from the edge and thin impossible. Once you press the second ribbon on top you do not want excess squishing out.
Lay the second ribbon on top and press together to make the tunnel of the American Girl Doll head band craft.
Tip: Fold the needs in before glue in, then will give a nice finshed edge of the ribbons.
Now, once any glue dries you want to thread the elastic ribbon through the tunnel. Use an upholstery needled if necessary. Needle and thread can be used to sew each end down to the ends of the tunnel ribbon. This will scrunch the ahead band up.
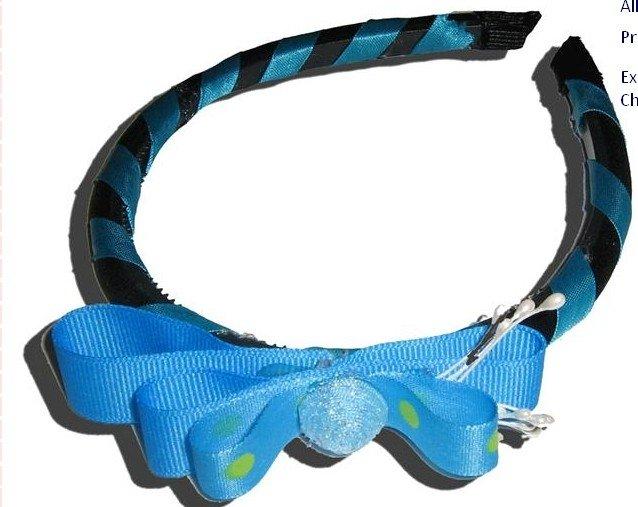
Sew the two loose ends together with a decorative button for interest. You can use a bead or fun sparkly jewel as well.
Tips:
A
sewingmachine can be sued to sew the two edges in place of the glue if you sew. This will be much faster and much more sturdy. A heavy duty fabric glue will work though if you let it dry for 24 hours.
Also, try decorating one of the ribbons beforehand with buttons, beads, and fabric paint. You can decorate one length of the American Girl Doll headband and this will be the top side of the craft once assembled.
This is when you can get really creative using decorative ribbons, beads, and puff paint from the tube!