So you want to know more of what's behind the illuminated keyboard? Well here it is:
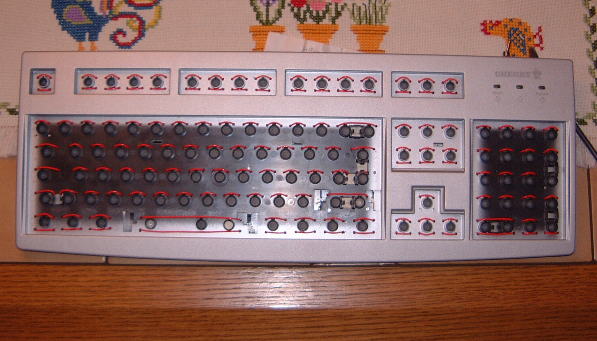
Lets first remove all the keys. Still looks kinda nice and tidied up, doesn't it?
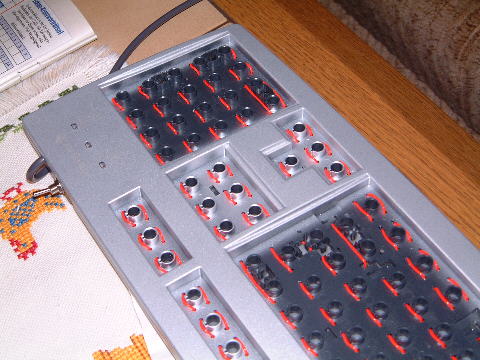
A bit closer...
The image doesn't give credit to one tenth the work which was needed to put more then 3 meters(!) of neon wire into that thing. Note that each key has at least 2 holes drilled next to it in order to properly mount the wire. This method prevents the direct exposure of wire in the gaps between the keys, but is significantly more work then the usual method of wiring a keyboard. It also needs a special small kind of neon string, as regular 0,5 ones are too thick to fit.
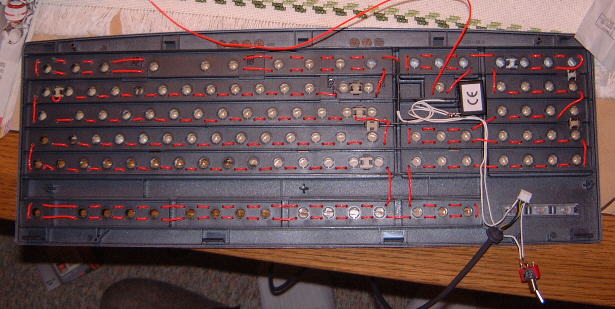
The back of the keyboard plate. It looks almost the same as the front does. It is kinda sad that almost half of the illumination is wasted here where nobody sees it, but it is impossible to do otherwise.
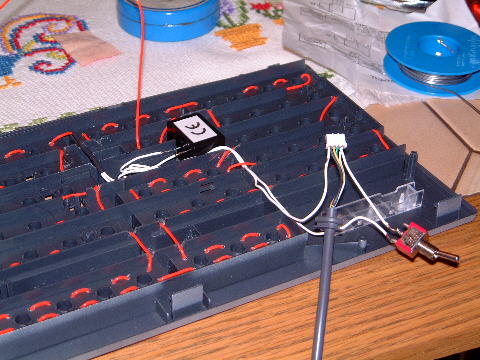
Finally a closeup at the technical side of things. After determining the mass of the PS/2 signal its just a matter of splitting things up between the keyboard electronic itself and the power inverter for the neon string. Which brings us to the heart of the construct - the inverter box (labelled CE in the picture). This is the part that caused most of the problems, which is the reason why most modders prefer to place it into the main PC and put an additional wire to the keyboard.
Hunting for an inverter that only needs 5V, doesn't need much juice and is small enough to fit into a keyboard casing, was an experience in itself. The inverter show is actually for neon sheets, but it works for strings as well. Its still a tad too big - I had to remove some stabilizing plastic inside the keyboard to have it fit at all. A bigger, 'natural' keyboard would have made stuff easier, but wouldn't have corresponded to my tastes and the style of the system.