
|
"The 2002 Online Graphics Class" 1A -Basic Line Designs -&- 1B Basic Color Designs by Gary Bailey Best viewed at 800 X 600 Pixels No liability of any kind is accepted for any of the materials, concepts, opinions, or thoughts presented in any of these web pages. These drawings may be reproduced for classroom purposes only. The links to other web sites belongs to the owners of those web sites. No responsibility of any kind is accepted for the actions or lack of actions of those who own any of the web sites that are linked to these pages.I would like to make it clear to everyone that by no strech of the imagination do I know all about drawing programs. With these 12 Classes I am trying to share the enjoyment which drawing gives to me. any information on these pages. Neo Paint's 30 day free trial.
Need a short course on a drawing program ? Below are links to four different classes. the first link leads to classes on many different types of programs. I tried a few of the their classes and thought they were very good, the sound was not all that great, but it stated that the sound quality had been decreased so the programs would download faster. Give it a try- Click on the DEMO button under ONLINE LEARNING.
I will try and complete a different Class each month. If this is your first time here, mark this page as a favorite. |
| FIX YOUR DRAWING PROGRAM |
|
"Item #591" 1- Draw a line 2- COPY 3- PASTE 4- PASTE |
|
|
The image which you are going to COPY has to be selected. To make a selection use the SELECTION, LASSO, MARQUEE, or a similar tool in the drawing program. Draw a line around what you want to COPY. After you have selected something click on EDIT, then click on COPY. To PASTE what you have just COPIED click on EDIT, then click on PASTE. You can now move the image that you have just PASTED, around the canvas or page, in some programs you must select or be using the MOVE TOOL prior to moving a selected object, when you PASTE an image it becomes the selected object. If you have successfully used the transparent mode you can see the original and the copy. Sometimes the copy is directly on top of the original and you can't see the original until you have moved the copy, If you can not see the original after you have moved the copy then some other step required by the drawing program has not been completed. If your paint brush does not paint or some other tool does not work go to the "FIX YOUR DRAWING PROGRAM" link above, it might help. Once you have the basics down you can do many things. |
|
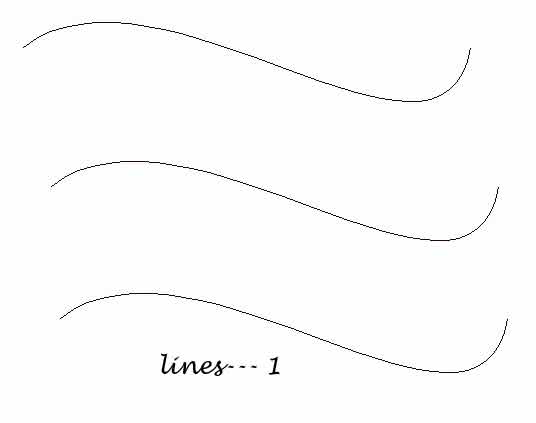
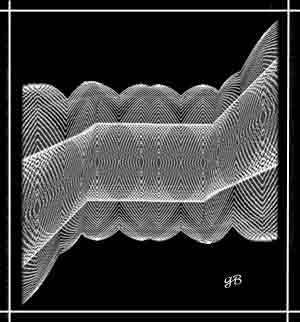
Draw one line, COPY it once, and PASTE it 11 times. PASTE the lines an equal distance apart, and on the same plane or on the same layout line. A layout line is a line you draw for a reference point to PASTE one end of your design line on, after doing this a few times you will not need to use a layout line. After you have finished placing 12 lines next to each other- use the following commands:
|
|
"Item #593"
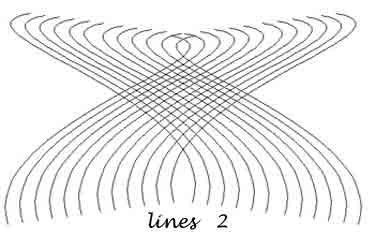
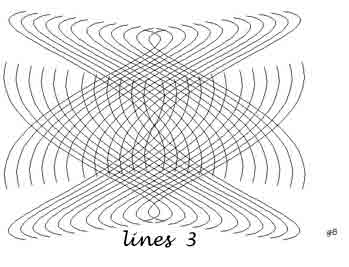
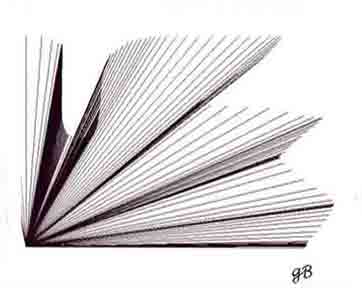
"lines 3" was made from "lines 2", by using the the following commands:
|
|
|
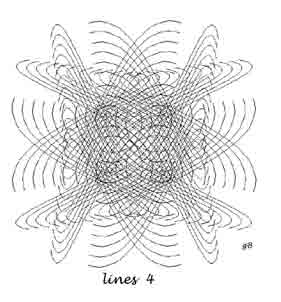
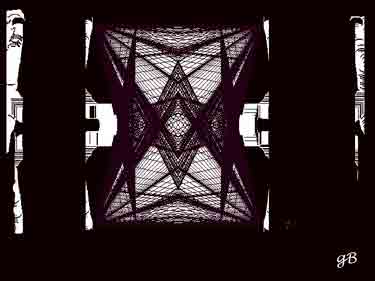
"Item #594" This drawing was made by copying a drawing similar to the drawing above and using the following commands:
|
|
|
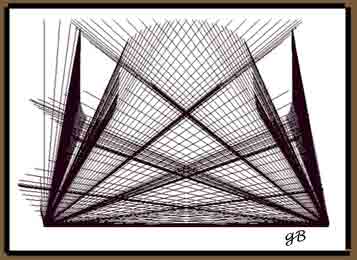
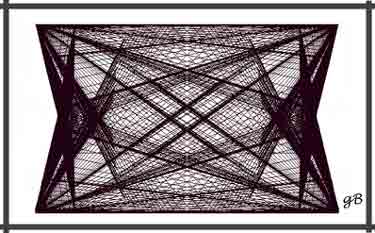
"Item #601" The Radiant line effect in NeoPaint was used to create these lines. With a little time and effort you can create a similar set of lines with WINDOWS PAINT. The steps needed to create a design similar to Item #601 follow. |
|
|
Item 597 Create some lines - OR - Save this image and use it with your drawing program. The next commands would be:
|
|
|
Click on Edit then select "Find on this page" -- or-- Press the CTRL key (hold it down) press the F key, then select "Find on this page" Enter three numbers, 5, 7, and 4. Click on "Find Next". This will take you to the instructions on saving images from the web. Now you can find any word or number, that you want to find, on any web page, if it is there. |
|
There were some lines on the right hand side of the above drawing, they were removed. To remove a portion of the image you have to select the portion to be removed by using the SELECTION, LASSO, MARQUEE, or a similar tool to make your selection. After selecting you DELETE your selection. You DELETE your selection by pushing the DELETE key, on the keyboard, or by Clicking on EDIT, then clicking on DELETE or CUT. Sometimes it is difficult to select all that you want to DELETE. It is easier to clean up an enlarged image. If there are some small items close to the image that you want to remove use the program magnifing glass to enlarge the image, or enlarge the image 2 or 300%. After enlarging the image you can ERASE what you don't want, or you can select the background color of the image, or any color you want, and use the paint brush to color over the portions that you want to remove. Let's continue working with Item #598, above and DELETE the left hand half, COPY the right hand half FLIP (IMAGE) HORIZONTAL - PASTE, align and fit together. Sometimes it is also helpful or necessary to magnify or enlarge the image, while fitting it together, in order to obtain a perfect match. Then use these commands:
|
|
It is a good practice to COPY and PASTE after you have CUT. |

| FREE DOWNLOAD - Get "Irfan View" - FREEWARE |
| FREE DOWNLOAD- "Super Blade Pro"- This is a DEMO |
|
Try using a program prior to reading the instructions. After trying a program for a short time you might know if you want to :
|
|
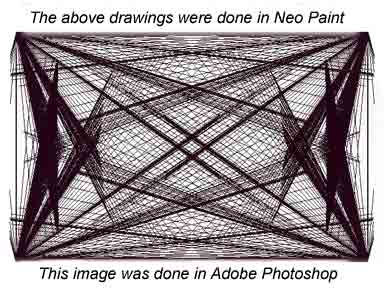
Most of the above drawings were created in NeoPaint, which is a very user friendly program. I have used many different drawing programs and for the process described above, I prefer Neo Paint. Neo Paint is a good program that is easy to use. At present some effects available in the more complicated programs are not available in Neo Paint. Adobe's Photoshop, which I am told is the program that everyone uses, is a good program, it has some user friendly features and some features that are complicated, I could say the same thing about Corel Photo-Paint. Using a drawing program to create designs is similar to Window's Solitaire or Free Cell in that |
|
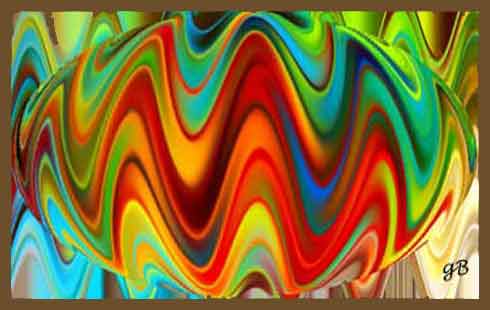
"COMPUTER GRAPHICS" Class 1B - BASIC COLOR DESIGNS by Gary Bailey Too complete Class 1B you will need a paint program that has a SPHERE EFFECT, a DISTORT EFFECT, and a SHEAR EFFECT. A SPHERE EFFECT allows you to create a globe or sphere. The DISTORT or PRESPECTIVE effect allows you to change the prespective and shape of the image. The Shear effect allows you to offset the vertical lines or colors in a drawing. It must be noted that different programs use different terms and names for the same effects and that they use the same terms and names for different effects, anything to confuse you. I will be using PhotoShop 2.0 and PhotoShop 5.0 LE to complete Class 1B. I have seen PhotoShop 5.0 LE listed at Internet auctions for 10 or 15 dollars, 5.0 LE is a very good drawing program. In the past it has been offered FREE with the purchase of hardware. ATTENTION CLASS 2A - Creating "Fields of Flowers " and Class 2B - Creating "Smear Flowers". Are now in progress the door is located at the bottom of this page. |
|
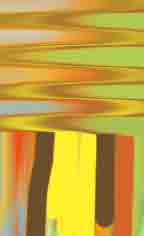
"Item #611" Well let's see if we can draw something similar to the "World of Color". Sure wish that I had taken notes. 1- adjust your canvas size to about 3 inches in width by 2 inches in height. 2- Put a lot of color on your canvas |

|
|
"Item #612" 1-Now rotate the image 90 degrees 2- Smear with about 60 to 75 percent pressure. 3- Use the largest tip that your smear tool has. 4- Making long passes across the canvas. 5- Smear from the left side of the page and them smear from the right side of the page. 6- Try and make each smear over lap the last smear. |
|
|
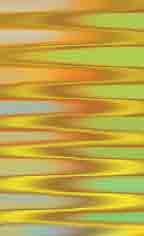
"Item #613" Well so far so good, wish I had used a little more red and a darker green .. but this looks good.. With a smaller canvas it is much easier to keep your smears together. I started with a small canvas because it was easier not necessarily better |
|
|
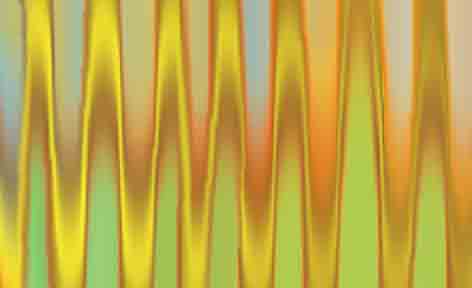
"Item #614" 1- rotate your canvas 90 degrees Afte rotating the image to where the smears are up and down. 2- Enlarge the image to 6 inches wide by 4 inches in height |
|
|
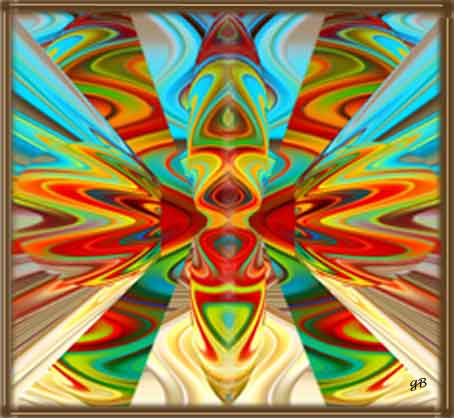
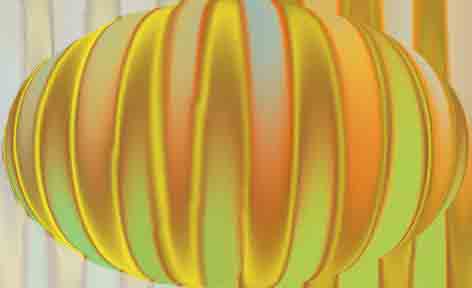
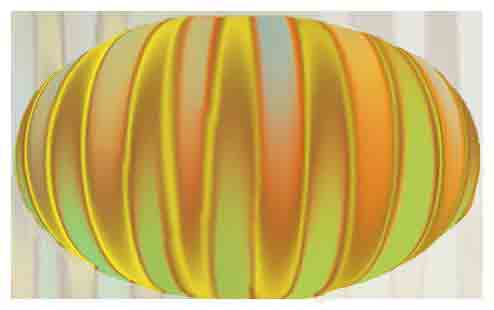
"Item #615" 1- Use the SPHERE effect. After you use the SPHERE effect it is often necessary to add some contrast to the parts of the drawing that are outside the sphere. |
|
|
How to add some contrast to the parts of the drawing that are outside the sphere. Working with just one of the four corners, you should- 1- Select the portion outside the sphere that you want to add some contrast to. You do this by using the SELECTION, LASSO, MARQUEE, or a similar tool to make a selection. One of best tool that I have used for this type of selection is the MAGNETIC SELECTION LASS0 in Adobe Photoshop 5.0 and 6.0 2- After your selection has been made Click on Image, Click on Adjust, and then Click Hue and Saturation. 3- Adjust the lightness lever to the desired contrast. When you make a selection you are usually working only with that selection, the rest of the image goes unchanged by your actions or choices. When you have a selection made try different effects and colors on the selection. One of my favorites effects is DISTORT and then choose OCEAN RIPPLE. You can do anything try them all. When you see any image you like save it and work with it. Your drawing program might require steps other than those mentioned above. |
|
"Item #616" With a little touch up it will be ready for a frame. Let's check the hue adjustments and see if we can find another color that is more to our liking I forgot to use the SHEAR effect on this image, it won't really be that similar, but you get the idea |
|
|
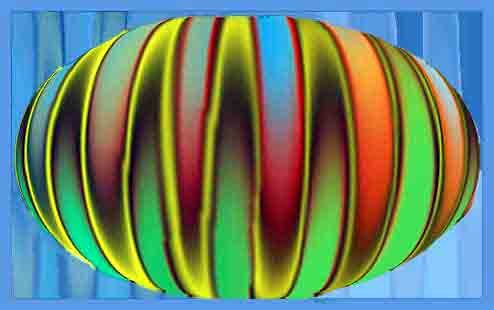
"Item #617" By changing the hue we see many different combinations of colors. I liked the colors we were using best. We will stick with the original colors. |
|
|
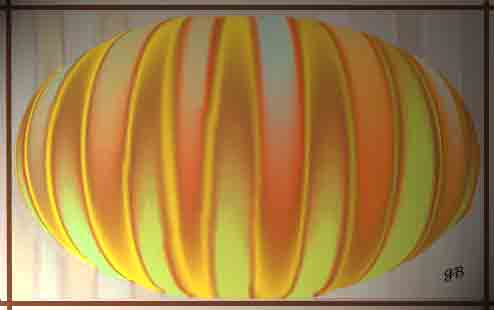
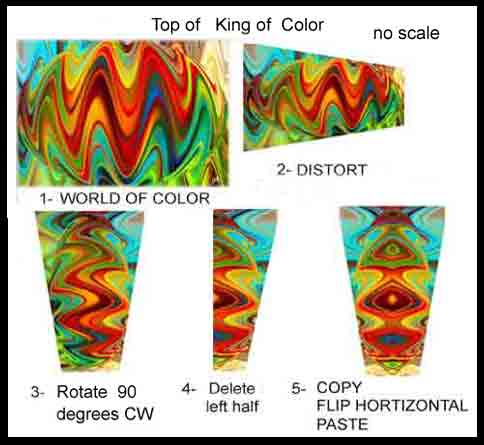
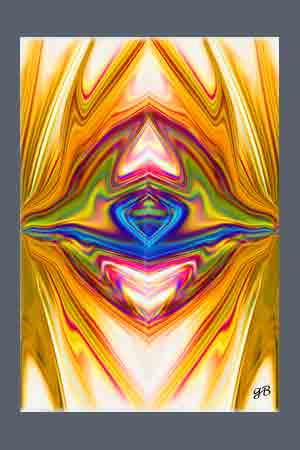
"Item #618" 1- A frame 2- Contrast between the background and the sphere. 3- A lighting effect and I will call that finished To show how the "KING OF COLOR" was created I will use the "World of Color" and try to recreate it exactly as it looks. |
|
|
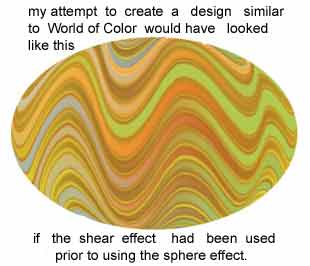
Item # 618 B Having left out the SHEAR effect, I list here the steps to obtain an image similar to 618 B
|
|
|
DISPLAY A Starting with the "World of Color" and showing frame by frame how the "World of Color" was distorted and used to create the "King of Color" Please note that there is no scale to these drawings |
|
|
DISPLAY B Four called in sick. Again? I'll bet he's out on some golf course. |
|
|
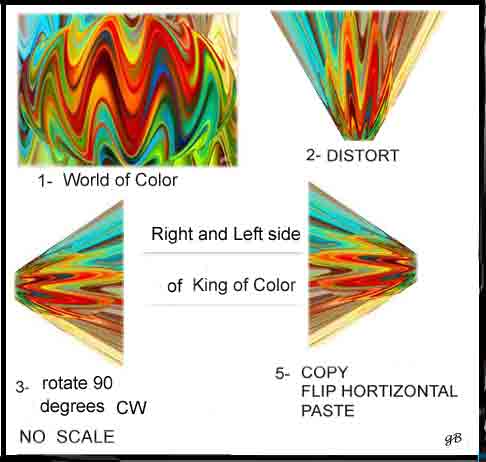
DISPLAY C The last repetition showing how this image was distorted to make the bottom part of this design |

|
|
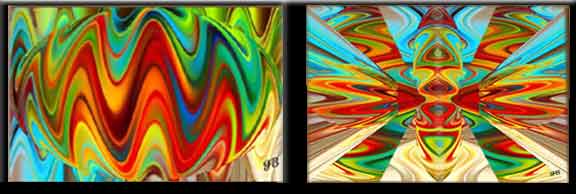
DISPLAY D "The World of Color" 4 of the images used to create the "King of Color" "The King of Color". |

|
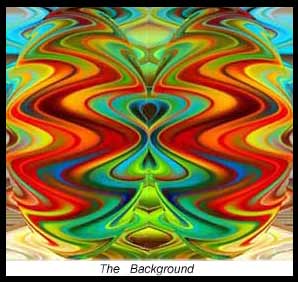
The above image, on the left, was used to create "The Background", on the right, by doubling the height of the canvas and using the following commands:
|
|
|
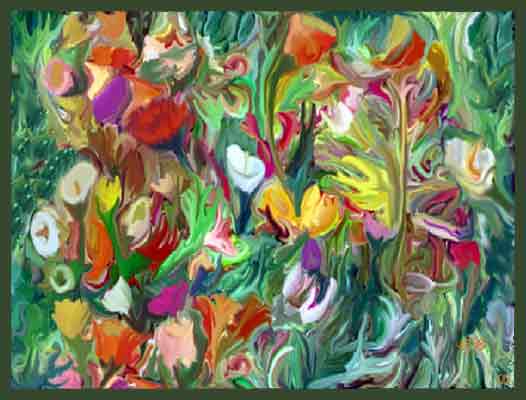
"PHOTO FLOWERS" I liked this drawing and I took photos of it and sent them around. I know one lady, my niece, that is using it in a series of screen savers |
|
| I have done a large number of drawings and graphic designs in the last 12 years, many are just slight variations . I have displayed many of these similar drawings to show how easy it is to add different effects, alter the colors or do what ever you want to do. That is what drawing is all about doing what you want to do. |
|
Place the mouse cursor on the image. Click the right mouse button (sometimes left). If you are using a popular Browser a menu will drop down Click on "Save Picture As..". On the Microsoft broswer the last item on the menu is PROPERTIES, if you click on PROPERTIES- Click on PROPERTIES, you will find the image on the right has 12282 bytes. A 56K modem will take 2 or 3 seconds to open it. Some very large image files take four or five minutes to open. Most people will not wait four or five minutes for an image to open. If you did not get here searching for a number, this exercise will show you how to find any word or number, that you want to find, on any web page, if it is there. Do this - Click on "Edit",- Click on "Find on this page", select up-- OR Press the CTRL key (hold it down) press the F key, Click on-"Find on this page", Select "UP" Enter three numbers, 5, 9, and 7. Click on "Find Next". . Please note that it will take you to each time the number or word appears on the page. Item #574 |
|
|
Class 2A and 2B now in progress
Enter the name and go anywhere you want to go. |
