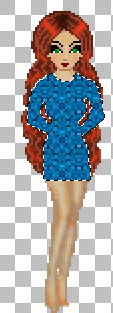
Now let's open up your doll. This is my little faery base but we're going to dress her up like a human. lol. Select the area that you are going to need for the dress. I use the lasso tool and outline my dresses that way, but if you prefer another way,this is fine too. In this tutorial, you will see the little ants crawling around the dress outline. Add a new raster layer. Now find the pattern you just made in your PSP Patterns and flood fill the area with it.

 Since the hands were also flood filled in this outline, then I am going to lower the opacity of the layer so that I can see better where to erase the pattern for the hands. We don't want her hands covered in fabric. lol. After you erase what you need to, raise the opacity back to 100%.
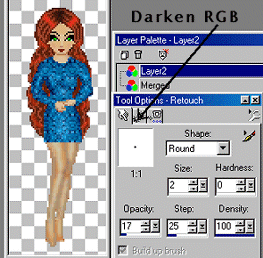
 It's time to do a little shading now. Using your Retouch Tool set to Darken RGB, (see settings below...also the little Gears I've pointed out in the image is where you change from Darken to Lighten to Push etc) outline the edges a little darker as you normally would when making an outfit. Include the breast outline in this. Then taking your Retouch Tool again, change it to Lighten RGB, and highlight areas inside of the dress. On mine, I included the top of the breasts and down the center of the dress. I also used a 2 pixel brush to lighten the very middle of the sleeves just a tad.
 Now just add some finishing touches, like stockings, belt, etc, do any clean up that's needed, Merge your layers ("Layers", "Merge Visible") and you're all finished. :)
  Tutorials Index
© The Doll Garden
Tutorials Index
© The Doll Garden
|