PSP5 Globe Tutorial
Globe Tutorial
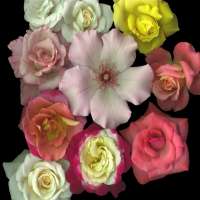
For this tutorial, I am using this image. If you haven't guessed from my prior tutorials, I love flowers! This image is 200x200.
Step 1: Open a new image, using these settings:

Step 2: Choose your Flood Fill bucket, and use these options:


Step 3: Flood fill your new image with your chosen pattern.
Step 4: Add 3 new layers, (Layers/New). Name the second layer Globe, the third layer shadow, and the forth layer text. Your Layer palette will look like this:

Step 5: Now while on your text layer, choose your Text tool. Place it on your image centered near the bottom. Use a text that is thick and large. For this tutorial I used:

Step 6: At this point you can use any filters or effects you want on the text. I used a Blade Pro present called "Gold". Now go to Image/Effects/Cutout and use these settings:

Step 7: Next go to Image/Effects/Drop shadow and use these settings:

Step 8: Go to Selections/Select None. Then go to Images/Deformations/Circle and it will curve your text, giving you this effect:

Step 9: Return to Layer 1, and go to Image/Deformations/Circle and your image will become round with a transparent background. Should look like this:

Step 10: Increase your canvas size by going to Image/Canvas Size, and use these settings:


