Objectives:
So You Think It's Easy To Solder!
In this Mini-Lesson you will:
Well it is, if you have the right tools, follow the right procedures and practice. If you don't do these things you'll probably wind up putting together a project that doesn't work. After all, it is estimated that 8 out of 10 projects that fail to work the first time, fail to do so because of poor solder connections. You see soldering is an activity that's so easy to do wrong yet so important to do right. Doing it correctly is something you will want to strive for constantly. Okay, let's get started by looking first at the right tools and then the right techniques.
Soldering Tools
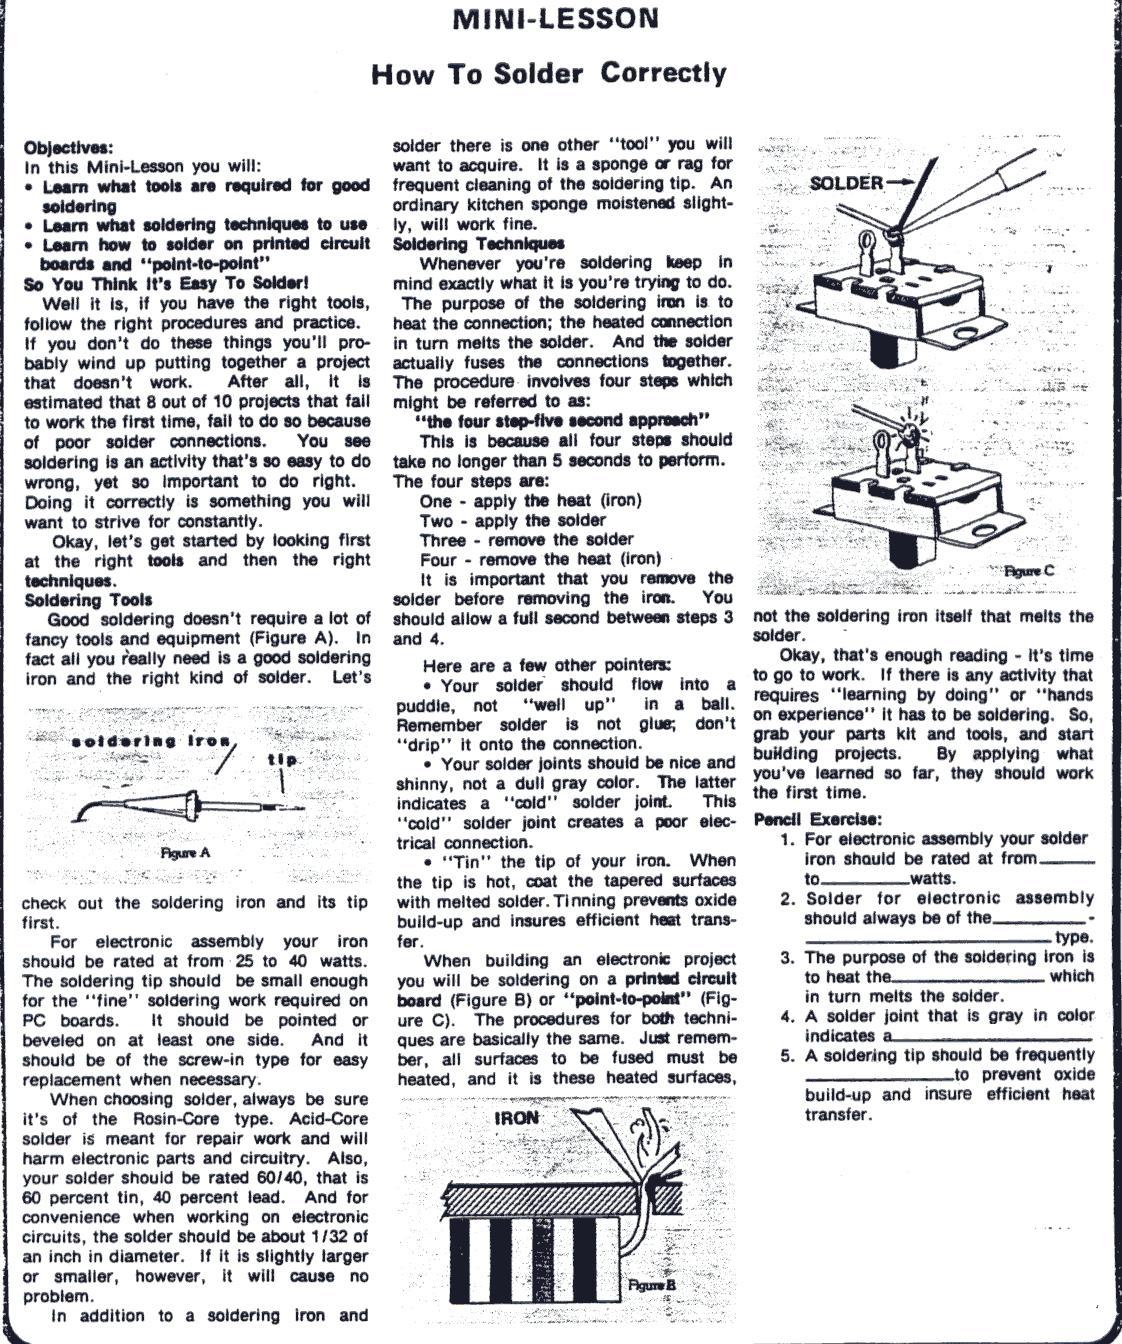
Good soldering doesn't require a lot of fancy tools and equipment (Figure A). In fact, all you really need is a good soldering iron and the right kind of solder. Let's check out the soldering iron and its tip first. For electronic assembly your iron should be rated at from 25 to 40 watts. The soldering time should be small enough for the "fine" soldering work required on PC boards. It should be pointed or beveled on at least one side. And it should be of the screw-in type for easy replacement when necessary. When choosing solder, always be sure it's of the Rosin-Core type. Acid-Core solder is meant for repair work and will hurt electronic parts and circuitry. Also, your solder should be rated 60/40, that is 60 percent tin, 40 percent lead. And for convenience when working on electronic circuits, the solder should be about 1/32 of an inch in diameter. If it is slightly larger or smaller, however, it will cause no problem. In addition to a soldering iron and solder there is one other "tool" you will want to acquire. It is a sponge or rag for frequent cleaning of the soldering tip. An ordinary kitchen sponge moistened slightly will work fine.
Soldering Techniques
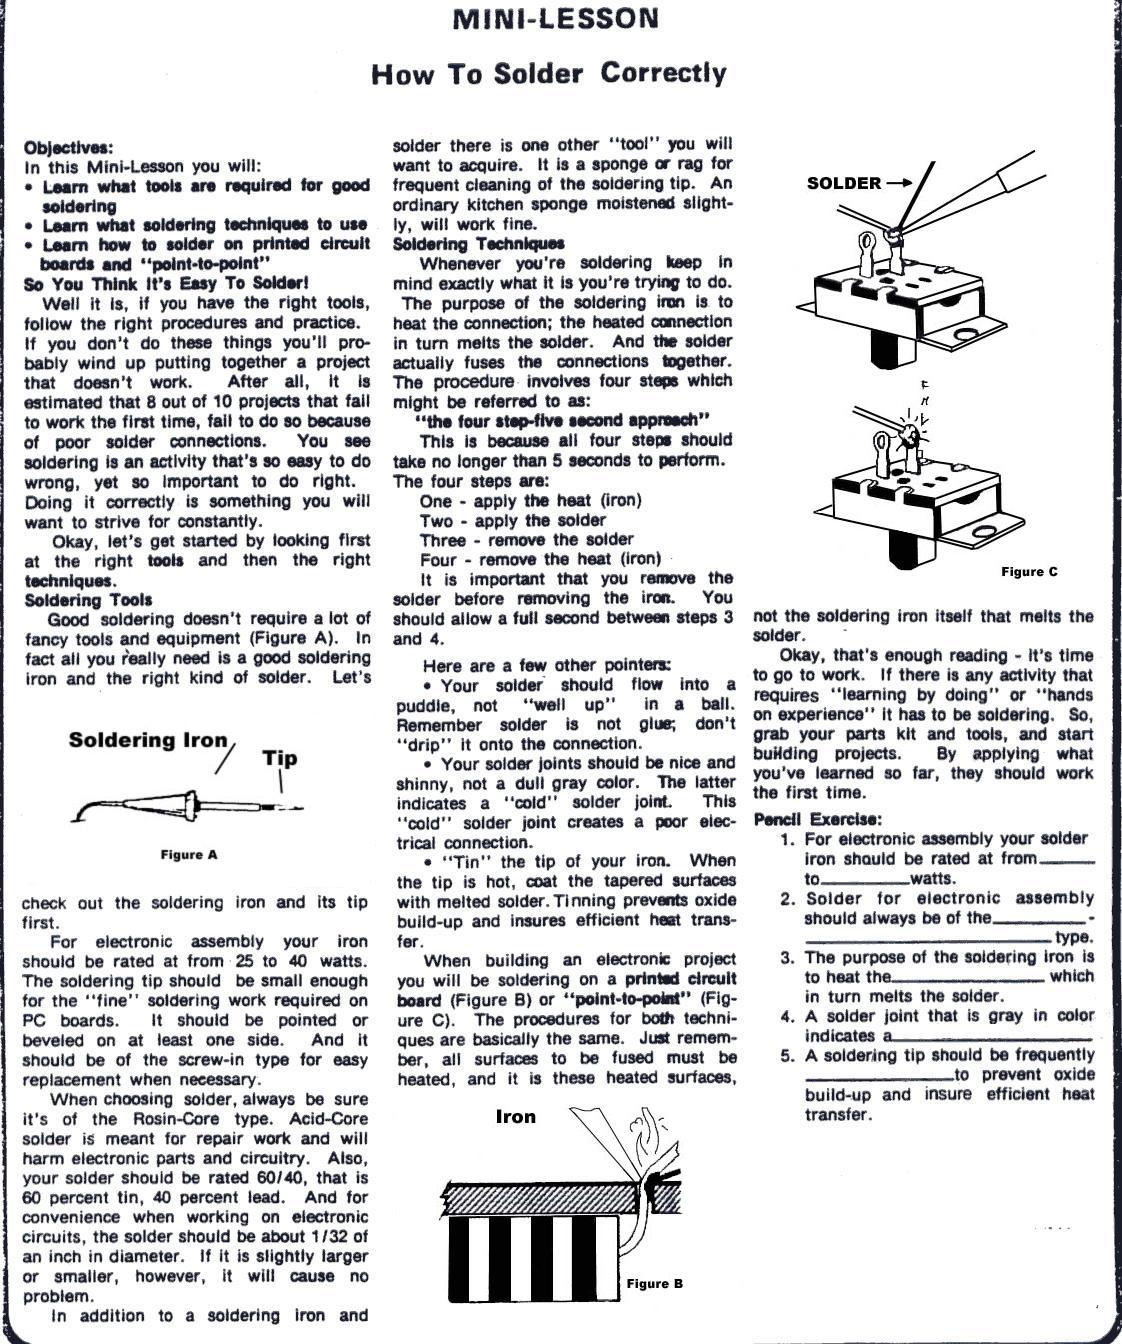
Whenever you're soldering keep in mind exactly what it is you're trying to do. the purpose of the soldering iron is to heat the connection; the heated connection in turn melts the solder. And the solder actually fuses the connections together. The procedure involves four steps which might be referred to as "the four step-five second approach". This is because all four steps should take no longer than 5 seconds to perform.
The four steps are:
One - apply the heat (iron)
Two - apply the solder
Three - remove the solder
Four - remove the heat (iron)
It is important that you remove the solder before removing the iron. You should allow a full second between steps 3 and 4.
Here are a few other pointers:
Pencil Exercise
1. For electronic assembly your solder iron should be rated from___ to___watts.
2. Solder for electronic assembly should always be of the___-___type.
3. The purpose of the soldering iron is to heat the___which in turn melts the solder.
4. A solder joint that is gray in color indicates a___
5. A soldering tip should be frequently___to prevent oxide build-up and insure efficient heat transfer.
Answers
Original "How To Solder Correctly" Sheet
Original "How To Solder Correctly" Sheet with updated pictures
Please note that this lesson was not created by me, I am unsure of the original author. I did however type this up into a html document and I also re-did the pictures. I am only posting this for informational purposes. I just thought it might be of use to some people.
Ads Suck.
Ads Suck.
Ads Suck.
Ads Suck.
Ads Suck.
Ads Suck.
Ads Suck.
Ads Suck.
Ads Suck.
Ads Suck.
Ads Suck.
Ads Suck.
Ads Suck.
Ads Suck.
Ads Suck.