
Construction Info
Phase 2
Getting Started
Once you've got a good idea what you want and how to go about it, its time to gather up the stuff you need and jump into it! If you've never done anything like this before, expect it to take twice as long and cost twice as much as you think it should.
There are many different approaches to making a costume, and if you're smart you've done your reasearch and chosen the method that will work best for your purposes. On the other paw, if you're like me you've done your research and chosen totally the wrong method to start with. :)
I decided to start with the head, since its the most important part of this costume and the rest would be pointless without it. I originally wanted a full head and neck, and after looking around I thought the best way to go about it would be a wire understructure covered with urethane foam. I'd never used this technique before, but it seemed perfect.Lightweight, reasonably strong, and slightly soft and flexable right? Well, it didn't turn out that way. After about 2-3 weeks of constant work and at least $100 in tools and materials, I ended up with something that looked allright, but much bulkier and heavier than I'd wanted it. And I couldnt keep it from looking incredibly fake where the neck joined the body, like a mascot. So being the stubborn perfectionist that I am I put it aside and started reworking my plans.
Agter thinking it over awhile I decided to switch to materials and techniques I am more familiar with, and started again. I took a lifecast of myself made of rigid foam that I'd had around awhile and built up an equine face on top of it with plastilene clay, then sealed the clay with a thick layer of polyester resin. Once that was done a two-part plaster mold was made of the sculpture, which was used to cast a latex skin. The skin was reinforced inside with more polyester resin to make it rigid, and viola, a perfect fitting lightweight latex mask! This whole process took about a week, and cost under $40, practically nothing compared to the previous version. Its quite comfortable to wear, and weighs very little, maybe 5 pounds. Oh well, live and learn. I suppose the lesson is, go with what you know!
Sorry for the lousy quality of some of the pictures. My digital camera isnt worth the cheap plastic its made of.
 |
The wire understructure and helmet |
 |
the finished underskull (1/2" foam padding and duct tape) |
 |
Here it is after adding another thin layer of sculpted foam on top. |
 |
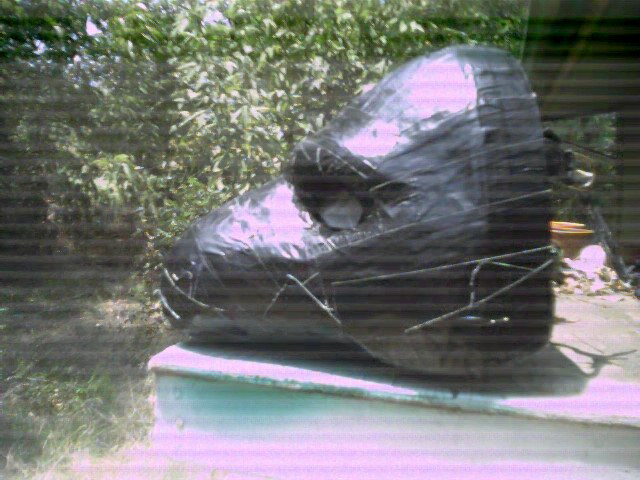
The almost finished head (minus the fur). Rejected. |
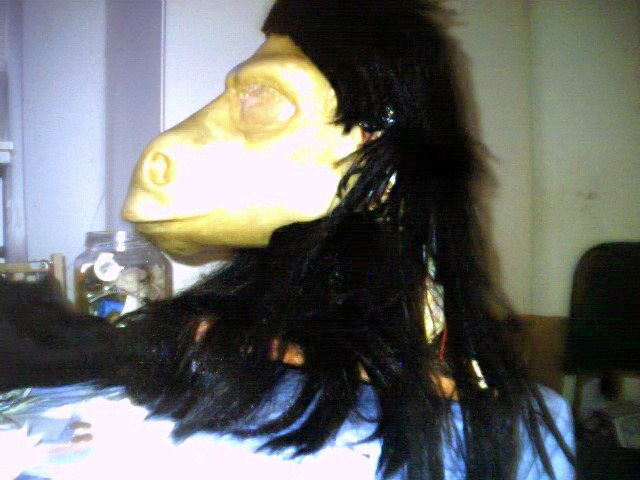 |
The clay and resin sculpture of the new mask (modeling a wig). |
 |
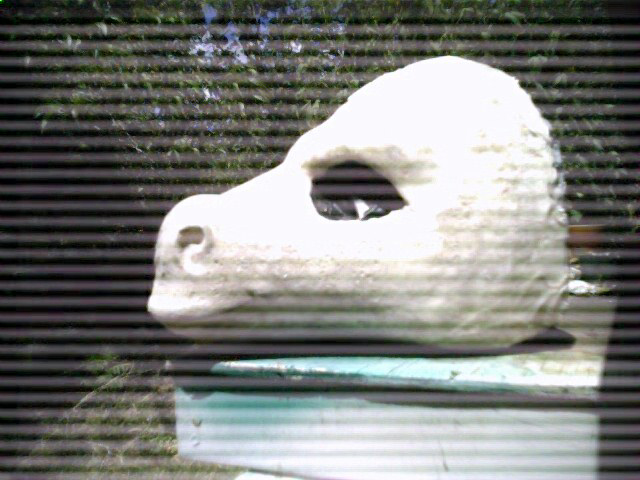
The latex and resin casting, and the plaster mold. |
Continue to Phase 3
