
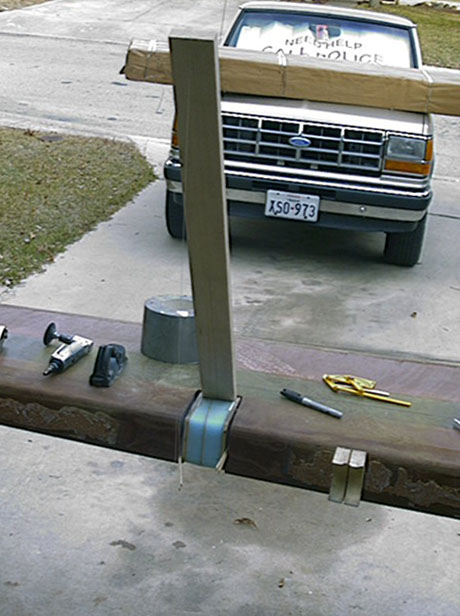
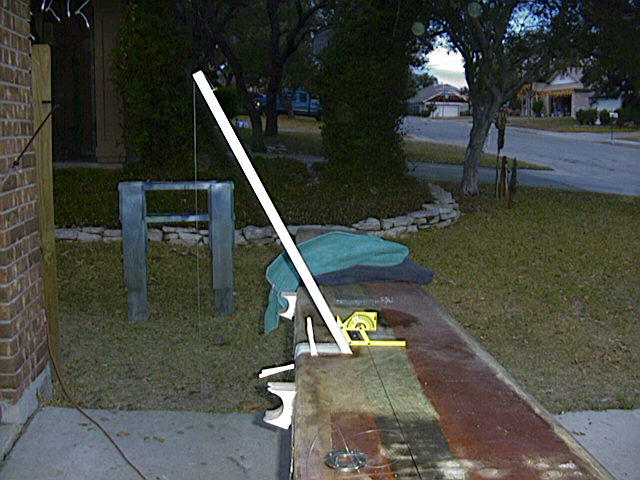
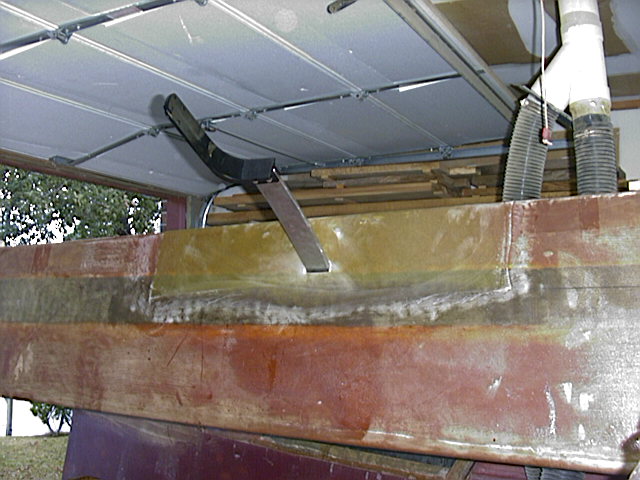
 These boards were milled to very precisely fit
the LG socket. I don't think it's visible in the pic, but there is a black line
running the length of the board, exactly in the middle. The string is a plumb
bob, so with the wing exactly level I can plumb the gear leg to be perpendicular
with the ground.
These boards were milled to very precisely fit
the LG socket. I don't think it's visible in the pic, but there is a black line
running the length of the board, exactly in the middle. The string is a plumb
bob, so with the wing exactly level I can plumb the gear leg to be perpendicular
with the ground.
Visible also is the diagonal micro joint in the foam of the LG boxes.
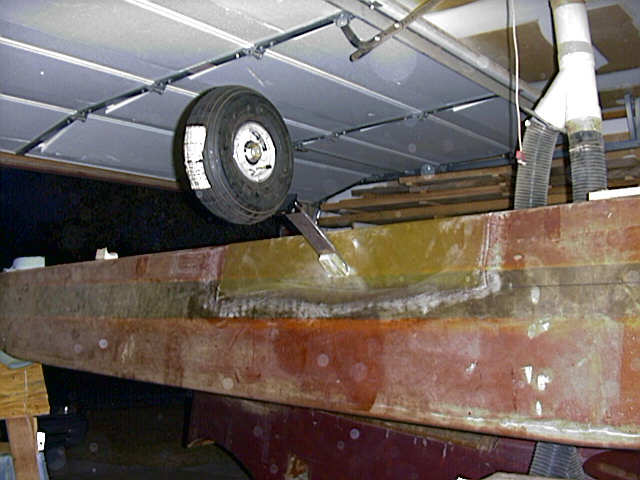
Here you can better see the plumb line. The little yellow guage tells me if this "gear leg" is at the same angle as the other one. The exact degree wasn't too important, as long as they are both the same. As a third check, the leg is adjusted so that it is square (parallel) to the black line running the length of the canard. This helps me to ensure there's no "toe in or out"
 After everything was checked and re-checked, I
floxed the boxes in place. After the initial flox job cured, I turned the wing
on it's leading edge and poured a very runny mixture of flox into the forward
part of the cavity. When I was sure that the flox had saturated all of the
cavity, I filled the voids (on either side of the gear box) with foam, ensuring
that all sides were good and "buttered."
After everything was checked and re-checked, I
floxed the boxes in place. After the initial flox job cured, I turned the wing
on it's leading edge and poured a very runny mixture of flox into the forward
part of the cavity. When I was sure that the flox had saturated all of the
cavity, I filled the voids (on either side of the gear box) with foam, ensuring
that all sides were good and "buttered."
This process actually took about two days.
When all of the void filling was done, I turned my attention to
the surface preparation. At this point, you have to be concerned with ensuring a
good bond between the gear box ribs, and the canard skin. In order to achieve
this, I removed all traces of micro and flox from the exposed edges of the ribs,
and used flox as a filler to bring the surface of the ribs flush with the
surface of the canard.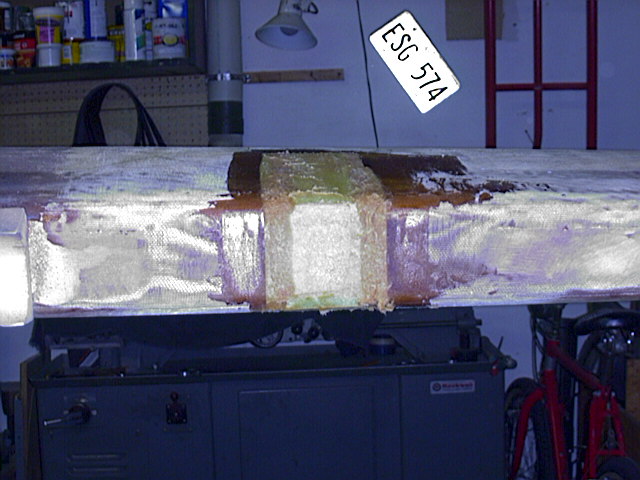
I peel-plied the filling job, so that I could squeegee it smooth, and so I wouldn't need to scuff sand it for the final fill..
I did this twice to each side, top and bottom.
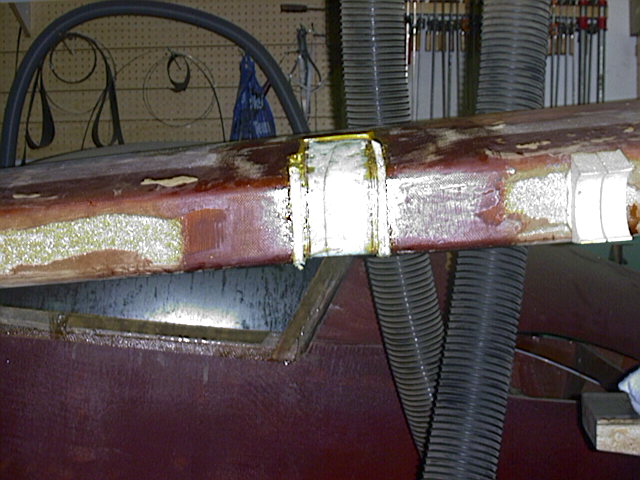
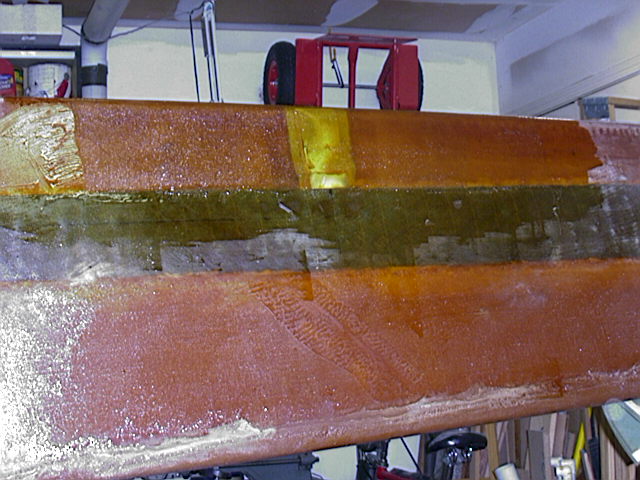
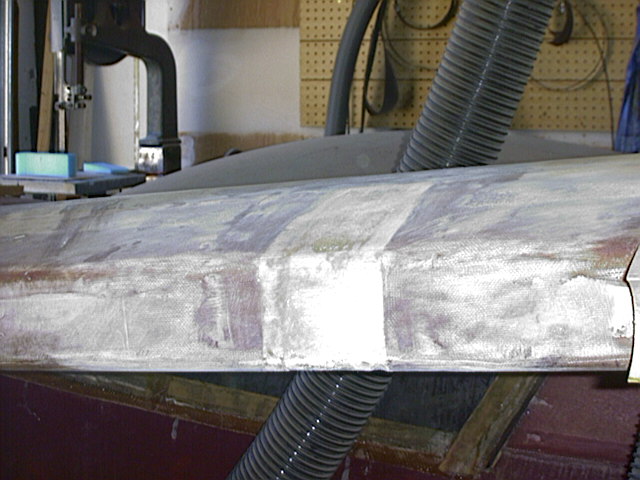 It was a lot of effort, but the surface came
out well. It is absolutely smooth, flush with the surface of the canard, no
pockets or high / low points.
It was a lot of effort, but the surface came
out well. It is absolutely smooth, flush with the surface of the canard, no
pockets or high / low points.
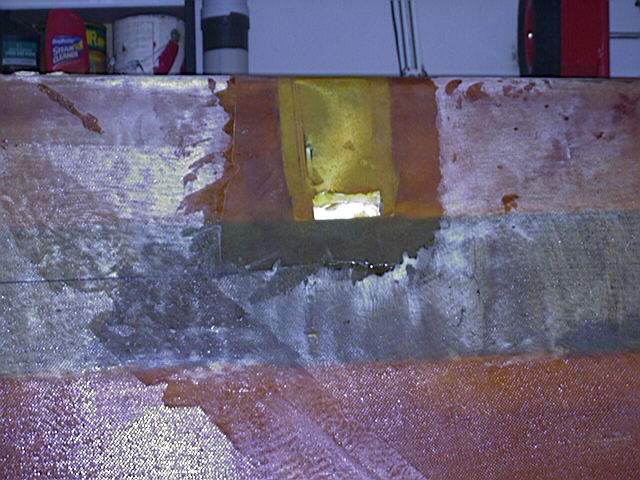
The LG slot on the right side. At this point, I wasn't worried about the shape of the hole, and I still needed to sand the edges of the peel-plied area.
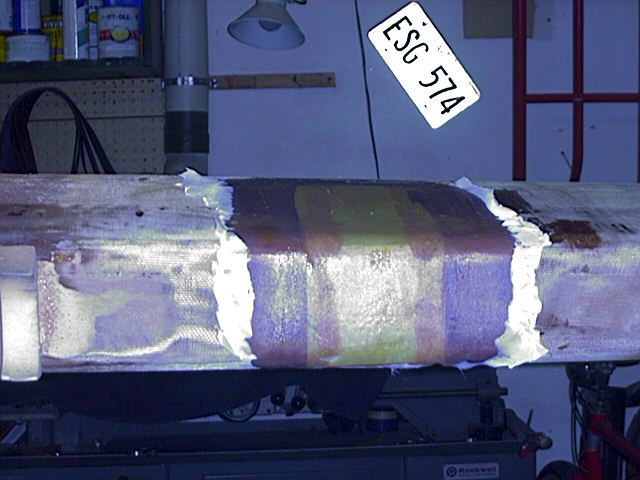
This is the initial 20" wide strip of UNI, from the dge of the spar cap, overlapping the drag spar.
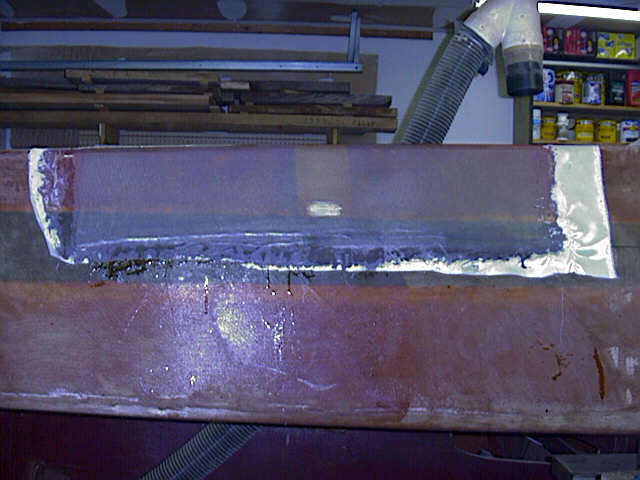 Peel ply over the last ply of UNI. I wiped the
drips off after the picture was taken!
Peel ply over the last ply of UNI. I wiped the
drips off after the picture was taken!
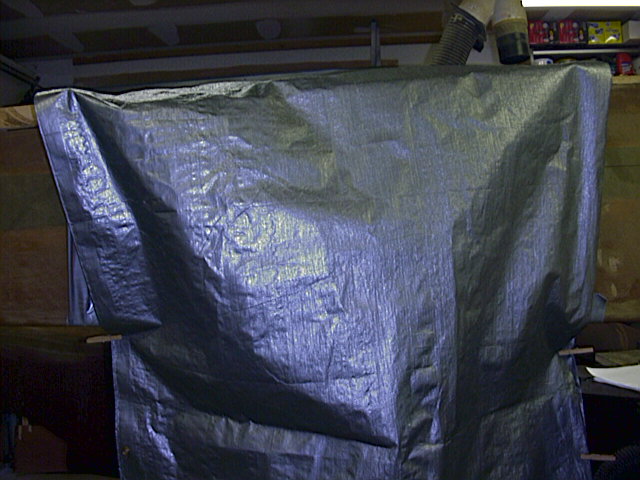 I taped some boards to the drag spar so that I
had a frame (shape of a "V") to support the tarp all the way around. There was
sufficient clearance inside the tarp tent to allow full air
circulation.
I taped some boards to the drag spar so that I
had a frame (shape of a "V") to support the tarp all the way around. There was
sufficient clearance inside the tarp tent to allow full air
circulation.
I kept the tent on for 20 hours per side, at a constant (relatively) 100 degrees F.
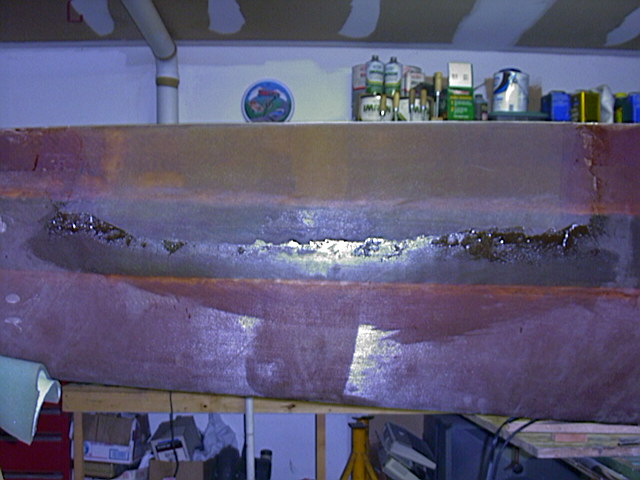 Here's the result. It is very smooth, with a very
good quality layup. I just have to feather the edges, which I'll wait to do till
I start the exterior smoothing process.
Here's the result. It is very smooth, with a very
good quality layup. I just have to feather the edges, which I'll wait to do till
I start the exterior smoothing process.
 The trial fit of the LG legs. I had to very
slightly sand the edges of the legs to get a perfect fit. I will probably end up
taking the curve out of the leg, cause of the way it curves inside the slots.
I'll wait until I've established the final length of the legs to de-curve the
spring.
The trial fit of the LG legs. I had to very
slightly sand the edges of the legs to get a perfect fit. I will probably end up
taking the curve out of the leg, cause of the way it curves inside the slots.
I'll wait until I've established the final length of the legs to de-curve the
spring.
Here is the assembled gear, held in place with a wooden wedge.
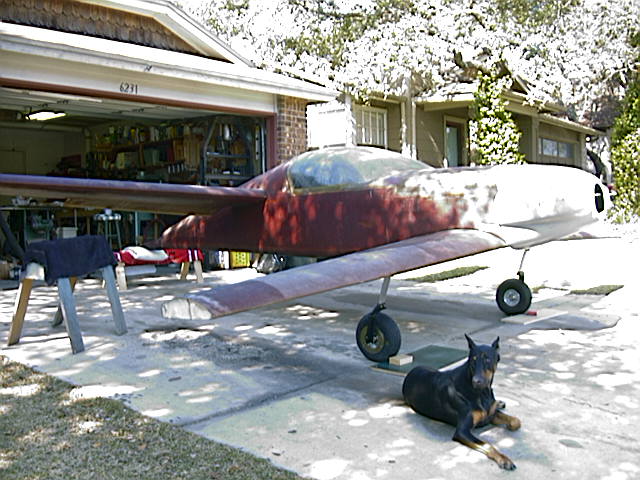
Here it is, on it's gear for the first time! I DEFINATELY will have to shorten the legs... probably 4 or 5 inches.
Click HERE to return airplane page 6
This page was last updated 10 Jan 2K
