
After creating your web site, you wil need to publish it on the Internet. You will require the following:
• An account with a web host.
Many ISPs will already provide you with web page space. You will need your userID and password to log in. Have these ready. For those without access to a web server, you can sign up for the free services you find on the Internet such as Angelfire and Geocities. You can also search your ISPs website for details on how to connect by FTP.• An FTP Software
Dreamweaver has an FTP function built into the software. However, you may choose to install another FTP software to better help you handle the remote files. I will show you this process using WS-FTP which can be downloaded from the software section.
After you start WS-FTP, at the login screen below, click on New and create a profile to store your web host settings. This will save you time keying the information next time. The sample below shows the settings for Angelfire. USE YOUR OWN USERID.
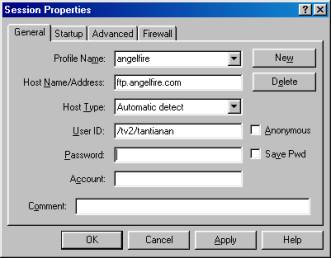 |
Remember not to store your password on public access terminals or in classrooms. You can create various profiles for each web host you regularly connect to. Click apply to store the profile.
Now click OK to start the connection. You need an Internet connection for this. Once connected, you will see the following two windows.
 |
The window on the left shows your local files, found on your computer. The right window shows your remote files located on the web host. If you do not see anything on the right, you do not have any files online or check your connection - click on the bottom left, Close,and Connect again.
Once connected, you can highlight your local files and folders on the left, display the correct destination folder on the web host on the right and click the -> button between the two windows to transfer the files to the remote server. Similarly, you can download files form the server as well.
Always check your web site with a browser after uploading to ensure that all the necessary files have been uploaded!
Using Dreamweaver FTP
The process and windows are similar to WS-FTP. However, you have to enter the remote information into the Define Sites window first. From the Site menu, select Define Sites. Select the category Remote Info.
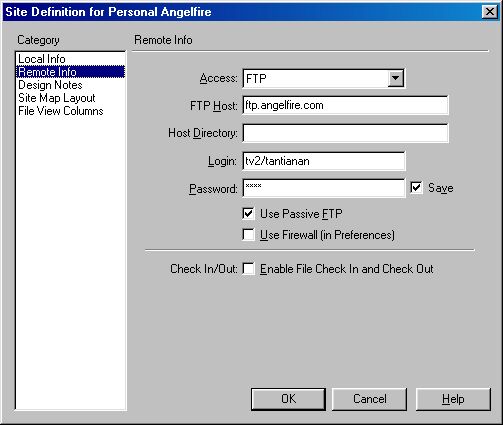 |
By now you should be familiar with the required information and fields. Read the first section again if you are unsure. In Dreamweaver, to start the FTP process, bring up your Site Window shown below.
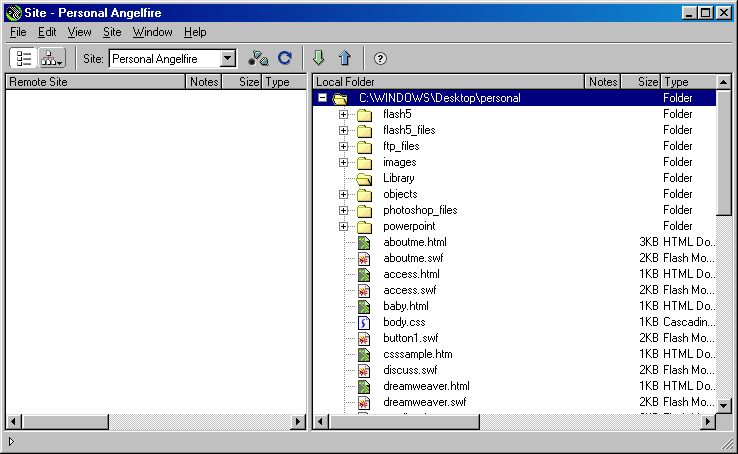 |
The button bar has four buttons - Connect, Refresh, Get files and Put files.
|
|
You first have to ensure that you are connected to the Internet and click on the Connect button. It uses the Remote Information stored for this website. On successful connection, you will see a green light on the connection button and the left or Remote window will also show your files on the web host.
Select your files or folders from the local system on the right window, and simply drag them to the left. alternatively you can select your files and click on the Get or Put files button to upload or download files.
If you do not select any files and click the Get or Put files button, it will upload or download the entire website.
One extra point is that you have to remember to check the box Use Passive FTP if you encounter problems in connecting.
I can also suggest that you use the available web hosting space as storage for your other data files as well.
Happy FTPing!
