|
|
Let's see if we can get it all back together again shall we? | |
|
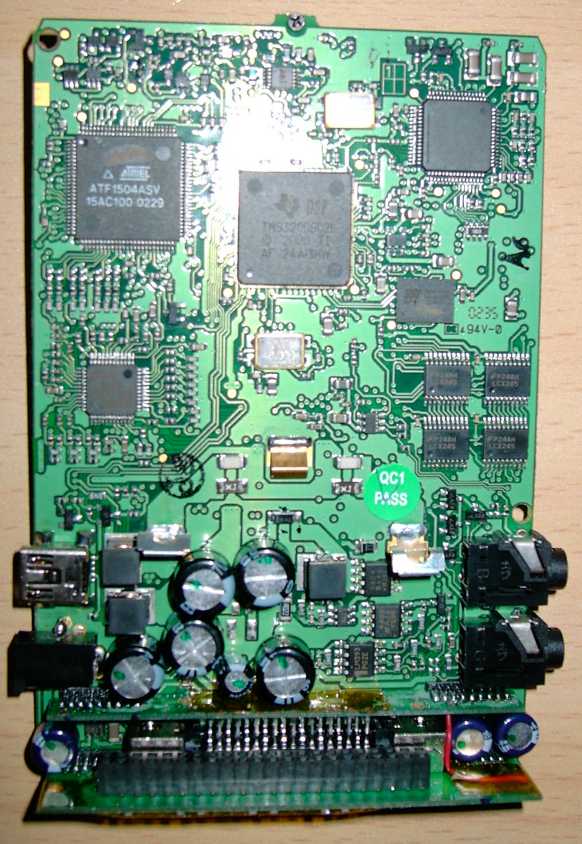
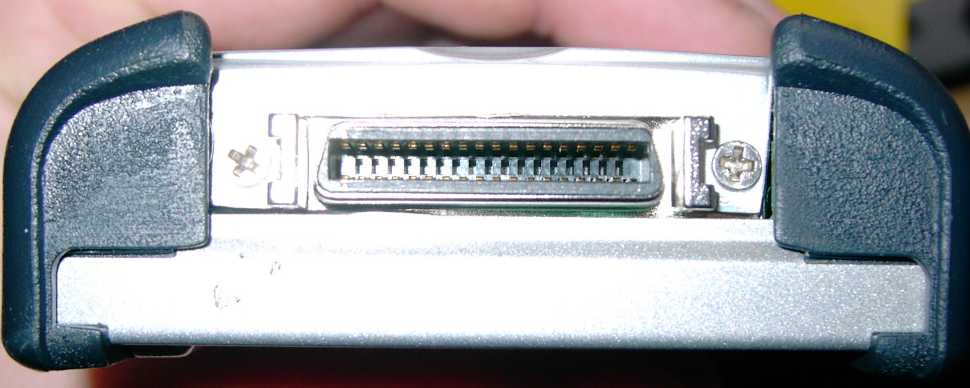
Step1
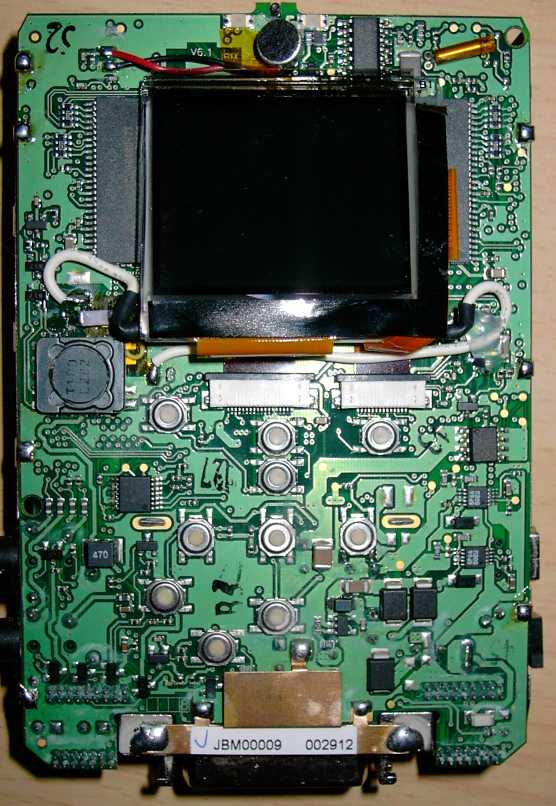
Plug the hard drive back into the edge connector on the circuit board. Make sure you get it the right way up and the pins connected correctly. If this is out by one pin the metal case will be really hard to get on and you'll have to take it all apart again later. |
|
|
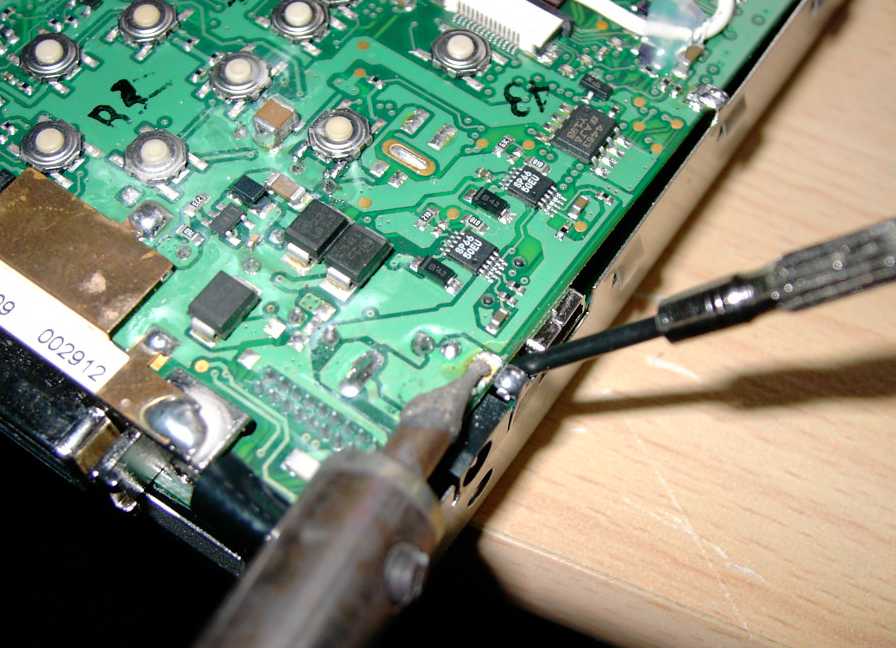
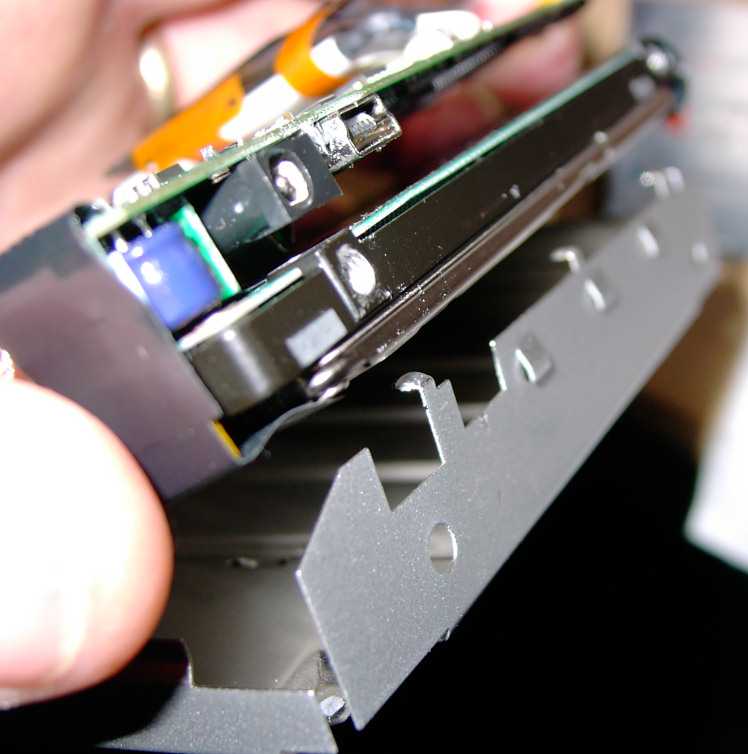
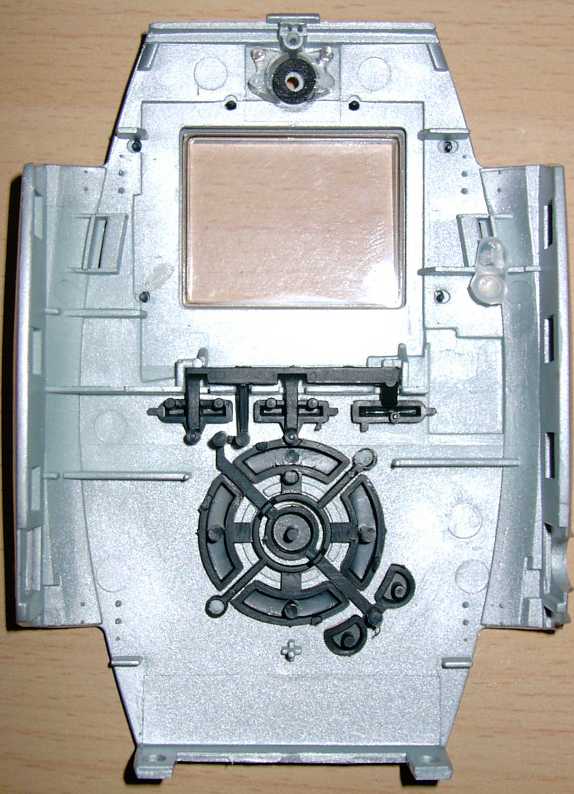
Step 2
Gently clip the drive and circuit board back into the metal case. This will need to be re-soldered back on to the board at the lug points around the edge. The flat head screwdriver can be used to lever the board op against the lug, it is important to get solder in the gap between the lug and the metal contact on the board or it will probably come away again later. I used a small blob of super glue as well because I am into over-kill! Take your time with this and do a good job, be VERY careful not to get blobs of solder on the PCB or MELT through the circuit board, or get your solder blobs TOO BIG so that they short out components on the circuit board. This is the most dangerous part of what we have to do with the MMJB and can cause the most serious damage. One small slip and it might NEVER WORK AGAIN. You have been warned, and if you are not comfortable with blobs of solder then get a mate who is to do it or pay a professional OK?
|
|
 |
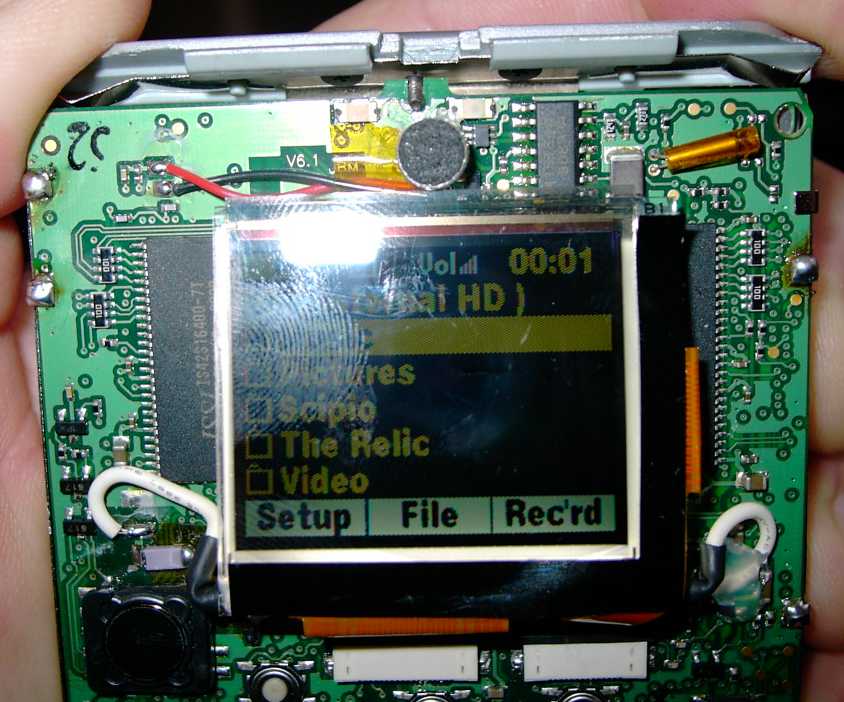
Step 3
Once this has been done you can test it to see if your baby is working OK. Replace the battery (make sure it is the right way round and the right way up) The pics are to show the orientation you won't be able to see it like this of course.
|
|
|
Get the battery cover and
hold it against the top then turn it on, You will need to hold the
contacts against the battery all the time to test the MMJB.
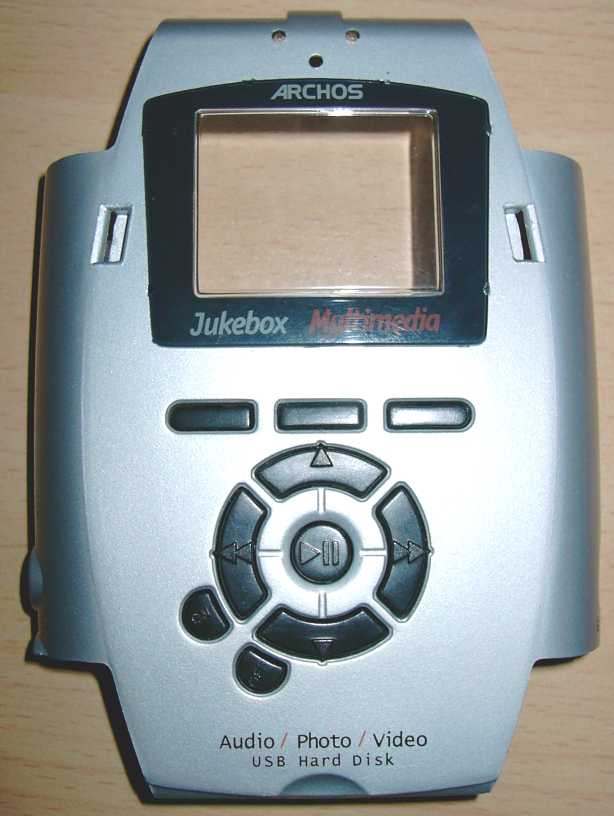
I am sure you can figure out which buttons do what but here are some pics to remind you of the layout Once you are happy that everything is working OK move on to the next step. I hope it is OK. If it isn't, check your battery has a charge, the solder joints are good and that the hard drive was inserted correctly. Then remove the battery cover. |
|
|
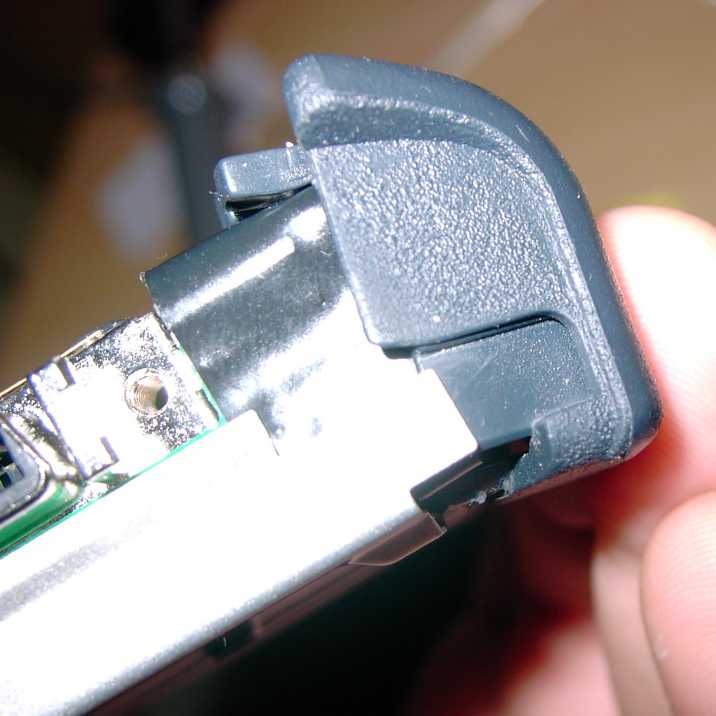
Step 4
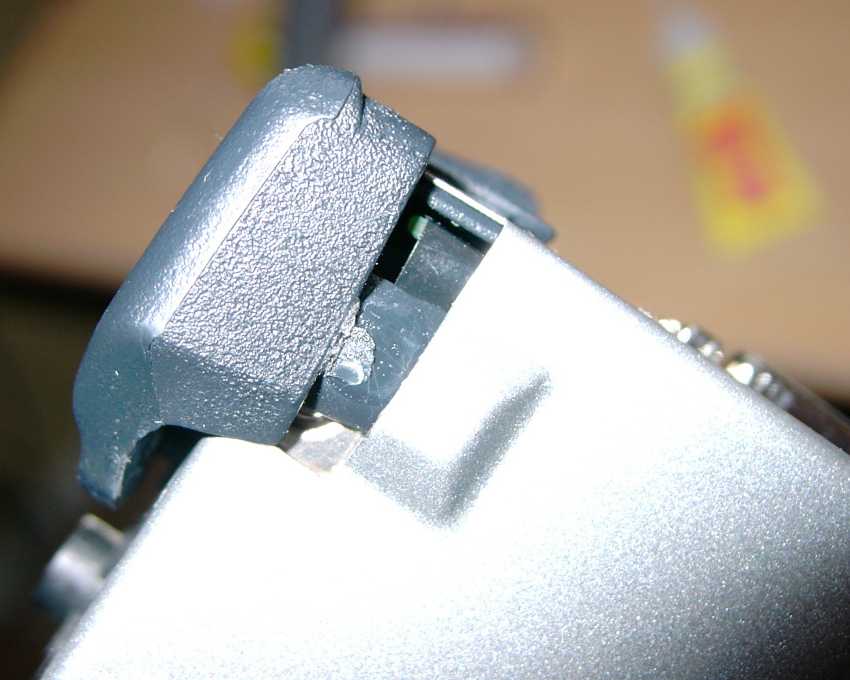
Replace all the bumpers correctly, this could take some time, as they are all different. The pictures are there to remind you how the cases and rubber parts overlap.
I put a spot of superglue here on each of the bumpers as there was glue here when we took it apart.
Replace the 4 Torx screws.
|
|
|
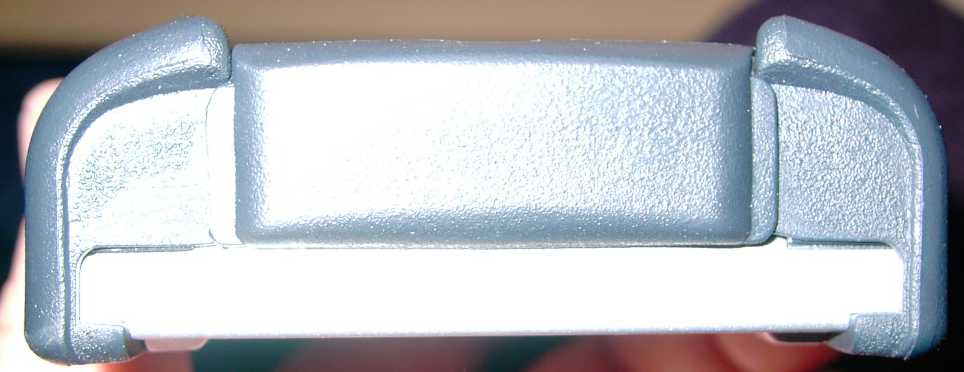
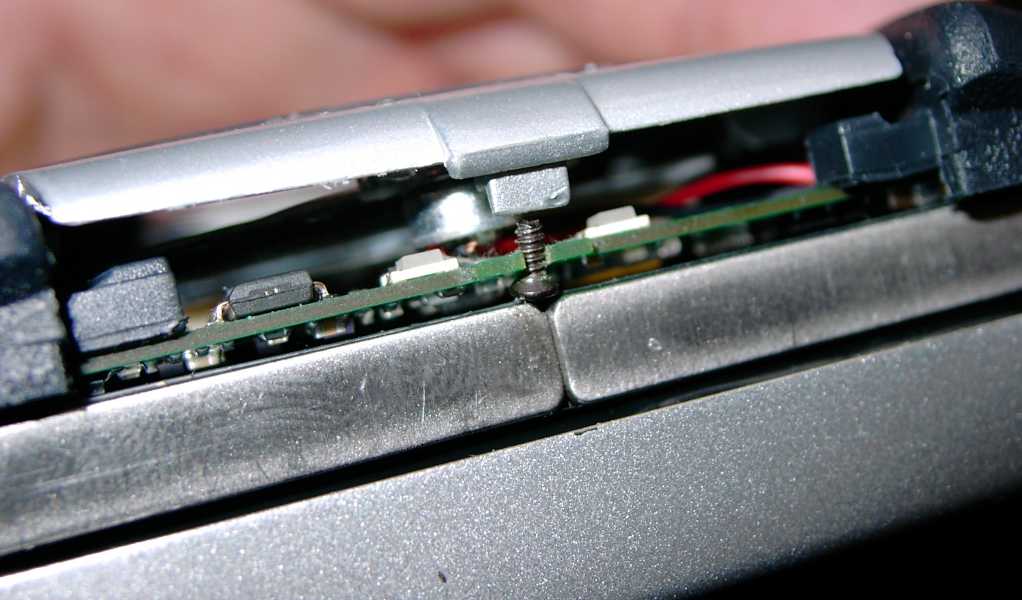
Step 5
Clean the screen and blow out any dust Clean the inside of the window in the plastic cover and do the same. Replace the plastic cover being very careful to get the microphone back into the round hole in the plastic cover. Do this all very carefully and check the top and bottom of the unit to make sure the plastic overlaps correctly and the little screw at the top isn't dislodged. Make sure the metal clips clip into the plastic slots in the sides of the cover properly.
|
|
|
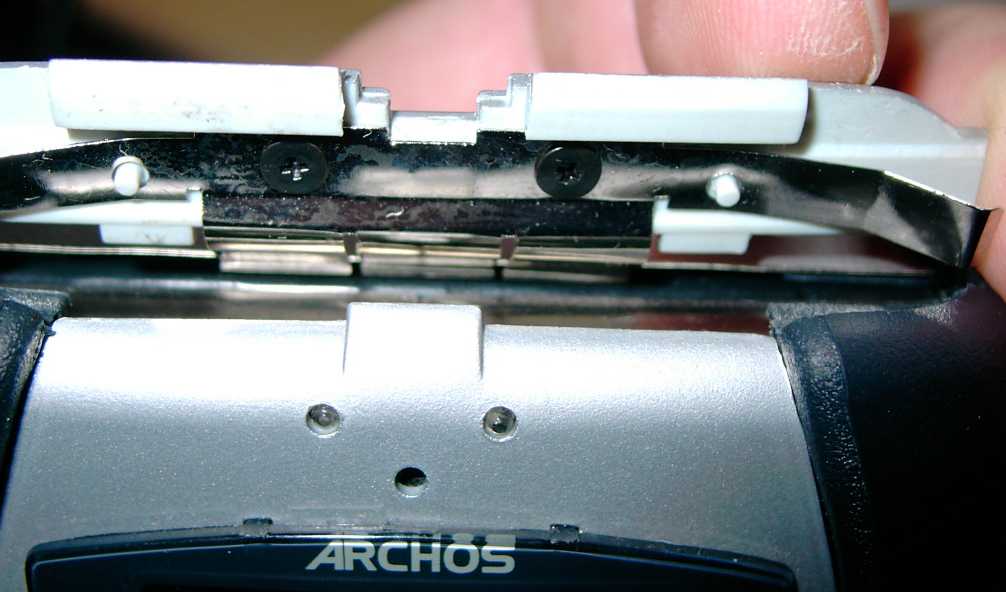
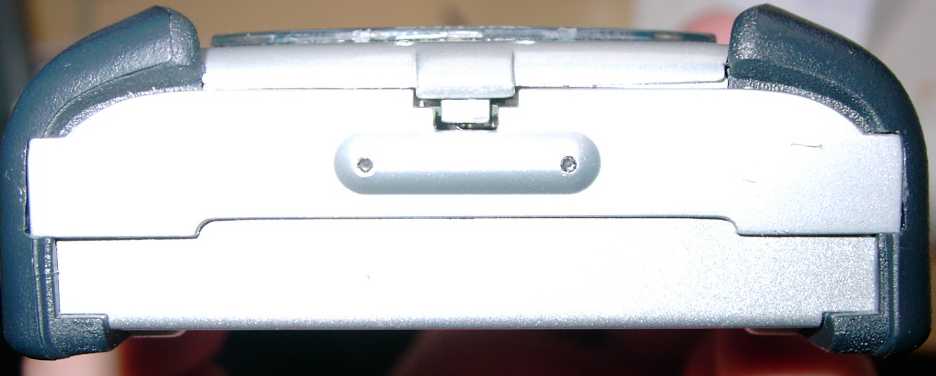
Step 6
Insert the philips head screws in the bottom of the plastic case Put your rubber cover back on the bottom Then screw the small philips head screw into the plastic case at the top of the Jukebox. |
|
|
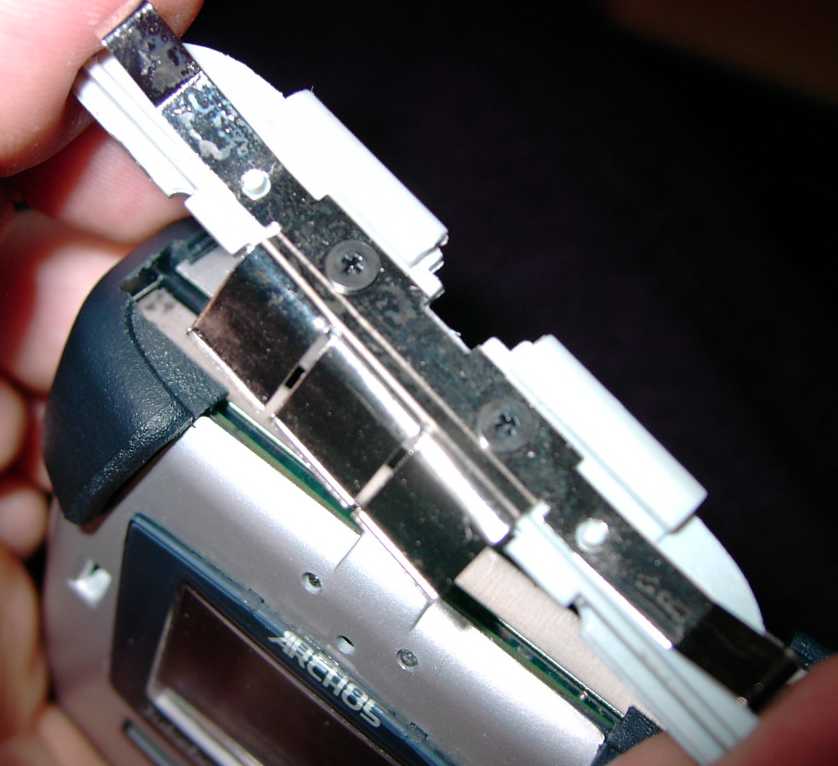
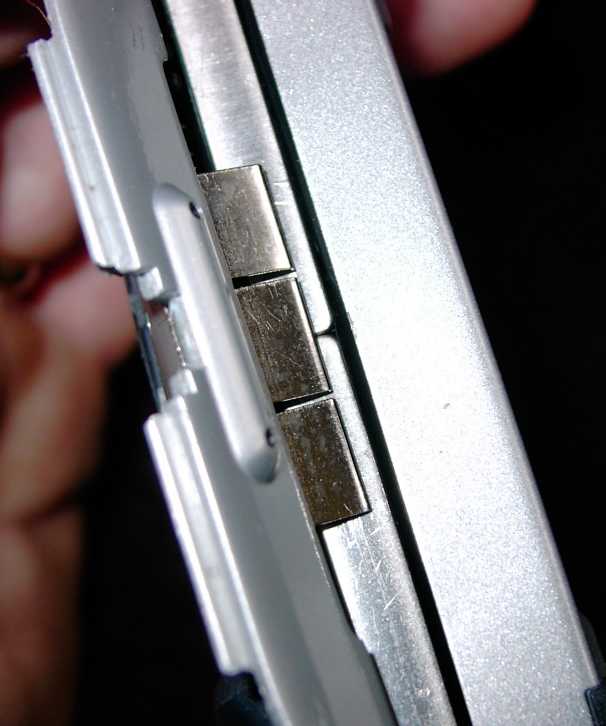
Step 7
Replace the battery cover being careful with the metal contacts, make sure they are pushed over the rubber bumpers properly (use a flat head screwdriver to help with this).
|
|
 |
Hurray! we are back in business and hopefully all works better than before. |