ATTACHING THE 6-WIRE DREAMCHIP
Step 1
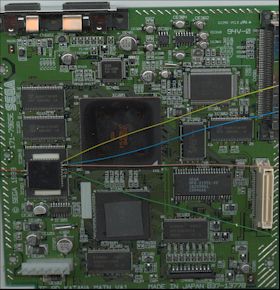
Locate the 2 memory chips for the placement of the DreamChip. You will
place the chip on top of these 2 memory chips illustrated below. This is the best
(safest) location for the chip. Why over the memory chips? There is plenty
of headroom space above the 2 memory chips on every version Dreamcast.

Step 2
OPTIONAL: Place double sided tape over the 2 memory
chips to attach the DreamChip to it. You could also use epoxy or electrical
tape that is taped back to back or you could even tape the chip down on top
of the 2 memory chips, but this is not required as long as the chip is
placed above the 2 memory chips.

Step 3
Place the
DreamChip as illustrated below. There in no need to wrap the chips pins in
electrical tape if you place the DreamChip above the 2 memory chips but it would be a good idea.
Step 4
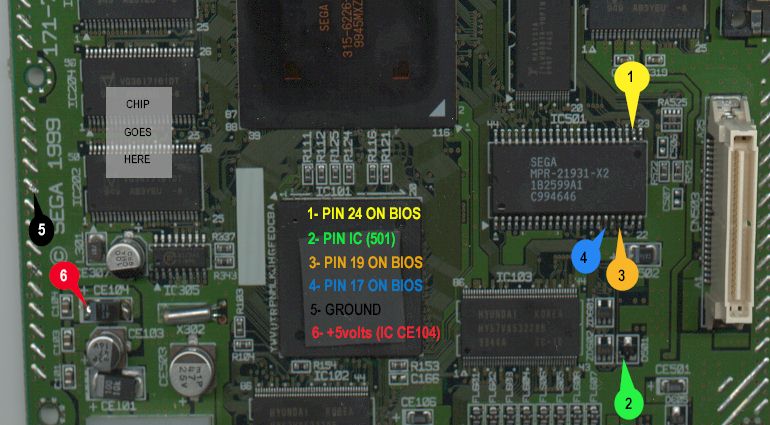
Solder the DreamChip wires to the Dreamcast PC board illustrated
below.
TIP: When counting the Bios pins remember the pins are numbered in white
(on the PCB) on every corner. In the upper left you see
"44" that's pin 44. In the upper right you see "23".
In the lower left & right you see "1" and "22"
respectively.
Step 5
Re-assemble your Dreamcast to finish the modification.
Now
your Dreamcast will play every game from every zone!
"
PlayStation" is a registered trademark of Sony Computer
Entertainment and "Dreamcast" is a trademark of Sega Corp. to
which we have no affiliations. Our company is not affiliated with Sony or
Sega in any way. The modifications, MOD chips, Stealth Game Enhance or any
other item's listed on this web site was not produced, manufactured or
endorsed by Sony Corp., Sega Corp. nor any of its affiliates or
representatives, therefore they hold no responsibility for the use of this
modification with their product. |