This is the photoshop version of the blinkie tutorial. If you need any further
assistance
I have links to other blinkie tutorials on the Blinkie
Links page or you can E-mail
me with your question. Let the blinking begin.
|
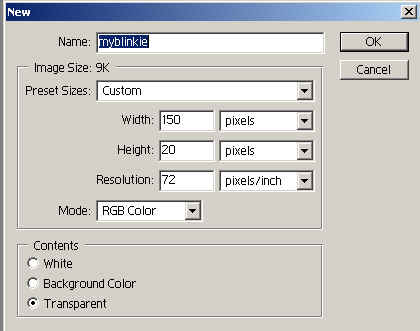
PHOTOSHOP TUTORIAL Step 1: Step 2: Create a picture inside this area using which ever tools you desire, (I used the gradient tool for the background and created a picture with the custom shape tool.
Step 3: add text with the text tool Step 4: select the pencil tool and change the size to one pixel. If you cannot see the pencil tool, click on the arrow on the paintbrush tool and click the pencil. Step 5: create a new layer and choose the color that you want to blink. Then start coloring the pixels the color you choose. color two pixels and leave to blank all on the top row.
Step 6: Copy the top layer and drag it down to the bottom. repeat with the left and right sides
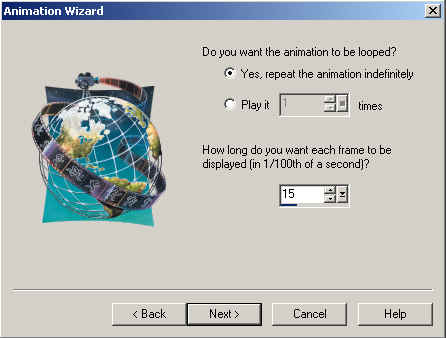
Step 7: Save your picture as a .gif format. Step 8: move the border layers two pixels in a clockwise motion. There will be some gaps but these can be filled with the pencil tool. Save this file under a different name. Step 9: Open Animation shop and go to file>animation wizard step 10: select "same size as first image"
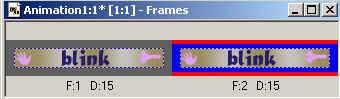
and click next step 12: Click add image and add your two files you have created and click next. You should have something that looks like this: Step 13: go to view>animation and your blinkie
should be animated. Save it and your final product should look
something like this: |