|
|
|
Part 17- The Sea Shrine
Waterfall
Recommended Level: 20, Treasure: Wizard Staff, Ribbon, Defense Sword, 13450G, 6400G, 5000G
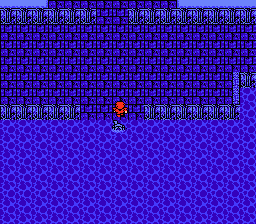
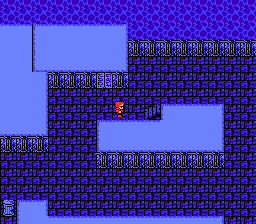
Save your game in the canoe with a TENT/etc... and then enter the waterfall. The waterfall is fairly simple, it's not that long and the enemies are very simple. Head north until you reach an intersection, take the path to the left until you reach another intersection. Take the left path again. |
 |
 |
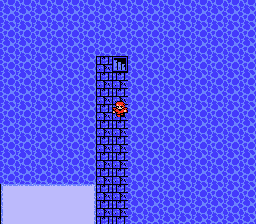
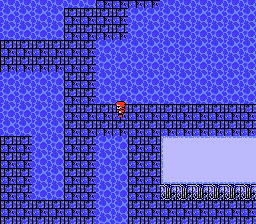
This will take you to this point with 4 path choices. The only non dead end is the path to the upper left, take it. You'll then reach the final intersection, head south from there. All the other paths in the waterfall lead to dead ends, the only treasure is in a room that you're heading to. |
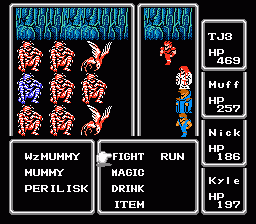
Upon entering the room you'll have to fight a group of 9 enemies. Although it looks like a fairly hard fight at first, it's really not. None of them are real strong, and a blast of FIR3/LIT3 can knock them all out. This is another great place to gain EXP and G. Now let's get the treasure. There's a wizard staff (sell it if you have the catclaw), 5000G, 6400G, and 13450G. |
 |
 |
The other 2 treasures are some of the best in the game. The defense sword is the best sword up to this point in the game, put it on your knight. The ribbon is the best head armor in the entire game. Put it on your favorite character and sell whatever head armor they have on. Now talk to that robot in the room. He gives you a CUBE that you can use to get in the floating castle. It will come in handy a little later. |
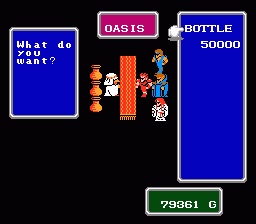
If you do not have 50000G on you then fight that 9 creature fight until you get it, you'll need it. Then use EXIT and head on back to the airship. Remember the caravan master with the bottled fairy? Well, we're going to pay him a visit, head to the west. |
 |
 |
Head over to the large desert. Look at the spot that I've landed on in the picture. This is the only spot of desert that you can land on in the game, so do so, it will save you a long walk. This is the desert oasis, so simply take a step away from the airship and then back. |
This will take you into an oasis shop. Buy the BOTTLE fairy from him. (I told you that you'd need 50000G.) Then head back to Gaia. |
 |
 |
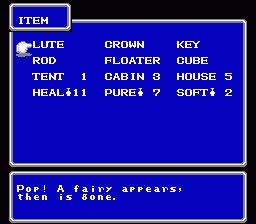
In Gaia, head to the spring at the top of the town. Once you're there, stand in front of the spring and use the BOTTLE. A fairy will appear in the spring. |
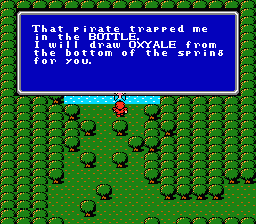
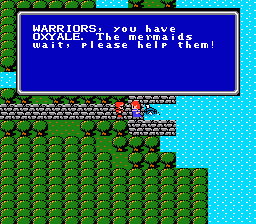
The fairy tells you how she was trapped and how she is happy that you saved her. She will reward you with OXYHALE. Now that you have OXYHALE it's time to head back to Onrac to pay a little visit to the Sea Shrine. |
 |
 |
Talk to the lady with the submarine. She'll allow you to use it now that you have OXYHALE and tells you to save the mermaids. Make sure that you save your game at the inn and head on down. |
Sea Shrine
Recommended Level: 22, Treasure: 9900G, 2000G, Opal Armor, 20G, Mage Staff, Light Axe, 12350G, 2750G, 10000G, 10G, Opal Helmet, Opal Gauntlets, 4150G, 5000G, 9000G, 1760G, Opal Bracelet, PURE, Opal Shield, SLAB, Light Axe, Ribbon, 9900G, 7340G, 2750G, 5450G, Power Gauntlets, 385G, 7690G, 8135G
Enemies:
Name |
HP |
EXP |
Gold |
Weakness |
|---|
| -Bigeye |
304 |
3591 |
3591 |
Lit |
| -Ghost |
180 |
990 |
990 |
Fire, Harm |
| -Grey Shark |
344 |
2361 |
600 |
Lit |
| -Lobster |
148 |
639 |
300 |
Lit |
| -Naga |
356 |
2355 |
2355 |
Lit |
| -Rock Golem |
200 |
2385 |
1000 |
N/A |
| -Sea Snake |
224 |
957 |
600 |
Lit |
| -Sea Troll |
216 |
852 |
852 |
Lit |
| -Water |
300 |
1962 |
800 |
Ice |
| -Wizard Sahag |
204 |
882 |
882 |
Lit |
|
Welcome to the sea shrine. The sea shrine is very long but the enemies aren't real hard. The only real enemies to watch for are ghosts that are very powerful. If you run into some use FIRE magic real fast. Other than that LIT magic works real well against just about every enemy down here. |
 |
 |
There are two treasures on the starting floor. One is on the left side of the floor and the other is on the right. They contain 2000G and 9900G. |
There are also two sets of stairs on this floor. Take the ones on the right first. Don't worry you'll be back for the other stairs soon. |
 |
 |
On this floor there are 5 rooms containing one treasure apiece. Head south along the path and then west above the really big room in the middle. (Don't bother getting the treasure in the big room, it contains a huge 20G.) |
From the spot I am on the picture, head north to a room with a chest containing opal armor. The best armor in the game! Put it on your knight immediately. From there head back south until you reach a room with a light axe. This casts HRM2 in battle. Give it to a nonmage so they can cast it free in battle. |
 |
 |
From there head east to a room with a mage staff, this casts FIR2 in battle. Head east again to the final room that has a nice 12350G. Then take the stairs right next to that room. |
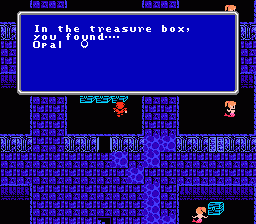
On this floor you'll find the mermaids! But, more importantly a ton of very good treasure. Head straight up from the stairs to a room with three treasures. They contain: 1760G, 9000G, and an opal bracelet. The opal bracelet is the best bracelet in the game, put it on a master, white wizard, or black wizard. |
 |
 |
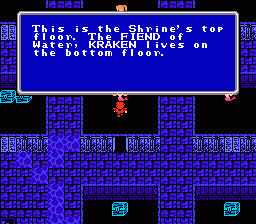
From there head up and to the right to a room with a chest containing 2750G. Then to the room to the right of that one, it has 10000G and 10G. The room under this has 4150G and the room under that has a mermaid that tells you that Kraken, FIEND of water lives on the bottom floor and that you're on the top. |
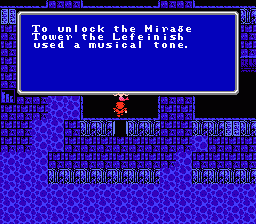
The mermaid in the room under that one tells you that the Lefeinish use a musical tone to enter the mirage tower. By the way wasn't the SLAB supposed to be down here somewhere? Hmmm.... anyways there's also a PURE in this room. The room to the right of this one has the opal shield, best shield in the game. |
 |
 |
Skip the room above this and the room above that one has 5000G in it. Notice though that there's one unreachable room in the upper right hand corner. There is a way to reach this room though. |
Head to the upper left hand corner of this floor and you'll notice a path heading to the left, take it. And for some strange reason you end up at that room that was previousely unreachable. |
 |
 |
The treasure in this room is spectacular. Opal gauntlets, an opal helmet, and the SLAB! Equip the opal helmet on your knight. (Unless he has a ribbon in which case I'd give the ribbon to someone else.) Sell the gauntlets and keep the proring. Try to hang on to everything that you've unequiped, by this point in the game all of that stuff will sell for a ton. Drop caps if you still have them on mages (I did) to make room. |
-Remember how that mermaid told you that you were on the top floor and that the FIEND was on the bottom? Well next you're going to have to take the other stairs on the starting floor. You could use WARP until you get to that floor, but I recommend that you use EXIT. From outside the shrine make a trip back to Gaia. At Gaia, stay at the inn and sell all of your extra equipment. Then you the extra money to buy stuff that you couldn't afford before. I used my extra money to complete my level 7 white and black magic collection. You can also buy some level 8 if you'd like, and if you have the money. Don't buy any of the spells at Onrac though. None of them will do you much good at all, it's a big waste of money.
|
-After you've revitalized yourself it's time to finish the sea shrine and head the fiend of water. |
On to Part 18 |
Back to FF1 Walkthrough |
|
|
|
|
|


