
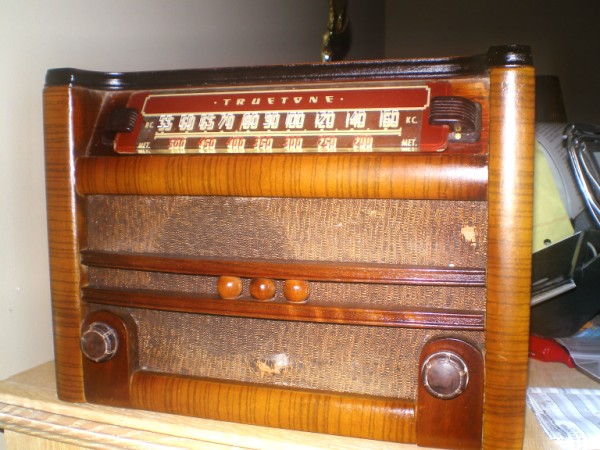
There isn’t much to this radio, nor is it particularly appealing visually. When I got it, it had been painted in a yellowish-buff color and needed to be completely stripped. The problem was the cabinet had photofinish wood grain on the vertical and horizontal columns. The stripper completely removed the photofinish.
Stewart Schooley had been working for years for a method to restore this type of finish and some of his work and thoughts can be found on this website. http://pages.cthome.net/ptf/photofin/photoFinish.html My method for dealing with the missing finish comes directly from his work, but it is a little different, as I couldn’t get satisfactory results with his methods.
My first step was to find a suitable grain picture from the internet. I found a Zenith stripe that someone had posted on antiqueraidos.com. It worked out OK for my purposes, but the scan was at 72 dpi and it really needed to be higher. I think you really would want to find something in the 300 dpi range or better. The problem with the lower rez scan is that it showed too much pixilation. I wound up having to put a fair amount of toning lacquer over the new pattern, so it looks pretty good, but in the future, I’ll be using better scans.
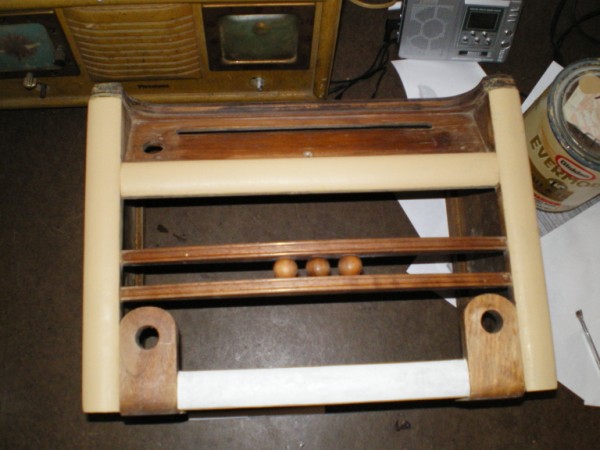
Base Paint Applied
I worked with a laser copy of the wood grain, so it was just black and grey. I lightened the grain picture before I printed it so that it was a grey color and not black. You will have to play around with color contrast settings to get something that is suitable and not too dark. Because the print is only gray, you have to put the pattern over a solid color to make the grain stand out. Stewart recommends a mustard yellow color. Initially I had a tan color for the under coat as seen in the picture, but I changed to the mustard yellow. I found that with the mustard yellow that I had to use a lot of toning lacquer to “tone down” the brightness of the yellow. I would recommend a tan color for your background. When applying the color, you have to prepare the wood for the paint and pattern. All the rules about refinishing apply here. The area has to be smooth; any defects will show in the final product. I put my paint on with a brush and had brush marks. They will be noticeable in the final product, so you have to sand them out with wet/dry sand paper until you get a smooth surface on which to apply the pattern. The paint I used was a tan interior wall paint mixed with a yellow acrylic paint sold in craft stores.
With a good painted surface, you’re ready for the next step which is to brush on Minwax Polycrilic to the paint and to the pattern. I used just one coat on each. (Stewart’s method would have you applying several coats on the paper pattern before trying to put it on the radio; I did not have success with this.) Before the Polycrilic dries, place the paper pattern (printed side down) on to the paintied/Polycrylic surface. Rub out any bubbles/imperfections. If you have any spots where the pattern is not laying flat, it will be seen in the final product. In this case, it’s best to remove the pattern, re-sand and re-paint as necessary. You want a very flat smooth surface when you apply the paper pattern.

Patterns Applied
At this point, I waited between ˝ and 1 hour before I started to remove the paper. The idea is to gently rub away the paper and leave the black laser ink imbedded in the Polycrylic. As you might imagine, the two coats of Polycrilic are very thin, so your removal of the paper has to be done very slowly and gingerly. I used a wetted finger and just rubbed the paper until it began to peel away. You cannot remove all of the paper on the first try. Be satisfied with removing some. Let the paper dry and come back and remove a little more. Repeat. When you get close to the imbedded pattern, it will look like you’ve got all the paper off. Let it dry and you’ll see a white haze of paper begin to form. Repeat the soft rubbing process with a wet finger. I used some 600 grit wet/dry sand paper (wet) at some spots at the very end of the process. Stewart had recommend using bleach to remove the paper. I found it unnecessary.

Final Finishing
If you remove the pattern, you have the choice of starting over or perhaps trying to touch the missing grain pattern with markers or artists brushes. Luckily on the 4 sections that I applied the pattern to, I did not rub through the ink.
The last step is to finish the radio as usual with toning lacquers. Because the yellow underneath the pattern was too yellow, I had to apply a good amount of toning lacquer over the pattern with an air brush. Overall, the process was time consuming, but not terribly difficult. It is, however, a game of patience.
On my radio, the grille cloth still needs to be replaced and the knobs still have paint on them from the original re-paint. I could not remove all the paint as the knobs are make of some sort of plastic that the chemical stripper began to melt. The process was a good learning experience, but the radio is still a plain-Jane post war BC only set.
 Home
Home
