
Custom Half-Life logos
Anyone who has played the classic first person shooter Half-Life for the PC will be aware of the 'logos' in the multiplayer modes. These logos can be sprayed onto the walls of the arena it order to taunt or unnerve your opponents. The game comes with several logos built in but if you want your own personal logos you can always create your own.
Step 1: Open the folder 'C:\SIERRA\Half-Life\logos'
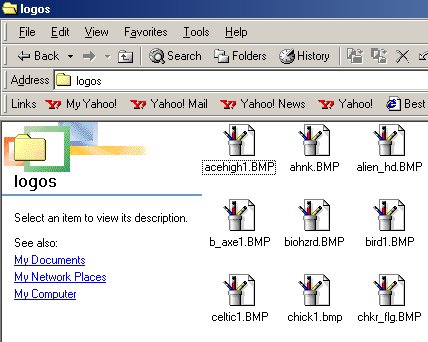
It should be full of BMP files as you can see above.
Step 2: Open one of the BMP files in 'Paint.'
Step 3: Edit it to your hearts content but make sure you do not alter the size of the image and also make sure you only use grey scale colours.
Step 4: Select 'File... Save As...'

Save it as a one-word name.
You should now be able to select your custom logo in the Half-Life multiplayer menu.
|
||||
If you don't wish to make your own logos, here you can download some created by me. Simply click on a thumbnail below, and when the image has loaded, right-click on it and save it to the folder 'C:\SIERRA\Half-Life\logos' Then you should be able to use them in multiplayer games.
|
|
|
|
|
Tutorial provided by Patrick Duncombe.


