Craig Biggio Picture Gallery
Picture Gallery
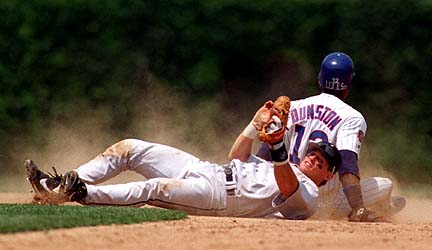
Pictures of Craig in action on the field.
Picture #1
Picture #2
Picture #3

 Picture #1